


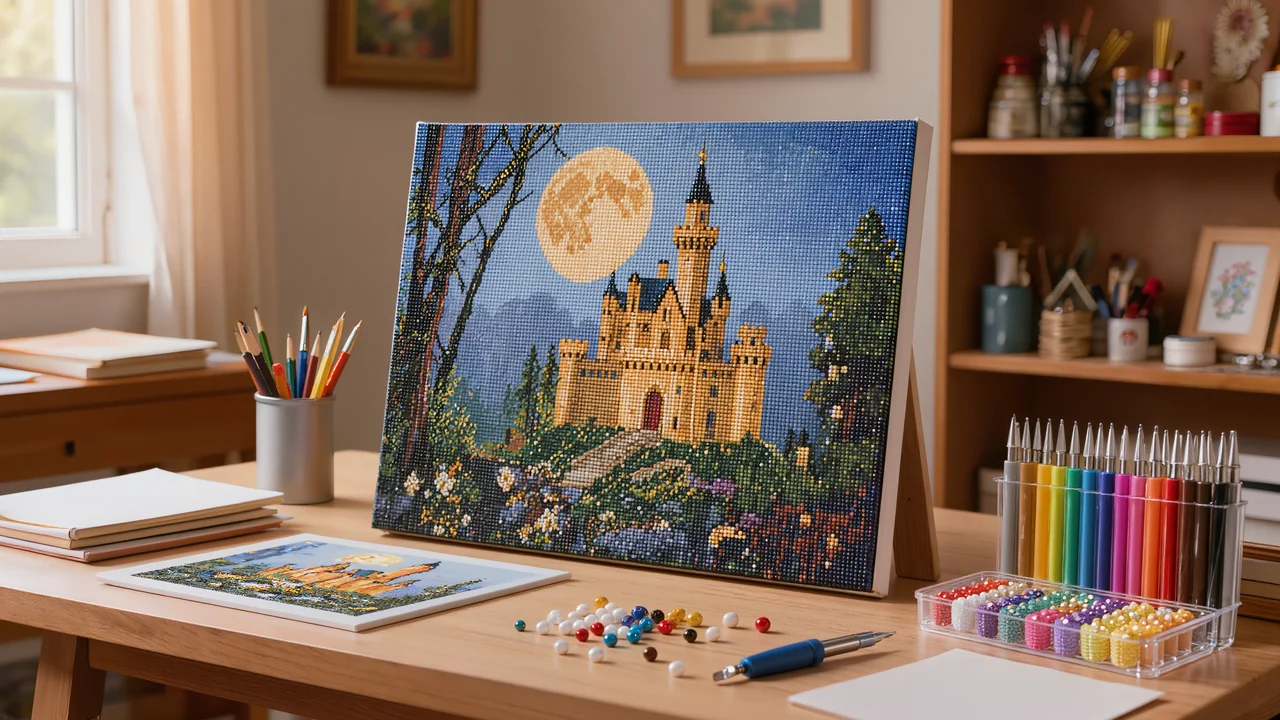
How to Frame a Diamond Painting: A Simple Method
To learn how to frame a diamond painting without crushing the drills, start by laying the canvas flat, diamonds facing up, and check that no bead is lifting at the edges. A deep-rebate frame, with a spacer or 3 to 5 mm (1/8 to 3/16 in) gap between the canvas and the glass, lets the rhinestones breathe and prevents the canvas from buckling.
This guide is for anyone who has just finished a canvas, beginners and old hands alike, and who wants to display it properly on the wall. You will find advice on choosing a frame for the size, fixing it without drilling random holes, and the habits that protect the diamonds over time.
In short
- Never frame a diamond painting under glass: reflections and condensation dull the diamonds.
- A canvas stretched on a frame can be hung as is; a flexible canvas needs to be stiffened on a backing before framing.
- Measure the finished canvas (including edges) before buying a frame: this is the number one mistake.
- Without a frame, a rigid backing and discreet fixing are enough for a clean finish.
How to Frame a Diamond Painting, Step by Step
Check that the canvas is dry and complete
Run your palm flat across the entire surface. If a diamond shifts or lifts under pressure, the glue hasn't fully set: wait another twenty-four hours before handling the canvas. Spot any empty symbols by holding the canvas at an angle to the light; raking light makes the gaps stand out. Replace missing diamonds with tweezers, one at a time, pressing for two seconds.
Measure the finished canvas, including the edges
Place the tape measure on the outer edge of the canvas, not on the first row of diamonds. Note the width and height to the nearest millimetre, then add the mount border if you plan to use a mat. A frame bought based on the image area alone will leave two centimetres (about 0.8 inches) of canvas sticking out on each side, which is immediately noticeable on the wall.
Choose a frame without glass
Pick a frame with an inner depth of at least one centimetre (0.4 inches): resin diamonds create a raised surface that would touch glass placed too close. A rigid backing, such as 3 mm (0.1 inch) dense cardboard or MDF, supports the canvas without making it buckle. A mat, meanwhile, hides uneven edges and re-centres the design.
Secure the canvas taut
Place the canvas face down on the backing, centre it, then fold the edges over to the back. Tape the middle of one long side first, pull gently towards the opposite side, tape, and finish with the other two sides. A woven double-sided tape holds better than thin ribbon. For large formats, a few stainless steel staples every ten centimetres (4 inches) complete the fixing. The canvas should be flat, never stretched to the point of distorting the rows of diamonds.
Hang on two points
Insert two hooks horizontally, spaced one third of the frame's width apart, after marking the wall with a pencil and checking with a spirit level. Aim for the centre of the canvas at eye level: about 1.5 m (5 feet) from the floor in a room where you stand. Two support points stop the frame from tilting over time.
Should you put glass in front of a diamond painting?
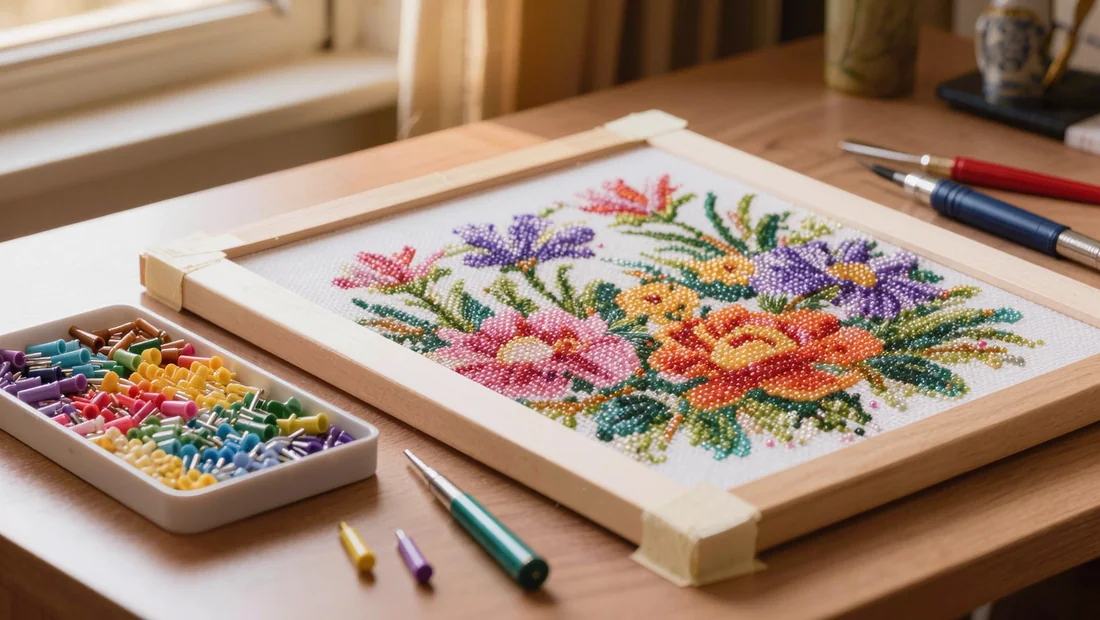
The question comes up every time a finished canvas is sitting on the table: should you slip a sheet of glass in front of the diamonds? In practice, no. Glass adds a layer between your work and the eye, and that layer works against you. Resin diamonds sparkle because they bounce the room's light back from every angle. A pane of glass, even a good one, intercepts those reflections and replaces them with its own: you end up seeing the ceiling light, the window or your own silhouette instead of the facets. On a very colourful canvas the effect is obvious: light areas turn milky, gradients lose their punch.
There is a second, sneakier problem. Between the glass and the surface of the diamonds, a poorly ventilated pocket of air remains. Depending on the room, the kitchen, the bathroom or a stuffy bedroom, the ambient moisture slowly condenses there. Over time you get whitish marks on the diamonds, sometimes a haze over the glue holding them in place. Cleaning then becomes tricky, because you can no longer reach the surface without taking the frame apart. Without glass, dust does settle, true, but it comes off with a quick wipe of a dry microfibre cloth or a soft-bristled brush, working between the rows. Thirty seconds once a month is enough to keep a canvas clean for years.
For routine dusting, a large makeup or dusting brush works wonders: it picks up dust without snagging the facets. Avoid damp wipes and household cleaners, which leave residue in the gaps. If your canvas is already mounted and you are looking for ways to care for it, take a look at the essential diamond painting accessories: you will find brushes and cloths suited to this kind of surface.
How to frame a diamond painting without a frame
Once the canvas is finished, a frame is not compulsory: several solutions let you display it as it is, as long as you take the weight and rigidity of the piece into account.
- If your canvas is already mounted on a stretcher frame, you can hang it directly: two small fine-point hooks pushed into the wood of the frame, joined by nylon line or ribbon, are enough for a size up to about 16 x 20 inches (40 x 50 cm). For larger sizes, use two fixing points in the wall rather than a single central one, so the canvas stays flat.
- Heavy-duty adhesive strips (high-strength double-sided type) work on lightweight stretcher frames. Clean the wall with alcohol before applying, press for thirty seconds, then wait an hour before hanging. They are not suitable for pieces over 4.4 lb (2 kg) or for textured walls.
- A flexible, unmounted canvas will buckle if you fix it as it is. The simplest approach is to glue it onto 0.2 in (5 mm) foam board cut to the exact dimensions, using repositionable spray adhesive or double-sided strips all around. Foam board stays light, cuts with a craft knife and does not distort the diamonds.
- For a more rigid finish, a 0.12 in (3 mm) MDF panel or a 0.2 in (5 mm) expanded PVC sheet will do the job. Place the canvas face down on a clean cloth, apply the panel, turn the whole thing over and smooth from the centre outwards to push out the air.
- On a wall, discreet fixing depends on weight: adhesive strips for a small size under 12 x 16 inches (30 x 40 cm), a metal-point hook tapped in at an angle for a heavier piece, a wall plug and screw hook beyond 6.6 lb (3 kg).
- A table easel or shelf takes small sizes up to 8 x 10 inches (20 x 25 cm) very well. It is the easiest way to move the canvas around with the seasons, without drilling anything.
- Avoid damp walls (bathroom, kitchen near the hob): condensation loosens adhesive strips and makes foam board warp. Direct sunlight, meanwhile, yellows the resin of the diamonds and fades the printed colours after a few months.
Which frame to choose based on the size and style of your diamond painting
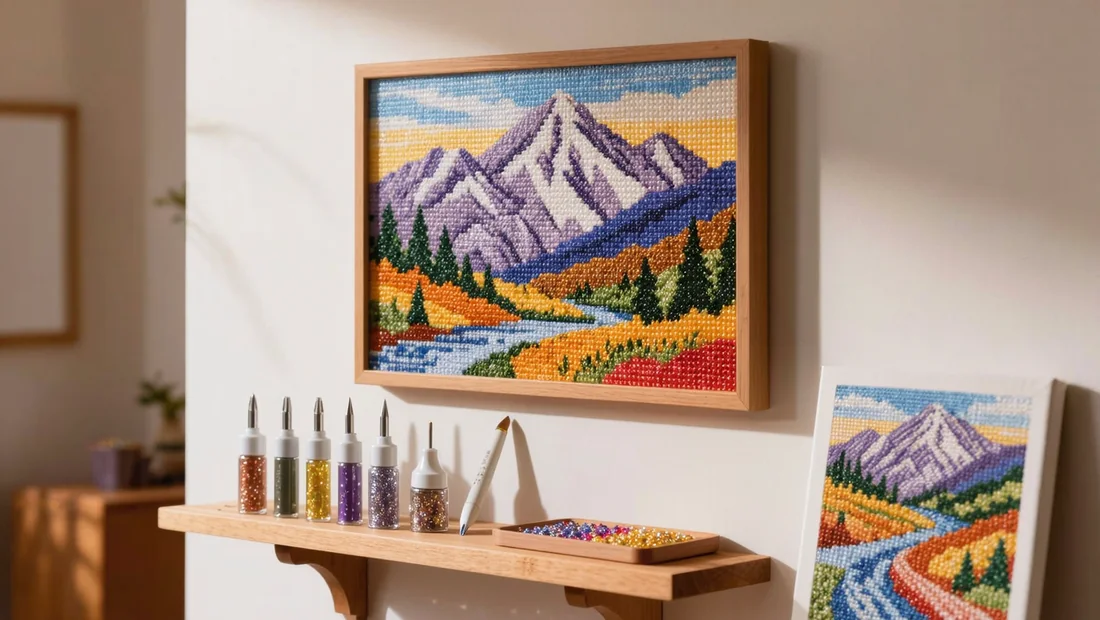
The subject of the canvas and its size dictate the frame far more than trends do. Before you buy, lay the canvas flat, measure the stretched border (not the blank margins) and note the weight: a 24 x 32 in (60 x 80 cm) canvas with its diamonds often weighs more than you'd expect, and that weight will determine how sturdy the frame needs to be.
| Canvas type | Recommended frame | Why |
|---|---|---|
| Small format (up to 12 x 16 in / 30 x 40 cm) | Slim frame in light wood or aluminium, with an off-white mat of 1.2 to 2 in (3 to 5 cm) | The mat visually enlarges the scene and keeps the diamonds away from the edge |
| Large format (from 20 x 28 in / 50 x 70 cm) | Reinforced frame with a rigid backing (MDF or solid wood), two mounting points at the back | The rigid backing stops the canvas from warping, and the two fixings spread the load |
| Very colourful subject | Neutral frame: white, pearl grey, light natural wood | The frame's tones don't compete with the diamonds |
| Dark or gold subject | Dark wood frame, walnut or subtle gold | The frame warms up the whole piece and avoids a 'black hole' effect on the wall |
| Custom canvas (portrait, photo) | Understated frame, a single tone, no ornate moulding | The face or subject remains the focal point |
For large formats, check that the frame's backing is solid, not just a flimsy piece of card: that's what keeps the canvas flat over time. If you're torn between two moulding widths, go for the wider one for a large canvas and the narrower one for a small one. A frame that's too chunky around an 8 x 8 in (20 x 20 cm) piece overwhelms the subject; a moulding that's too light around a 28 x 39 in (70 x 100 cm) piece looks flimsy.
The mistakes that ruin a framed canvas (and how to avoid them)
Even when it is mounted well, a canvas can warp within a few weeks if you make one of these five mistakes, all of which are easy to fix.
- Pulling the fasteners or clips too tight: the canvas dips, ripples between two tension points and the diamonds eventually come loose on the raised areas. Aim for even tension, like a softly stretched drum skin, by fixing the corners first, then the middle of each side.
- Sticking tape or ribbon directly onto the diamonds: when you remove it, you take some of the gems with it and leave a sticky film that attracts dust. Apply tape to the bare edge of the canvas, never over the diamonded area.
- Displaying the canvas in direct sunlight, for example behind a window: the resins yellow and the colours fade, especially pinks, turquoises and purples. Choose a wall that gets light without direct rays, or move it to a different spot from time to time.
- Cleaning with household cleaner, a damp cloth or alcohol: this attacks the coating on the diamonds and can lift the edges. A soft, dry cloth or a soft-bristled brush is enough to remove dust and lint.
- Hanging the canvas right above a radiator, fireplace or heating vent: the heat affects the adhesive and the canvas comes away in patches. Keep the hanging at least three feet (one metre) away from any heat source.
Choosing a canvas to frame: our ideas that look great on the wall
The choice of canvas matters as much as how you display it. A large landscape, for example, fills an entire wall and looks perfectly fine without a heavy frame: a canvas stretched over a frame, resting on a picture ledge or fixed directly to the wall, is enough to dress a bare patch. Panoramic formats work especially well above a sofa or along a hallway, where the eye travels. If you are looking for a piece like this, diamond painting landscape canvases offer generous dimensions that fill the space without overwhelming the room. Forest scenes work on the same principle, with deep greens that suit almost any interior; you will find suitable designs in our forest diamond painting canvases.
Small flower canvases, by contrast, are ideal for hanging as a series. Three identical formats lined up horizontally, about 4 inches (10 cm) apart, create a clean arrangement that only needs a simple, lightweight frame. This is the most economical option and the easiest to adjust if you move home or change rooms. To put together a trio like this, take a look at our floral diamond painting designs: by choosing the same canvas size, aligning them becomes child's play.
A custom canvas, meanwhile, is often intended as a gift. A family portrait, a pet that has passed away, a holiday photo: framed simply, without glass, it becomes something you keep for years. Plan the frame before you start placing the drills, as custom sizes can take a few days to arrive. Our custom kits come in several dimensions, which means you can match the canvas exactly to the frame you have your eye on.
Finally, consistency. Two or three canvases with the same feel, the same palette or the same subject, hung in the same room, produce a far more polished effect than a mismatched mix. Group them by theme, line up the heights, and keep the same style of frame throughout.
Preparing and protecting the canvas before framing
Check for missing diamonds
Lay the canvas flat under bright light, ideally in daylight near a window. Work across it row by row: gaps are easy to spot as small white circles in the resin. Take the spare diamonds supplied in the kit, find the number for the colour you need and replace them one at a time with the pen. A diamond placed on an area that was finished a while ago will not stick as well: press down on it for a few seconds with the flat of the pen to make it hold.
Roll the diamonds flat
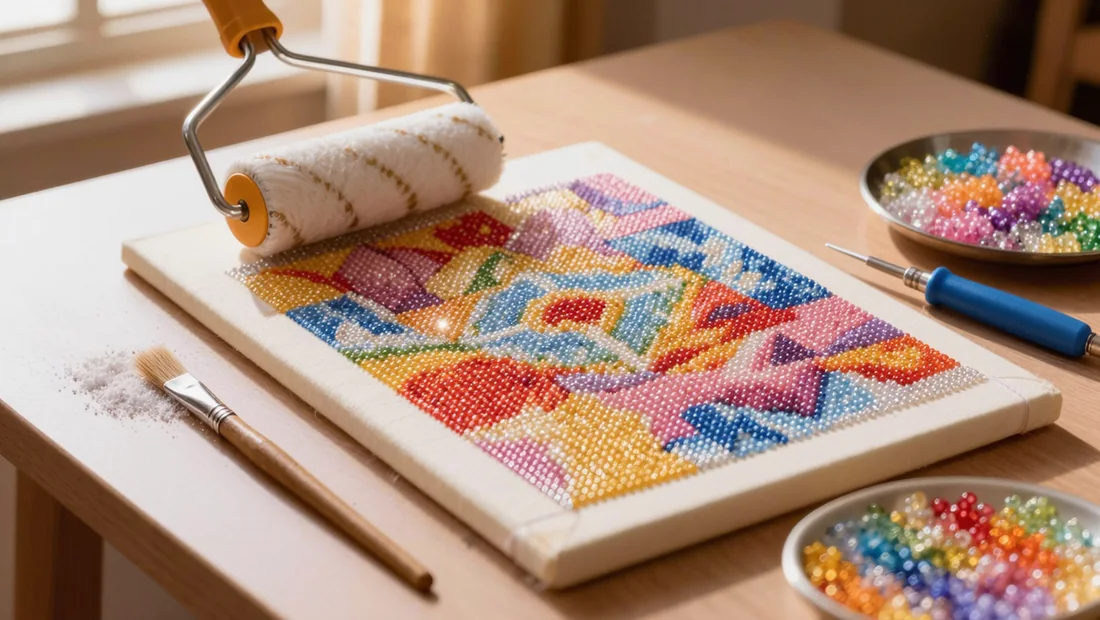
A soft roller with no spikes, run over the whole surface, straightens diamonds that are slightly out of line and pushes out any air left under the glue. Press without crushing, working from the centre outwards; two or three passes are enough. This is the step that gives the finished canvas its even, glossy look, the one people notice as soon as the frame is on.
Let it dry if you have sealed it
After applying a sealant, allow at least twelve hours, and preferably twenty-four in a damp room. The surface should be completely dry to the touch, with no sticky patches under your finger. Until then, do not place anything on top and do not slide it into a frame: the pressure would leave permanent marks.
Dust before fixing
A soft brush, such as a clean makeup brush or a wide DIY brush, removes fibres and dust caught in the gaps between the diamonds. Brush it dry, without pressing, over the whole surface, then along the edge of the frame. A clean canvas prevents the small dark specks that show up under glass or in a light-coloured frame.
Handle by the edges
Always pick up the canvas by the frame or by the undecorated margins. Fingers on the glued area leave dull marks and lift diamonds from the edges. Lay it flat or stand it against a wall while you prepare it, never face down on a table.
Our picks



Before you fix anything in place, lay the canvas flat and measure its edges: it is this measurement, not the one printed on the packaging, that determines which frame to choose. Then allow a margin of two to three centimetres (about one inch) for the overlap under the edges. If you are still unsure about the size or the design, take a look at our Custom Diamond Painting Kits, where you will find sizes that are easy to frame.
Ready to show off your canvas?
Choose a high-definition stretched canvas or a custom kit, and get the accessories for a flawless finish. Free tracked delivery, satisfaction guaranteed or your money back.
View Custom Diamond Painting KitsFrequently asked questions
Can you frame a diamond painting behind glass?
It is not recommended in most cases. Glass creates reflections that hide the facets of the rhinestones, and it traps moisture, which can lift the small squares over time. If you really want glass, choose anti-reflective glass and fit a spacer between the canvas and the pane to let air circulate.
How to frame a diamond painting without a frame?
It all depends on how flexible the canvas is. A canvas already stretched over a frame can be hung straight on the wall with two hooks. A flexible canvas needs stiffening first: glue it onto 5 mm (about 1/4 inch) foam board cut to its dimensions, then fix the whole thing to the wall with adhesive strips or a clip system.
What type of frame for a diamond painting?
Choose a frame without glass, with a rigid backing and enough depth to accommodate the thickness of the rhinestones. A mat hides the uneven edges of the canvas. Measure the finished canvas, not the size stated on the kit: you can often expect 1 to 2 cm (about 1/2 to 3/4 inch) of extra margin after gluing.
How do you secure the canvas in the frame without damaging it?
Work from the back. Place strips of double-sided tape on the frame backing, 1 cm (about 1/2 inch) from the edges, then press the canvas onto it. You can also staple the canvas margins to the backing, never onto the rhinestones. Pull just enough: pulling too hard distorts the rows and makes stones pop off.
Where should you hang a diamond painting?
On a dry wall, out of direct sunlight and away from radiators, fireplaces or air vents. Heat and moisture soften the glue. Place the centre of the piece at eye level, around 1.5 m (about 5 ft) from the floor, so you can enjoy it without looking up. Also avoid very damp rooms such as a bathroom.
Related posts
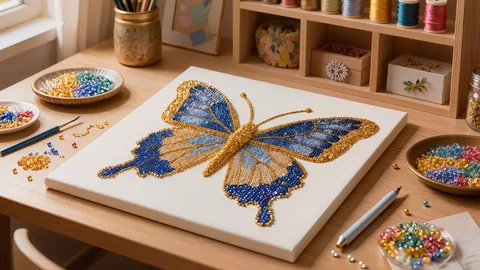 Butterfly Diamond Painting: Choose, Place, and Showcase Your Art
 Diamond Painting Stitch Guide: How to Choose the Right Kit
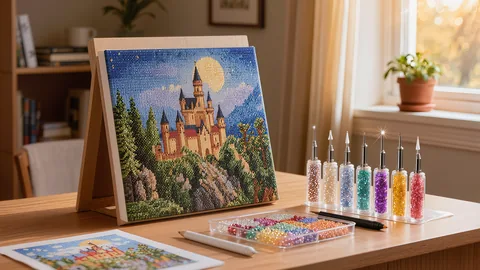 How to Frame Diamond Painting: Choosing and Fitting the Right Frame
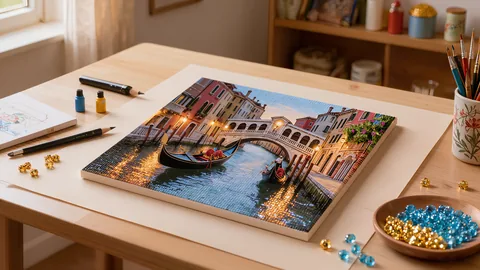 Gondola Diamond Art Kit: How to Choose and Apply
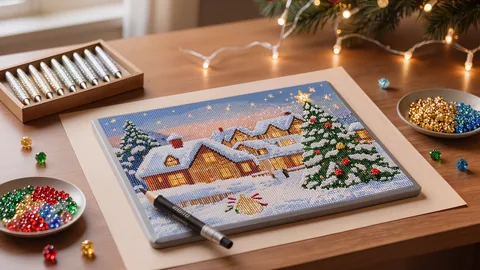 Christmas Diamond Painting Kits: How to Choose and Complete Your Canvas