


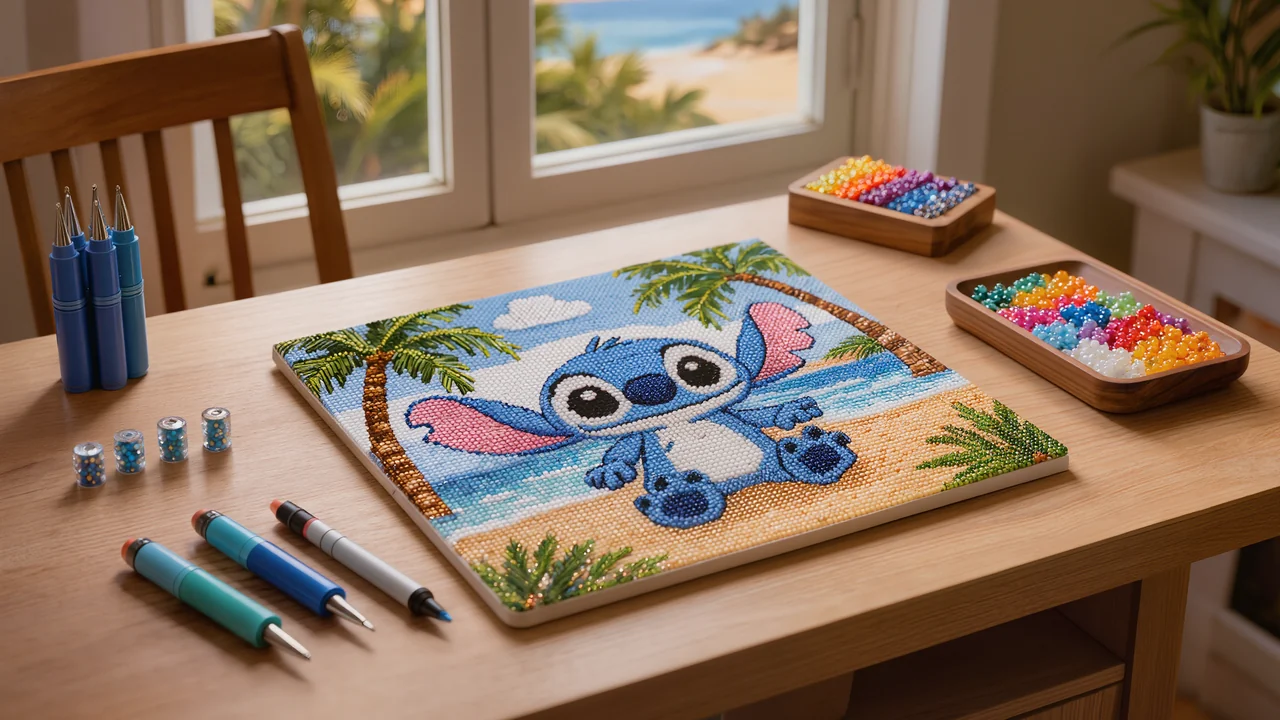
Diamond Painting Stitch Guide: How to Choose the Right Kit
To choose your diamond painting Stitch, start with your skill level and the size you want: a portrait with large squares is easier for beginners, while a detailed scene calls for more patience and precision. Also look at how the dark blues are distributed, as these can be trickier to line up across a large area.
Written for beginners and hobbyists aged 30 to 70, this diamond painting stitch guide helps you compare a close-up with a full scene, estimate how long it will take and set up a comfortable workspace. You will find precise techniques for organising the packets, placing the diamonds evenly across the midnight blue areas, fixing a misalignment with fine tweezers, then protecting, storing and hanging your canvas. The tips also apply to a custom kit made from a Stitch image.
In short
- A Stitch diamond painting is best chosen by its framing: a close-up of Stitch is more forgiving than a wide scene.
- Midnight blue and black areas need bright light and a clean pen to stay crisp.
- Allow roughly one hour per 4 x 4 inch (10 x 10 cm) section for a medium canvas, working in 30 to 45 minute sessions.
- A complete kit with a taut canvas, sorted drills and accessories saves you nasty surprises at assembly time.
Which diamond painting Stitch kit should you choose for your skill level?
The right pick comes down to how much time you want to spend per session and how comfortable you are with very similar shades of blue.
- For a relaxed start, a close-up portrait of Stitch on a plain background is still the best bet, since large blocks of colour cut down on the visual back-and-forth between the tray and the chart.
- If you have already completed a few canvases, you could move on to a Disney-inspired diamond art showing the character sitting on a beach or under a night sky, compositions that mix several dark blues and need a bit more focus under the lamp.
- Experienced crafters will enjoy a busy group scene packed with accessories, where extra characters such as Lilo and the density of symbols per square inch mean swapping drill pens very often.
- Whichever illustration you pick from the Cartoon Diamond Painting range, the overall size affects how sharp Stitch's mischievous gaze looks: a small canvas pixelates the eyes, while a size of at least 16 by 20 inches (40 by 50 cm) gives a perfectly clear result.
- Choosing a kit that comes with a high-definition stretched canvas protects your work from stubborn creases that throw off drill alignment, especially along the dark outlines of those big ears.
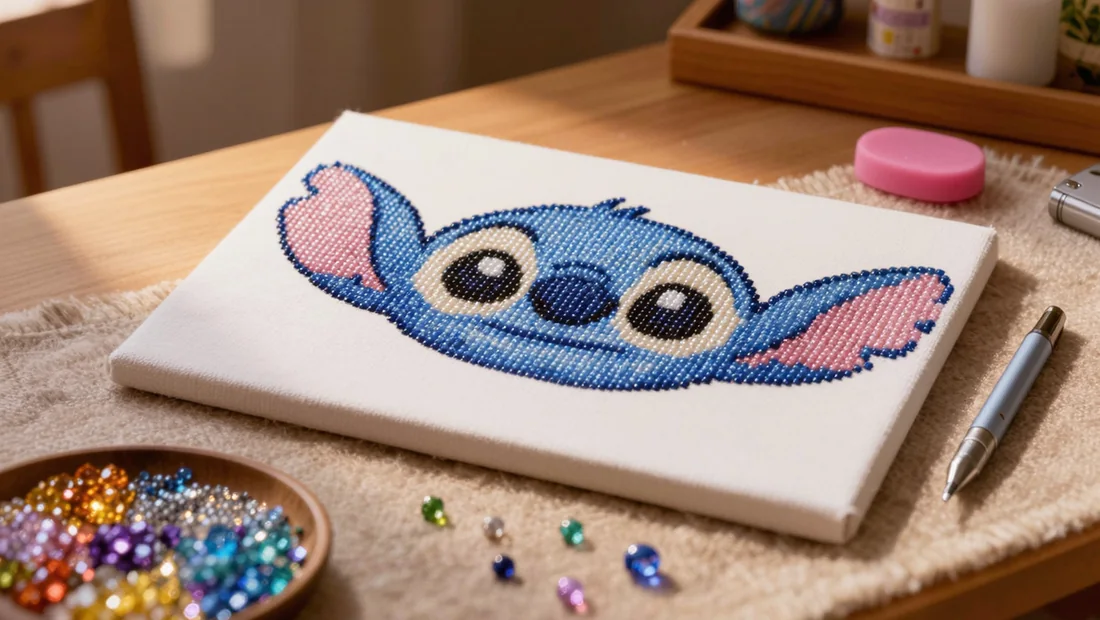
Close-up Stitch or full scene: which works best on the wall?
For a small wall, a shelf or a gap between two frames, a close-up Stitch portrait reads instantly. His face fills the canvas, the eyes draw you in and the colours stand out even from a few steps away. A square format suits this choice well: it slots easily into a gallery wall and keeps a balanced presence. If your wall is narrow and tall, go for a vertical canvas to follow its proportions.
A full scene, with Stitch in a setting or alongside Lilo, tells more of a story. It suits an open wall, above a sofa or in a room where you can step back a couple of metres. The small details of the background appear gradually and the piece rewards being viewed from a distance. A landscape format works well for a horizontal scene, while a square stays more versatile when the image is centred.
Before ordering your Stitch diamond painting, measure the available space and allow for the frame. Leave roughly 3 to 5 cm (1.2 to 2 in) of margin around the image if you want a mount or to hide the edges of the canvas. If you have already started a set, keep the same hanging direction, frames of a similar width and a matching palette. A portrait can become the focal point of a wall dedicated to Disney Diamond Painting, while a scene sits naturally alongside other cartoon canvases. For more help with the craft itself, see our diamond painting stitch guide.
Setting up your workspace for a Stitch diamond painting
Install a white light
Place a white lamp aimed at the canvas, slightly to the side to reduce glare. A yellow bulb changes how you see Stitch's blues and can make you confuse similar symbols.
Flatten the canvas
Gently unroll the canvas as soon as it arrives, then lay it flat under a few light books for a few hours. If it travelled rolled up, give it time to settle back into shape before you start.
Lift the protective film in strips
Keep the clear film over most of the design. Peel back only a strip a few centimetres (about an inch) wide, matching your working area, then fold the rest back without creasing it.
Get your tools ready
Keep your tweezers, stylus, diamond tray and numbered bags close by. A small tray or a compartment box helps keep each colour separate. You'll find more ideas in our essential diamond painting accessories.
Clear the table
Choose a stable surface wide enough for the canvas and your supplies. Move drinks, loose sleeves and anything that could catch the adhesive film out of the way. Wash and dry your hands before each session to protect the glue.
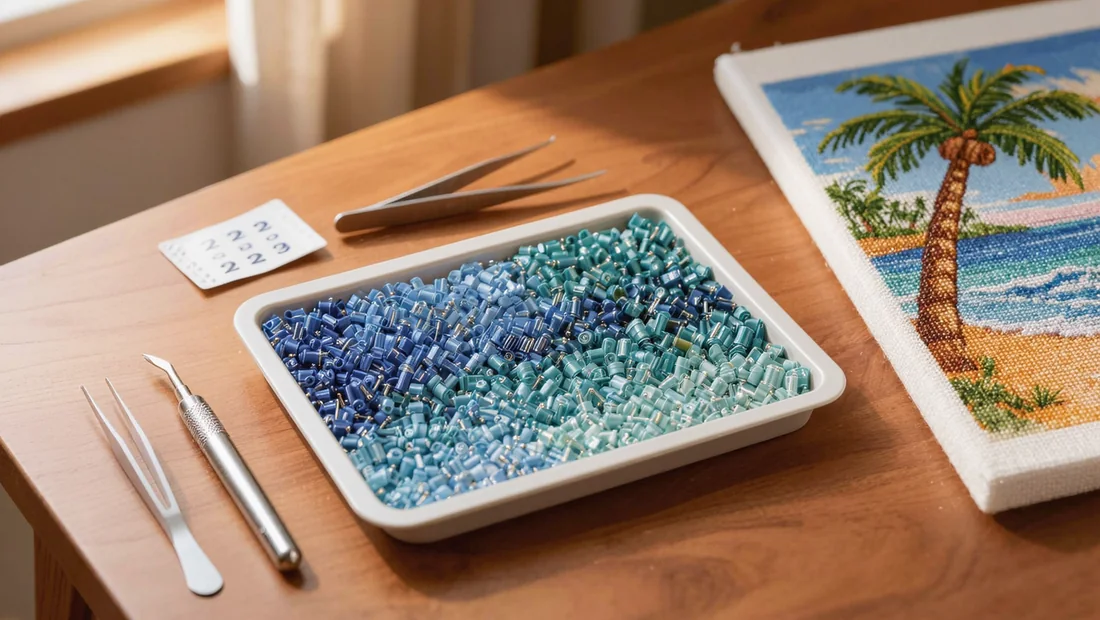
Placing diamonds on Stitch's dark blue areas
-
Outline the shape
Start with the edges of the character using the darkest diamonds. This line acts as a guide to keep the silhouette sharp and stop the blue areas from spilling into the background.
Work on a small exposed area, around 2 to 3 inches (5 to 8 cm) square. Peel back only the protective film covering that section.
-
Define each section
Next, fill in the inside of Stitch row by row, following the printed symbols. Move section by section rather than covering the whole canvas at once.
In large dark blue areas, a steady pace reduces misalignment and helps you spot a row that starts to slant before it becomes a problem.
-
Keep the diamonds aligned
Place each diamond in the same direction, with its facets facing the same way. Press down lightly with a roller or flattening tray after a few rows, without crushing the canvas.
On a dark surface, gaps show up more under angled light. Keep rows parallel and let the printed separations guide your tweezers.
-
Check the symbol
Similar shades of blue can look alike in the small bags. Compare the symbol on the canvas with the colour label before starting each new set of diamonds, especially around the face and ears.
-
Adjust gently
If a diamond is misplaced, grip it by the edge with tweezers and lift it straight up. Then reposition it on the intended square, without scraping the glue or rubbing the surface.
A diamond painting stitch guide with fine tweezers and a roller makes these corrections easier.
How long does it take to finish a Stitch diamond painting?
To estimate how long your Stitch diamond painting will take, allow roughly an hour for a 10 × 10 cm (4 × 4 in) area when the canvas has an average density. This benchmark varies with the size of the diamonds, the number of colours and the precision of the design. A large block of solid blue moves quickly, while a face, fine outlines or a gradient call for more checking.
Work in sessions of 30 to 45 minutes. This pace helps you keep a steady hand and check alignment before fatigue sets in. To track your progress, finish one colour in the open section before moving on to the next. That way you limit swapping bags and spot missed spots more easily. With a daily session, a small canvas can progress steadily over several days, while a large format often takes several weeks of leisure time.
Tired eyes show up quickly: you squint, the lines look less sharp or the diamonds start to shift. Take a ten-minute break, move the lamp away and only resume when the symbols are clearly readable. Good lighting, clean tweezers and a comfortable stylus, available among the essential diamond painting accessories, also make long sessions easier.
Finishing, storing and hanging your Stitch
After the final placement, a few simple steps will give your Stitch a clean surface and help preserve it for years to come.
- Run a soft roller over the canvas with gentle, even pressure to strengthen the hold of the diamonds without shifting the rows.
- If you do not have a roller, place a clean sheet of baking paper over the worked area, then slide a perfectly clean book over it, pressing down gently for a few seconds.
- Inspect the canvas under side lighting: dust shows up better this way, as do stray diamonds left in the tray or placed on the wrong square.
- Remove these little intruders with fine-tipped tweezers, then replace the correct diamond, checking the symbol printed on the canvas.
- If you need to pause for a few days, keep your creation flat and protected by its cover sheet or a clean piece of baking paper. If space is tight, roll it gently, decorated side facing inwards, around a wide, rigid tube.
- A frame without glass suits this raised surface well: leave a gap between the glass and the diamonds to avoid rubbing and lifting.
- Place your picture in a dry room, away from radiators, windows with direct sunlight and humidity changes, which can dull colours or soften the adhesive.
- A soft roller, precision tweezers and a storage box are among the essential diamond painting accessories, also handy for touch-ups after framing.
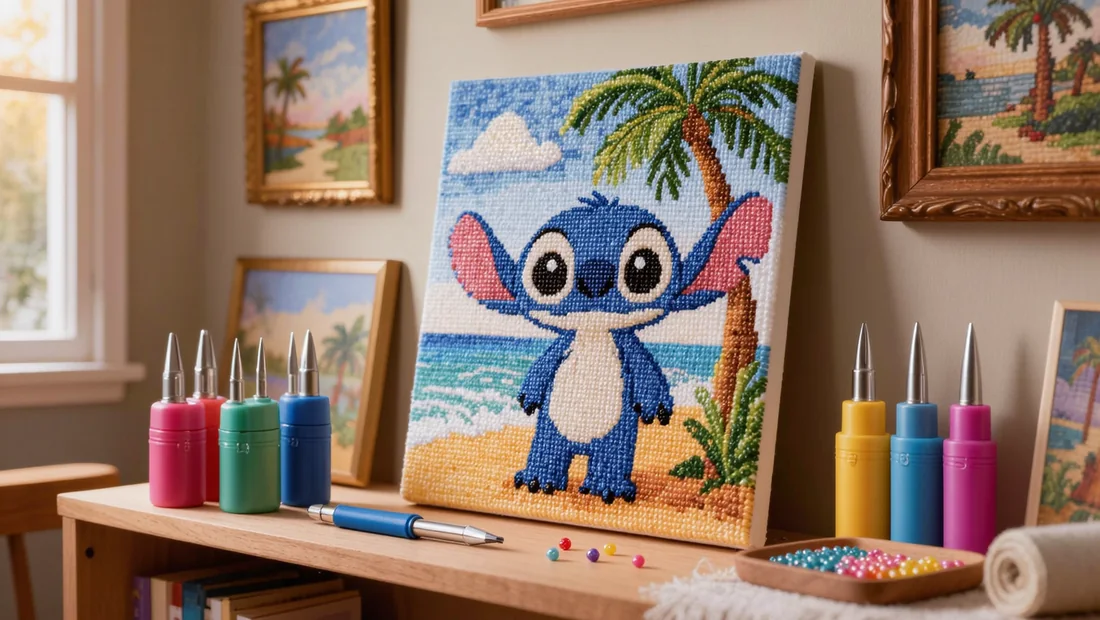
What If You Made Your Own Custom Stitch?
Already have a specific image in mind? A custom piece lets you turn your favourite Stitch photo into a canvas you can display. Choose a sharp, well-lit image framed around the character. The eyes, smile and face outline should stay visible, especially if you want to keep a recognisable expression. A photo taken straight on or slightly at an angle will often give a clearer result than a busy scene.
Avoid blurry, very dark or heavily edited images. Large black areas and cluttered backgrounds can blend into Stitch's deep blue tones. To keep fine details, plan a canvas size that suits the job: a small format works for a simple design, while a face, ears or small expressions benefit from more squares. You can check our Custom Diamond Painting Kits page to prepare your project with the right dimensions.
Before you start, take a moment to check the preview of the finished result: framing, brightness, dominant colours and whether the facial details come through. The turnaround then depends on the size you choose and how the order is prepared; factor this in ahead of a birthday or holiday. A family photo with Stitch, an illustration created for the occasion or a portrait given to a fan can become a personal gift, to work on at your own pace and then hang in a bedroom or craft room.
Our picks
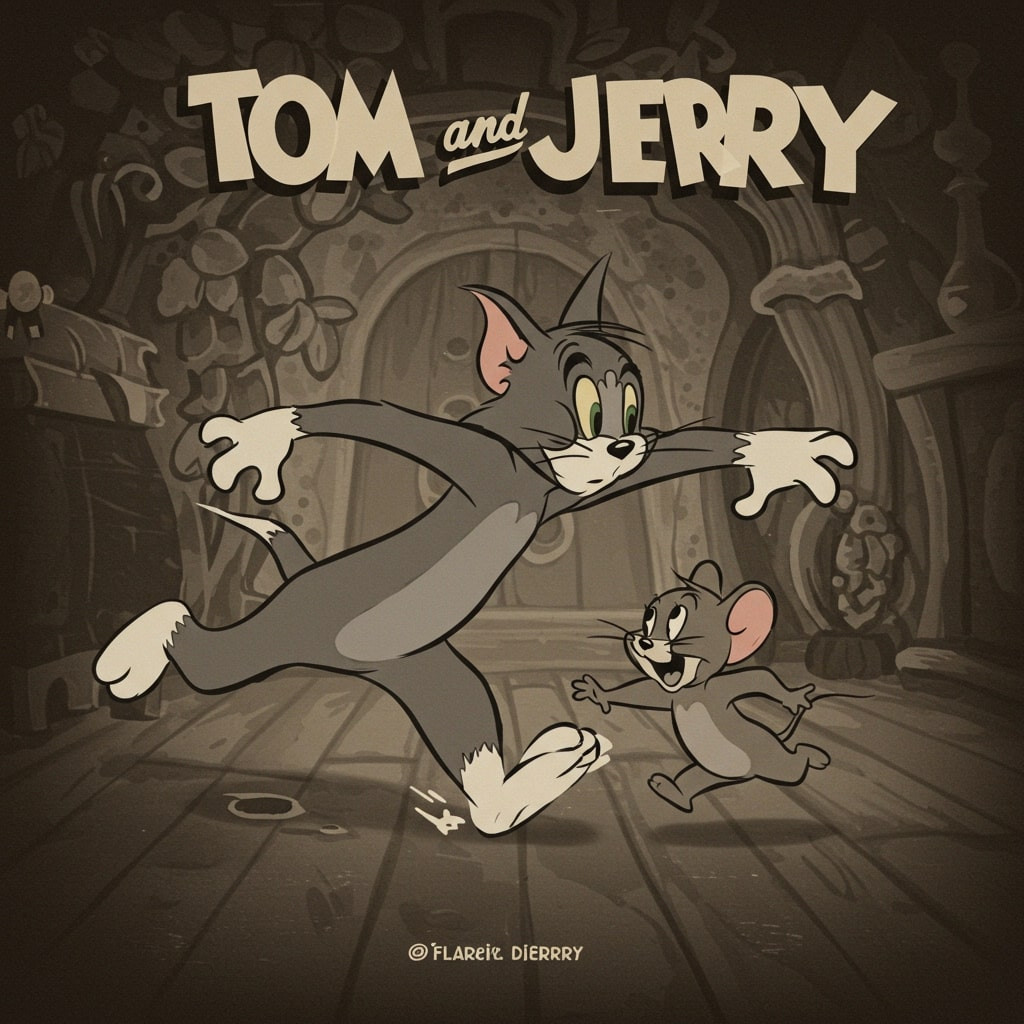
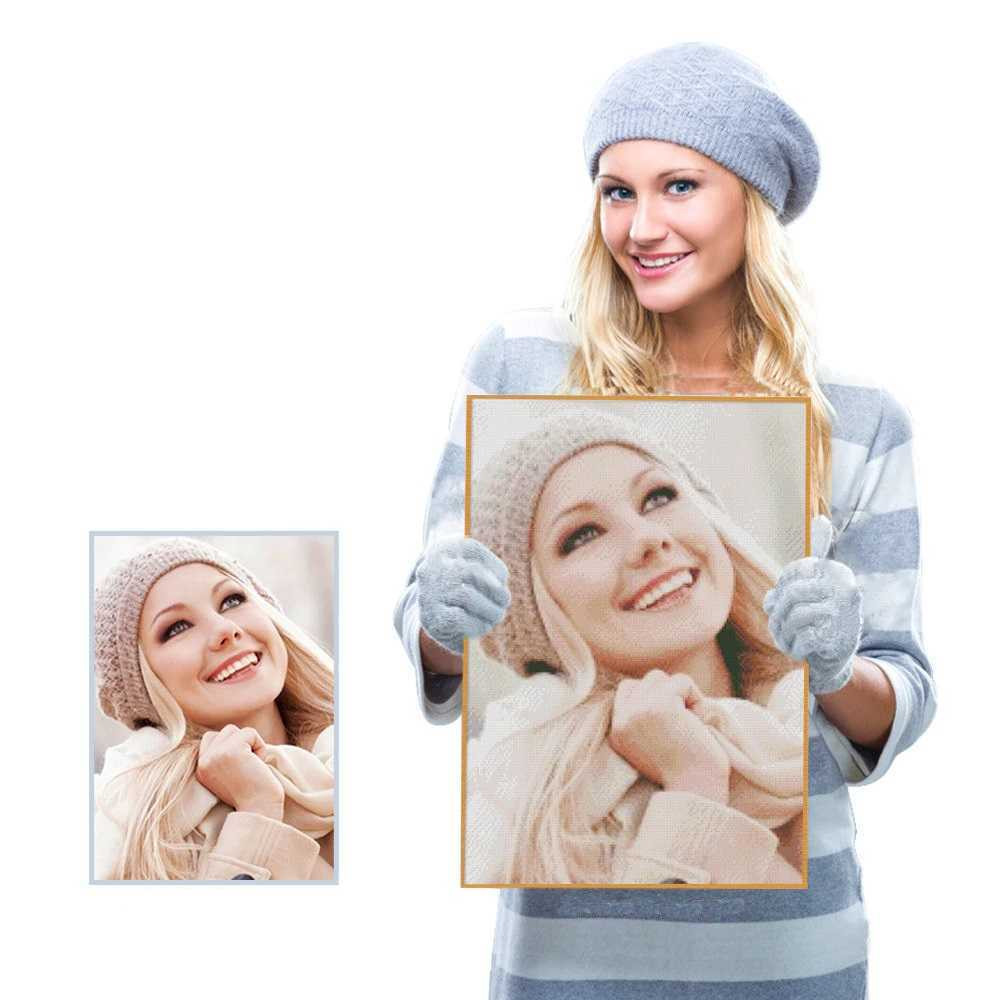

Work in 10 x 10 cm (4 x 4 in) sections, under bright light, with a stylus you wipe regularly to keep the midnight blue shades crisp. A 30 to 45 minute session is usually enough before taking a break. It also helps to check that the canvas is taut and your diamonds are sorted before you start. To choose your design, browse the cartoon diamond paintings.
Ready to bring Stitch to life, diamond by diamond?
Browse our Disney canvases and custom kits: taut canvas, sorted drills, accessories included and free tracked delivery. Money-back guarantee.
View Cartoon Diamond PaintingFrequently asked questions
What canvas size should I choose for a Stitch diamond painting?
For a Stitch portrait, go for a medium canvas, around 12 x 16 in (30 x 40 cm), so the face stays clear without making the project drag on. For a scene with several characters or a detailed background, choose 16 x 20 in (40 x 50 cm) or larger. The bigger the surface, the better small details stay distinct.
Can a beginner start with a Stitch design?
Yes, a beginner can start with this character by picking a close-up portrait with solid colour blocks and few gradients. Work in 2 to 4 in (5 to 10 cm) squares, keeping the bags well separated. Tweezers, a basic pen and a wax pad are all you need to get the hang of it quickly.
How long does it take to finish a Stitch canvas?
Allow roughly an hour per 4 x 4 in (10 x 10 cm), then adjust for symbol density, diamond size and your own pace. A 12 x 16 in (30 x 40 cm) canvas can easily take several evenings. To track your progress, time yourself on a first section before estimating the total.
How do I keep diamonds straight on dark blue areas?
Work under bright, even white light, since symbols are harder to read against a dark blue background. Before each placement, check the bag code against the legend. Use the straight edge of your pen or an alignment ruler to set every diamond in the same direction, without pressing too hard.
Can I order a custom Stitch diamond painting?
Yes, a custom canvas can be made from a sharp, well-framed photo with good lighting. Pick an image where the character fills most of the frame, with a simple background. Dark, blurry or very busy photos often give less defined outlines and less accurate colours.
Related posts
 Halloween Diamond Painting Kits: Spooky Ideas for Your Home
 Cat Diamond Painting Kit: Bring Your Feline to Life in Sparkling Detail
 Peacock Diamond Painting: How to Choose and Complete Your Canvas
 Star Wars Diamond Painting Kits: Canvases and Tips
 Pokemon Diamond Painting: How to Choose, Start and Finish Strong