


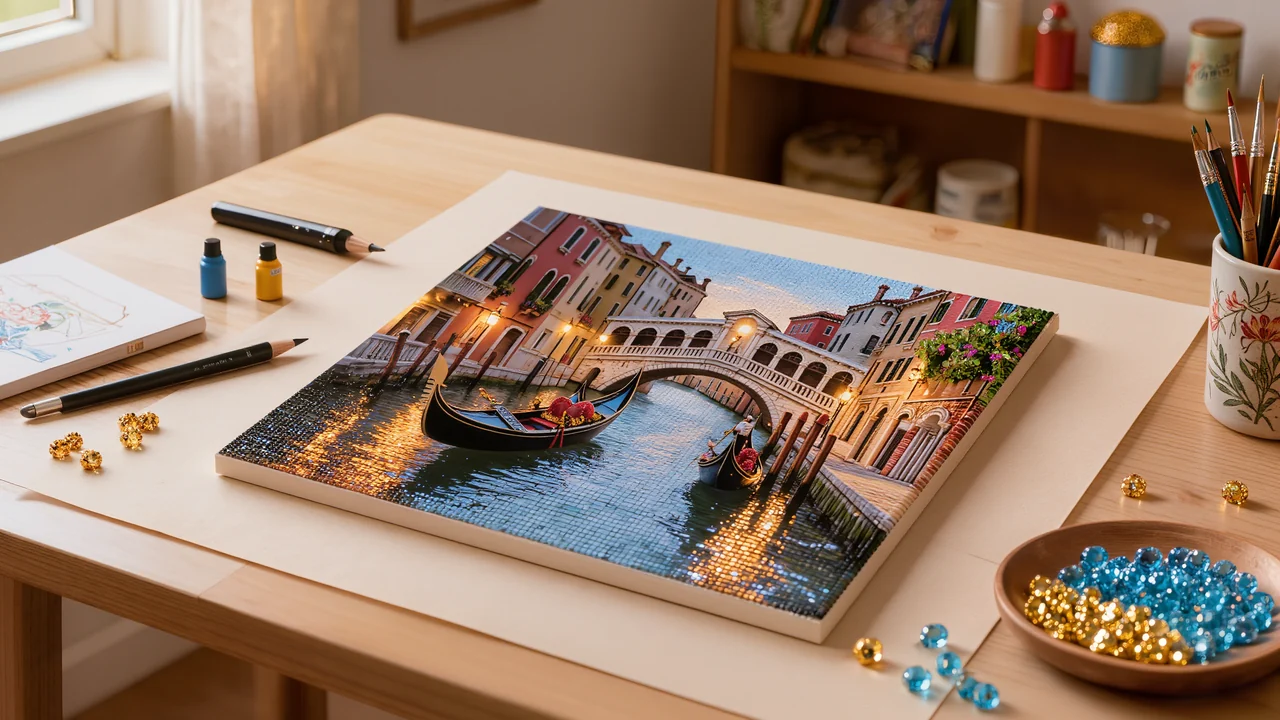
Gondola Diamond Art Kit: How to Choose and Apply
When choosing a gondola diamond art kit, go for a canvas large enough to keep the boat's lines, the water and the reflections crisp. A 40 × 50 cm (16 × 20 in) canvas often strikes a good balance; also check the symbol density and print quality before you start.
This guide is for beginners and keen crafters alike who want to make steady progress without getting lost in the blue shades and fiddly areas. You'll find precise techniques for setting up your table and protecting the glued sections, plus a method for placing the drills in small sections. You'll also learn how to pick a style that suits your experience, turn a holiday memory into something personal, then stretch, protect and frame your finished piece.
In short
- A gondola scene is chosen first for its readability: sky, facades and water must stay distinct even in a small format.
- The 30x40 cm (12x16 in) size suits a first canvas, 40x60 cm (16x24 in) and above for a deeper rendering of reflections.
- Always place one colour at a time, row by row, keeping the canvas taut and using natural light.
- A complete kit with pen, tray and wax is enough to start; accessories are only added when a step holds you back.
What Is a Gondola Diamond Art Kit and Why Is It So Popular?
A gondola diamond art kit depicts a Venetian scene made from tiny resin diamonds that you press onto a self-adhesive canvas. The design usually shows a boat gliding along a canal, with colourful facades, a bridge in the background and reflections shimmering on the water. The canvas is often stretched or supplied with a clearly printed surface so you can quickly spot each symbol.
This scene lends itself particularly well to diamond placement. The gradients of blue and green give the canal depth, while the golden tones of the buildings and the bright touches on the water create a steady sparkling effect. The lines of the gondola structure the scene: they act as landmarks as you work section by section. To compare other city designs, you can also browse our selection of Landscape Diamond Painting Kits or Cities & Villages Diamond Painting.
In practice, you receive a scene to complete along with packets of diamonds, a placement pen, a small tray and wax or adhesive putty to pick up the pieces. Each diamond goes on the square bearing the matching symbol. Once finished, the piece can be framed in a suitable size, displayed on an easel or given as a souvenir of a trip to Venice. The water reflections really come to life under the light, especially when the rows are neatly aligned.
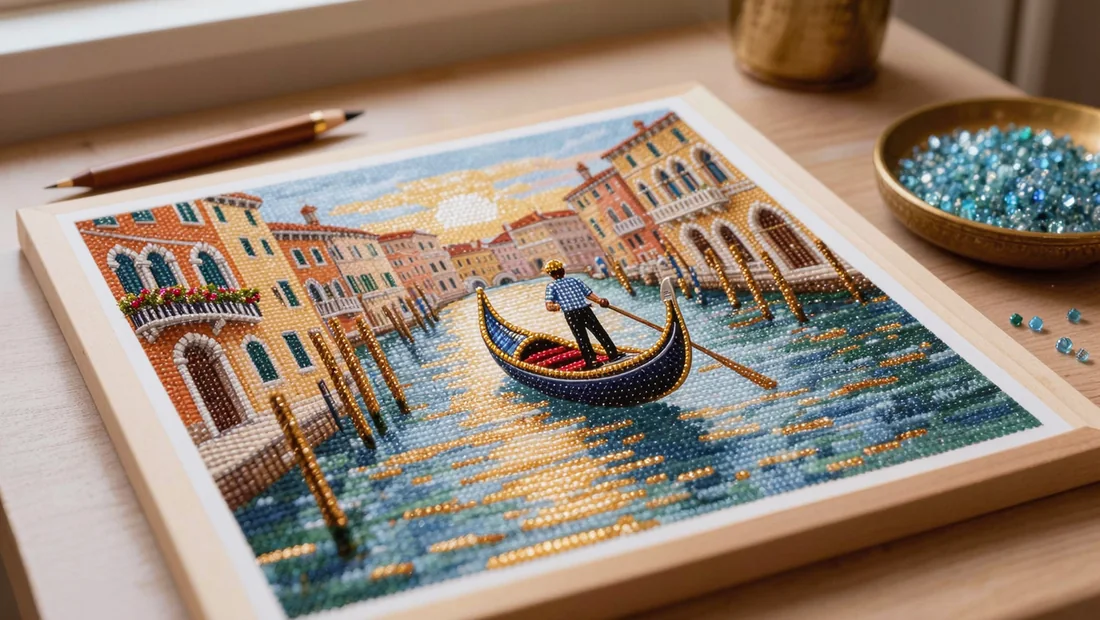
Which gondola diamond art kit size and style should you choose for your skill level?
To pick a gondola diamond art kit you will actually enjoy finishing, start with how much time you have and how clear the scene is, rather than the size alone.
- A 12 x 16 in (30 x 40 cm) size suits a first project: you can make steady progress over a few evenings, with fewer tiny gradient areas in the sky, water and buildings.
- Choose a design with crisp outlines, where the gondola stands out clearly from the canal and the sky, buildings and water use noticeably different colours.
- A 16 x 24 in (40 x 60 cm) size is a good middle ground for bringing out reflections in the water, windows and the lines of the palaces without needing a permanent workspace.
- For a sharper result, check the canvas preview: reflections should form readable bands or strokes rather than one large, flat area that is hard to interpret.
- A sunset gondola scene brings warm tones and soft contrast, while a night-time Venice design demands more care with dark shades and the lights on the buildings.
- A canal in the rain creates an interesting mood thanks to vertical reflections; in that case, look for an image where the raindrops and buildings stay distinct enough.
- A romantic scene works well if you like simple compositions, with the gondola in the foreground and an uncluttered background; Landscape Diamond Painting Kits designs often follow this layout.
- Large sizes are for hobbyists ready to work over several weeks: plan for a clear table, a stable place to store the bags and a canvas you will not have to move every evening.
- For a more detailed city composition, compare Cities & Villages Diamond Painting designs too, and check how much space is given to the water before you order.
Setting up your workspace before the first row
Unpack without rushing
Place the roll on a clean table, then gently remove the packaging and protective layers. Unroll the canvas flat, without bending the corners or rubbing the adhesive surface. Keep the protective sheet in place throughout your preparation.
Study the design before you start and clearly identify the top and bottom. The symbol in a corner of the legend will help you check the orientation, especially if the scene includes a canal or a tilted gondola.
Secure the canvas
Slide it onto a rigid surface slightly larger than the canvas, such as foam board or a smooth board. Fix the edges with wide clips, placed on the outer areas without covering the design. The surface should stay flat under your fingers.
A canvas already mounted on a frame needs less preparation. Just check that no edge lifts when you run your hand over the area to be filled.
Sort the packets
Group the packets by number following the legend printed on the canvas. Place each colour in a small box or labelled compartment. Open only one packet at a time to avoid mixing.
Pour a small amount of diamonds into a grooved tray, rounded side up, then reseal the remaining packet. A diamond painting accessories set can provide suitable boxes and trays.
Prepare the pen
Dip the tip into the wax by a few millimetres, without filling it completely. Then test the grip on a diamond: it should lift easily, without carrying visible wax.
Light the surface
Sit near a window, with light coming from the side. An adjustable desk lamp works well in the evening. Place it high enough to illuminate the symbols, while avoiding direct glare on the shiny film.
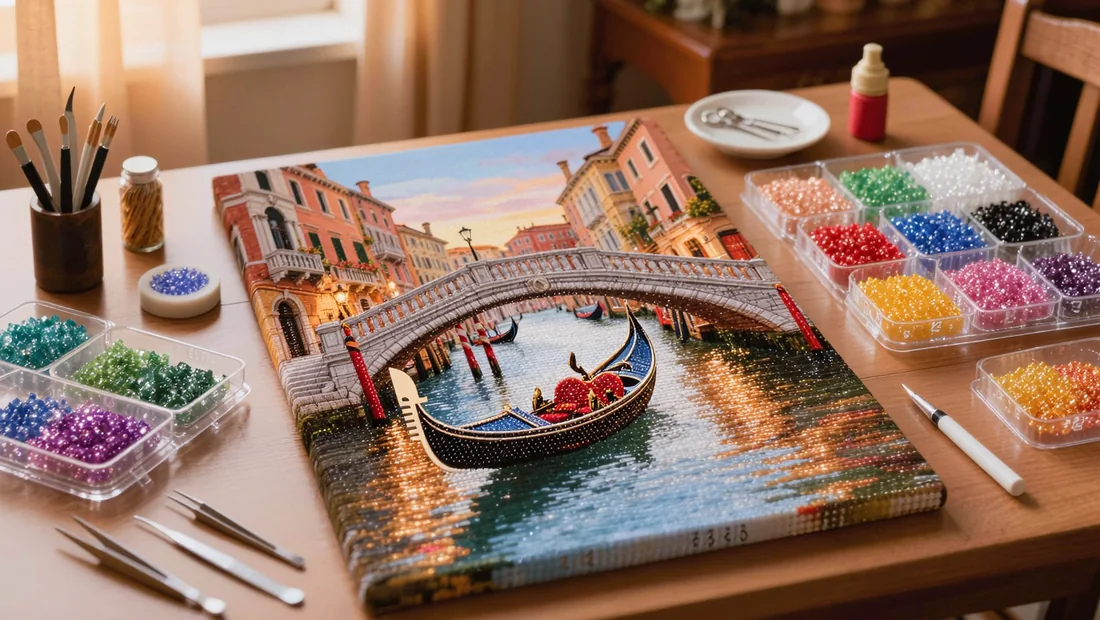
Laying diamonds on a gondola row by row: the method that prevents mistakes
Find the direction of the pattern
Place the canvas flat, then check the legend printed along the edge. Start with the sky and work towards the buildings, the gondola and finally the water. This direction follows how the scene is built and reduces rubbing on areas you have already filled.
Look for the horizontal lines of the sky, the outlines of the buildings and the shape of the boat. They will act as guides to keep your rows even, especially in areas where the colours change quickly.
Release a 2 to 4 inch (5 to 10 cm) strip
Lift only a small section of the protective film, about 2 to 4 inches (5 to 10 cm) wide. Keep the rest covered so the adhesive stays clean and your hand does not catch on it while you work.
Work from top to bottom, with the released edge facing you. A non-slip work mat and the essential diamond painting accessories keep the canvas steady and make the repetitive movements easier.
Place one colour at a time
Pour a small amount of diamonds into the tray, grooves facing up. Pick a symbol, then fill the whole visible area of the strip before moving on to the next colour. This way you avoid missing any in the sky gradients and the water reflections.
For a large, even area, work in short rows. Gently tap the tray to line up the pieces, then use the stylus without pressing hard.
Check your rows
After each strip, look at the canvas at eye level. The diamonds should form parallel rows, particularly along the buildings, the edge of the gondola and the reflection lines.
If a row shifts, correct it before carrying on. A flexible ruler laid against several pieces lets you gently realign a small group without crushing the adhesive.
Remove misplaced pieces
Slide the tip of the tweezers under the diamond in question, then lift it straight up. Avoid scraping or twisting the tweezers on the canvas, as this can mark the adhesive.
Replace it with a new piece or the one you removed once you have checked its symbol. Then close the protective film and carry on with the next strip, right through to the last water reflections.
How long does it take to finish a gondola diamond art kit and how to keep momentum
For a 30 × 40 cm (12 × 16 in) canvas, plan for a few evenings if you work steadily in 30 to 45 minute sessions. Timing varies with pattern density, diamond size and your placing speed. A large Venetian scene often takes several weeks: detailed facades and water reflections naturally slow progress, especially when the shades are similar.
Mentally divide the canvas into easy-to-spot zones: sky, facades, water, gondola and borders. Start with a clearly defined area, then tick it off on a photocopy of the chart or a sheet placed next to your work. That way you can see how far you have come, even after a short session. For large water areas, work in strips a few centimetres (about an inch) wide to keep the symbols under control and avoid the feeling of an endless task.
A short session is still productive if you give it a specific goal: finish a row, fill a 5 cm (2 in) square or place one colour up to the next divider. As soon as your eyes tire or the diamonds shift, stop for a few minutes. At the end, tip the leftovers back into their labelled boxes or bags, close the tray and put the pen back in your diamond painting accessories pouch. That way you can pick up again without having to set everything up from scratch.
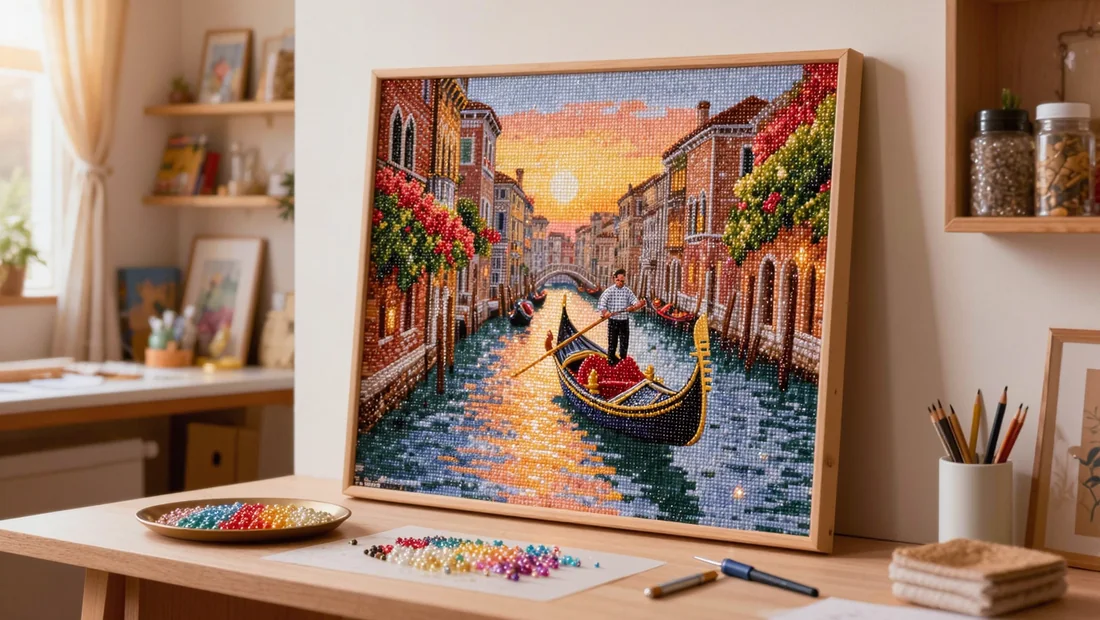
Customise a gondola diamond art kit: holiday photo or Venice keepsake
A gondola photo can become a heartfelt piece of custom diamond art if the scene stays clear at first glance. Pick an original, sharp file taken in daylight, with the gondola large enough in the frame. The canal, the buildings or the reflections should take up enough space to form distinct areas. A shot framed too far away quickly turns small details into patches of colour.
Rule out very dark shots, night photos, heavily enlarged images or ones that are already blurry. The drills reproduce the shades set by the image, but they cannot recreate details that are not in the photo. Check too that the gondola does not blend into the water or the walls. A slightly contrasty image, with a clear horizon line and a few well-separated colours, will give you a custom canvas that is easier to read.
When you place your order, state the size you want, the orientation and the framing you have in mind: landscape for a wide canal scene, portrait for a gondola seen up close. Also give the approximate number of colours. A smaller palette often makes the project simpler to complete, while a higher number captures the buildings, shadows and reflections better. This piece suits a holiday keepsake, a gift for a couple or living room decor. For a balanced result, add a short note about the element to prioritise: the gondola, the bridge or the reflection in the water.
Finishing touches: protecting, framing and displaying your gondola diamond art kit
Once the final row is in place, take a few minutes for the finishing touches to keep your gondola scene crisp, shiny and taut.
- Wait about ten minutes, then run a clean, dry palm over the canvas from the centre out to the edges to press down any diamonds that sit slightly proud.
- For more even pressure, use a soft roller covered with a fine cloth and make one light pass, without pressing on the raised areas.
- Check each section in raking light and compare the symbols with the legend, as a missing diamond is easier to spot before you put your supplies away.
- Add any missed pieces with your stylus, then store the remaining bags in a small box labelled with the colour reference.
- To frame the canvas, choose a frame deep enough that the glass never touches the diamonds, even when the frame is closed.
- Alternatively, mount the piece on a stretcher frame or rigid board, gradually tensioning the sides and stapling at the back.
- Clean the surface with a very soft brush or a dry, lint-free cloth, avoiding any liquid product that could reach the adhesive.
- Place your diamond landscape away from a window in direct sunlight, as strong rays can dull the resin and fade the print over time.
- Also avoid very damp rooms and hang the frame on a stable wall, using a fixing suited to its weight.
Our picks
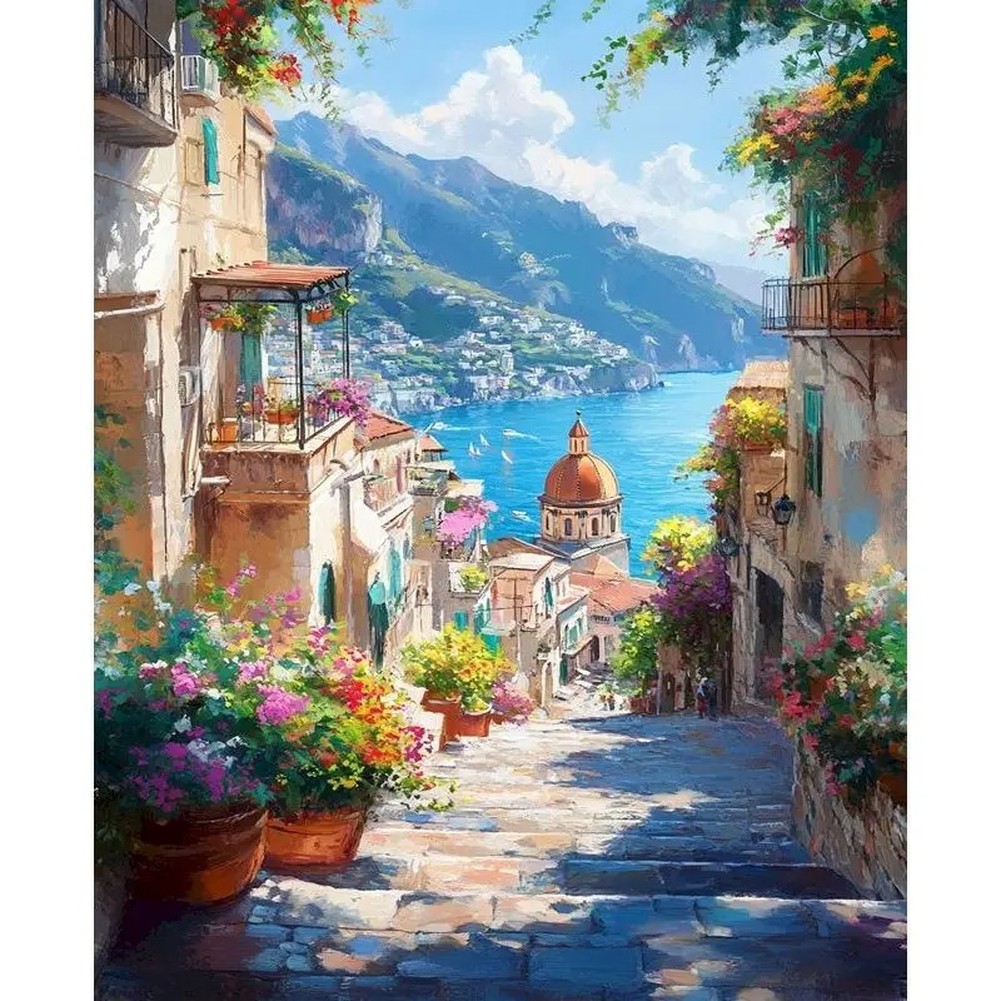
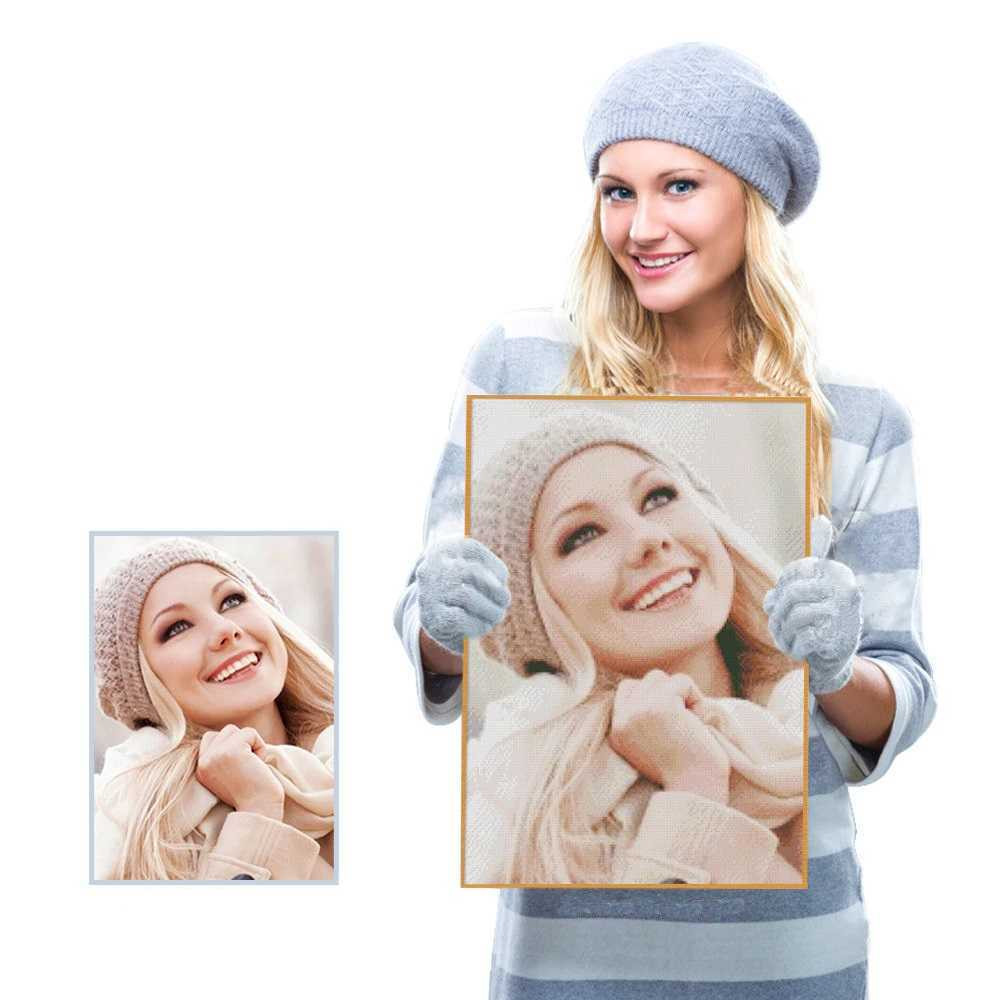
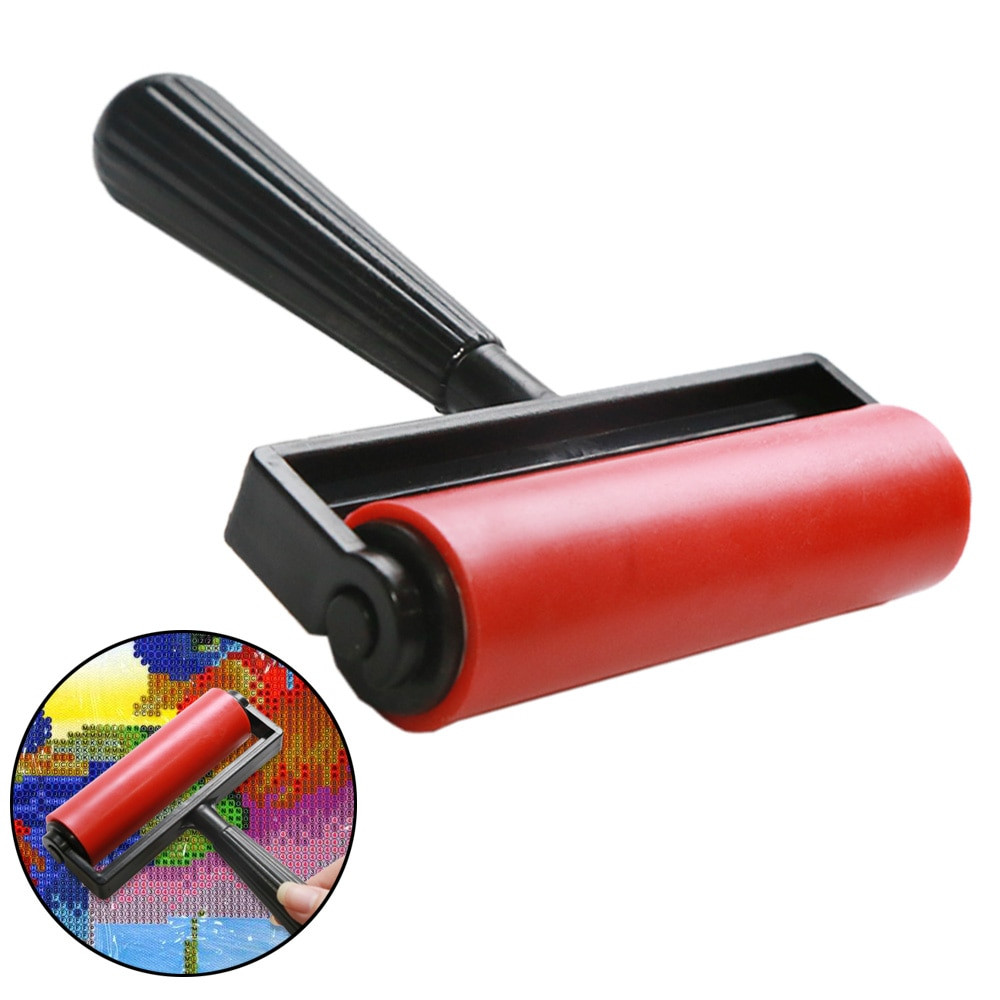
Ready to place your first gondola?
Browse our landscape canvases and find the Venetian scene that speaks to you, or have your Venice photo turned into a custom canvas. Free tracked delivery and money-back guarantee.
View Landscape Diamond Painting KitsFrequently asked questions
What size canvas should I choose for a first gondola diamond art kit?
For your first gondola diamond art kit, go for a 30 x 40 cm (12 x 16 in) canvas. It gives you enough room to make the boat, the buildings and the reflections clearly readable, while keeping the number of shades manageable. If you work section by section, you can usually finish it over a few evenings without it becoming a chore.
How long does it take to finish a gondola canvas?
Expect a few evenings for a small canvas and several weeks for a large, detailed scene. Work in sessions of 30 to 45 minutes, then put the protective film back over the glue. Your pace depends mainly on how quickly you place the drills, how many colours there are and how much precision the water reflections demand.
How can I keep the reflections in the water from looking blurry?
Choose a fairly large canvas and a design with strong contrast, especially between the water, the gondola and the buildings. As you work, go row by row with one colour at a time. Keep each bag separate and check the symbols under good light before pressing the diamonds down.
Can I customise a canvas with my own gondola photo?
Yes, a personal photo can be turned into a custom canvas if it is sharp, bright and well framed. Pick an image where the gondola takes up enough of the frame, with clear outlines. Dark shots, ones taken from far away or slightly blurry ones often produce less precise areas of water and sky.
Do I need a frame to display a finished gondola canvas?
A stretched canvas backing is enough, as is a frame without glass that is deep enough not to press on the diamonds. Before framing, gently flatten the surface with a clean roller and check that the pieces are firmly stuck. Then place the piece out of direct sunlight, which can fade the colours and dull the sparkle.
Related posts
 Halloween Diamond Painting Kits: Spooky Ideas for Your Home
 Cat Diamond Painting Kit: Bring Your Feline to Life in Sparkling Detail
 Peacock Diamond Painting: How to Choose and Complete Your Canvas
 Star Wars Diamond Painting Kits: Canvases and Tips
 Pokemon Diamond Painting: How to Choose, Start and Finish Strong