


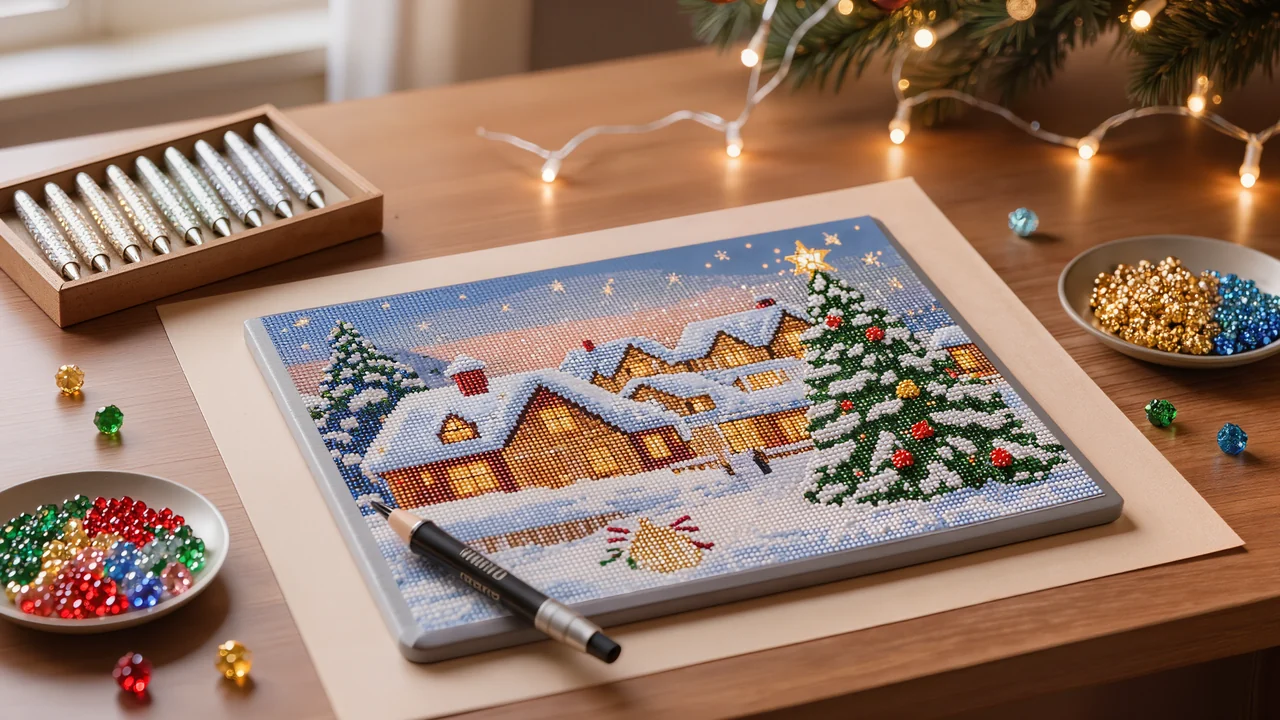
Christmas Diamond Painting Kits: How to Choose and Complete Your Canvas
To choose a Christmas diamond painting kit, start by comparing the design, the canvas size and when you plan to finish it. A simple design with less detail comes together faster; also measure your display space and plan a few short sessions so you are not rushing before 24 December.
Beginners will find practical guidance here to estimate the time needed and organise their workspace. Placing the diamonds accurately calls for good lighting and a suitable pair of tweezers. Once the canvas is finished, all that is left is to protect and display it. The available designs suit different skill levels and different interiors, depending on the pleasure you want to give.
In short
- A successful Christmas design combines a dark area (sky, night, interior) with light touches that sparkle under fairy lights.
- Allow about an hour per 4 x 4 inches of canvas: a 12 x 16 inch canvas is finished in a few evenings.
- Always stretch the canvas on a rigid backing and work in 4 inch sections so you don't lift neighbouring diamonds.
- A custom kit with your family photo or your decorated home makes a unique Christmas gift.
Which Christmas diamond painting kit should you choose?
To choose a Christmas diamond painting kit, start with the look you want in your room: night scenes, lit-up villages and cosy interiors with a glowing tree really bring out the sparkle under string lights. A deep blue, slate grey or black background creates lovely depth around the bright dots. Snowy landscapes also work well when the moon, windows and decorations provide shiny areas. You can browse landscape diamond painting designs or go for a northern lights piece, whose gradients suit Christmas contrasts nicely.
If you're a beginner, pick an image with large, easy-to-recognise shapes: a clearly drawn tree, a lit-up house or a few animals in the snow. Patterns packed with tiny figures, branches and ornaments mean more colour changes and slower placement. A 30 x 40 cm (12 x 16 in) canvas is a good balance for a first project. It gives you a complete scene without too many detailed areas. For a picture you plan to keep up for several holidays, go for 40 x 50 cm (16 x 20 in) or larger. Lights, windows and ornaments will then have enough room to stay crisp.
Your choice of diamonds also changes the final look. Round diamonds give a soft, slightly dotted surface and are quick to place, since their alignment needs less precision. They suit a relaxed project or a Christmas diamond painting gift prepared in a short time. Square diamonds fill the canvas more fully and create a more even mosaic effect, especially when viewed up close. They do require straight rows, though: use a multi-placer and check alignment after each small section. For a northern lights design, squares highlight the gradients beautifully, while rounds soften the glowing halos.
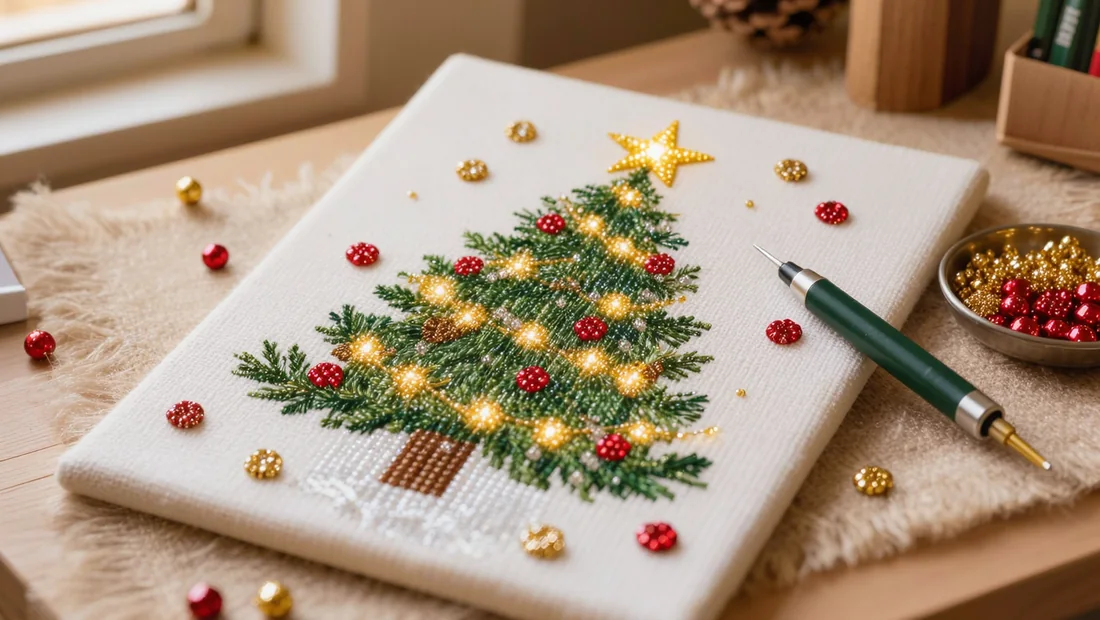
How long does it take to finish a canvas before Christmas Eve?
-
Estimate the time you need
Allow roughly one hour for every 4 × 4 inch (10 × 10 cm) section. A 12 × 16 inch (30 × 40 cm) canvas therefore usually takes 8 to 12 hours, depending on the level of detail and your own pace.
Add a little extra time for sorting the bags and tidying up a few placements. That way you won't be rushing to frame it on Christmas Eve.
-
Start on the right date
For a medium canvas, begin in early December and set aside several regular sessions. A large canvas is better started in mid-November, especially if you plan to give it as a gift on Christmas Eve.
Mark your available sessions on the calendar, then spread the work out without filling every evening. Two slots a week already give you a useful buffer if something comes up.
-
Work in short sessions
Sit down for 45 minutes to an hour, with soft light positioned to the side of the canvas. Keep your back supported and place your bags in stable little dishes to cut down on handling.
Set up your space with the essential diamond painting accessories before you start. A clear table saves you time every time you pick it back up.
-
Place the dark areas first
Begin with the trees and the night-time sections. These solid blocks quickly give the image structure and make it easier to spot the neighbouring symbols.
Finish with the snow and the bright lights. Their diamonds catch the glow of the fairy lights more, and placing them last reduces rubbing as you work.
The supplies to set out on your crafting table
Set up your space before you open the packets: a clear table and neatly arranged tools make every session more enjoyable and prevent interruptions when you pick your canvas back up.
- Lay the canvas flat on a level surface, then check that the protective film stays in place over the areas you are not working on yet.
- Keep the applicator pen, a pair of tweezers, a tray and spare wax within reach; the tweezers are especially handy for fixing a diamond that has landed in the wrong spot or picking up a single stray piece.
- Pour only a small amount of diamonds into the tray, shake it gently so the facets face upwards, then tip the remaining pieces back into their container.
- Put each colour into a small pot or a numbered bag, copying the exact symbol shown on the canvas legend so you do not mix up similar shades.
- Add a desk lamp angled towards your hands, especially if you craft in the evening; steady light makes the symbols easier to read and helps you spot any gaps you have missed.
- Slide a rigid mat under the canvas to protect the table from scuffs, stray beads and wax marks, then leave one edge free for the tray.
- Store opened bags in a compartment box and note the colours you have already used on a small card; that way you can pick your project back up without emptying out all your diamond painting supplies.
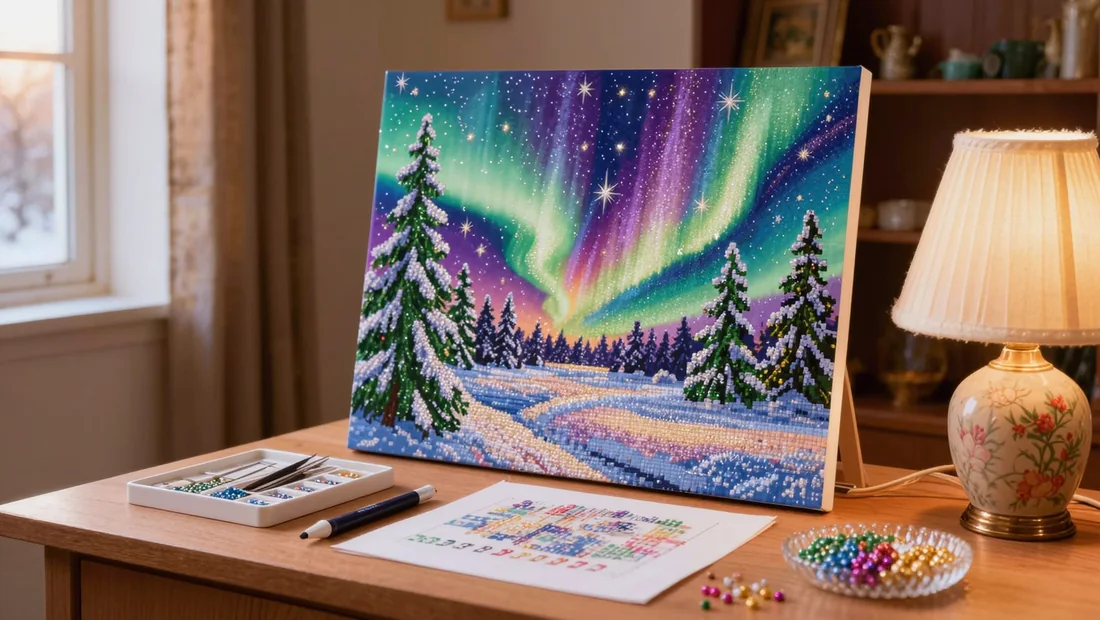
Nailing the diamond placement: precise moves
Set up your space
Lay the canvas flat on a clean table, with the legend and the bags of diamonds within reach. A lamp placed above or slightly to the side will help you make out the symbols, especially in the darker areas of a Christmas diamond painting kit.
Keep a small dish or tray for the diamonds you are working with. To complete your kit, you will find essential diamond painting accessories, such as pens, trays and fixing rollers.
Peel back one strip
Remove only about 4 inches (10 cm) of the protective film. Start at the top edge of the canvas, then work your way down. This keeps the glue clean and stops dust or your sleeve from catching on the sticky surface.
If the film folds back on itself, hold it down with a small piece of low-tack tape, without sticking it to the active area. Finish one full strip before lifting the next section of film.
Load the pen
Press the tip of the pen gently into the wax, just enough to fill the end. Pick up a single diamond by its flat side, then check that the coloured facet is facing up.
If wax spills around the tip, remove the excess with a toothpick. An overloaded tip can pick up two diamonds at once or leave a small mark on the canvas.
Place without forcing
Set the diamond on the matching symbol, placing it down first and then releasing the pen. Press lightly with the tip or a clean finger, without crushing the resin. Square diamonds sit edge to edge, while round ones leave small, even gaps.
Work in small sections, from left to right or top to bottom. Keeping to one direction limits missed spots and makes it easier to see which squares are already filled.
Check every 2 inches
After about 2 inches (5 cm) of placement, look at the rows from a low angle. A row that has drifted out of line is often easier to spot by its shine than by its colour. Fix it straight away with the tip of the pen or a pair of fine tweezers.
Also check the neighbouring symbols before carrying on. An error corrected early stops the whole row shifting all the way to the edge of the canvas.
Press the surface
Once the strip is finished, run a clean roller gently over the diamonds. If you do not have one, use the rounded back of a spoon with light, steady pressure. Work from the centre outwards to improve the bond without moving the pieces.
Framing, gifting or hanging your Christmas diamond painting
Once the canvas is finished, leave it to lie flat for a few hours, then check that every diamond is firmly in place. For framing, choose a slightly deep frame or add a small spacer between the canvas and the backing. The glass should never press against the resin reliefs: it could dull the facets or loosen some of the pieces. A simple frame in light wood, white or gold easily complements festive decor without distracting from the design.
To hang it, place your piece in a room where it will be visible at eye level. A warm white string of lights nearby brings out the reflections, especially on the white, gold and red areas. However, leave a few centimetres (inches) between the bulbs and the canvas, and opt for a low-heat string light. A quick wipe with a soft cloth on the frame is enough before guests arrive; avoid rubbing the diamonds directly.
Your creation can also become a personalised gift from a photo. A decorated house, a family gathering or a winter memory takes on a warm new dimension as a canvas. To give it as a gift, wrap it in tissue paper, then place it in a rigid box slightly larger than the frame. Add a ribbon around the packaging, without pulling tight on the surface. If the canvas remains unframed, roll it gently, design facing outwards, around a clean tube, then protect it with the tissue paper.
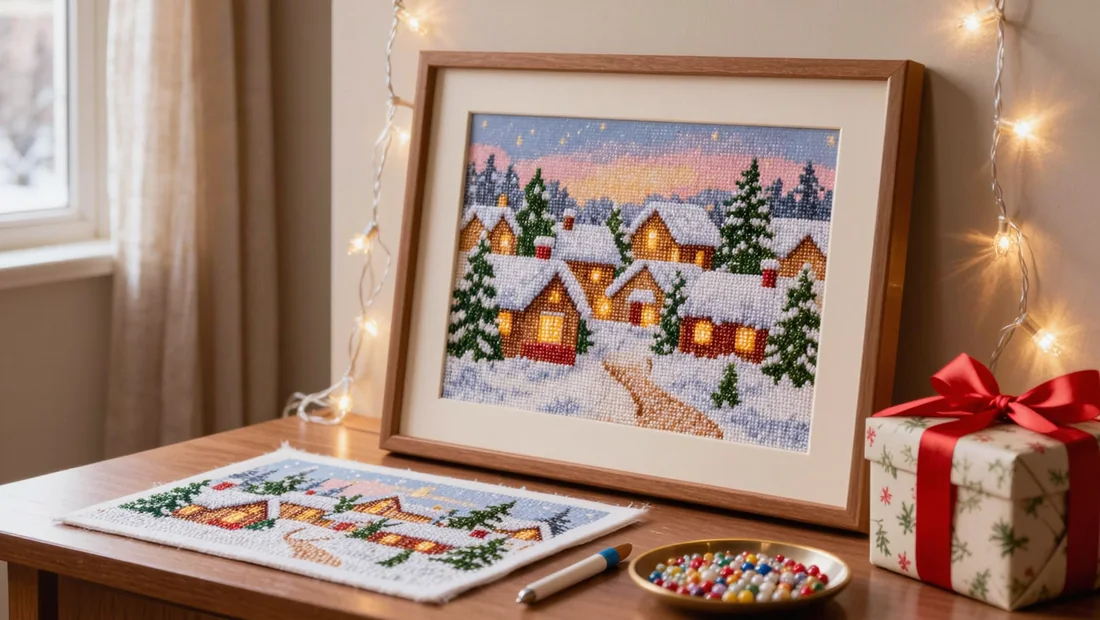
Christmas diamond painting kits: designs that really work
The right design mostly comes down to the mood you want and who will enjoy the canvas over the holidays.
- A snow-covered village, with its glowing lanes and golden windows, creates a cosy scene that fits easily into a living room. The small touches of yellow, white and red catch the light from fairy lights beautifully.
- A snowy forest suits anyone who loves calm landscapes and natural detail. For a more magical look, pair the fir trees, blue-tinted snow and a sky streaked with the northern lights, as in this northern lights design. A canvas with a large area of sky lets the sparkling diamonds stand out more.
- Reindeer, bears and rabbits appeal to people who like gentle, comforting scenes. An animal placed in the foreground often reads clearly, even on a modest size. For a gift for a child or a family, a Bear Diamond Painting Kits brings a tender presence without overcrowding the decorations.
- Spiritual and religious scenes sit well with a traditional Christmas. A nativity, a star or a Nativity scene conveys a peaceful atmosphere, particularly suited to a canvas given to parents or grandparents. Go for a dark background if you want to bring out the glowing halos around the figures.
Our picks
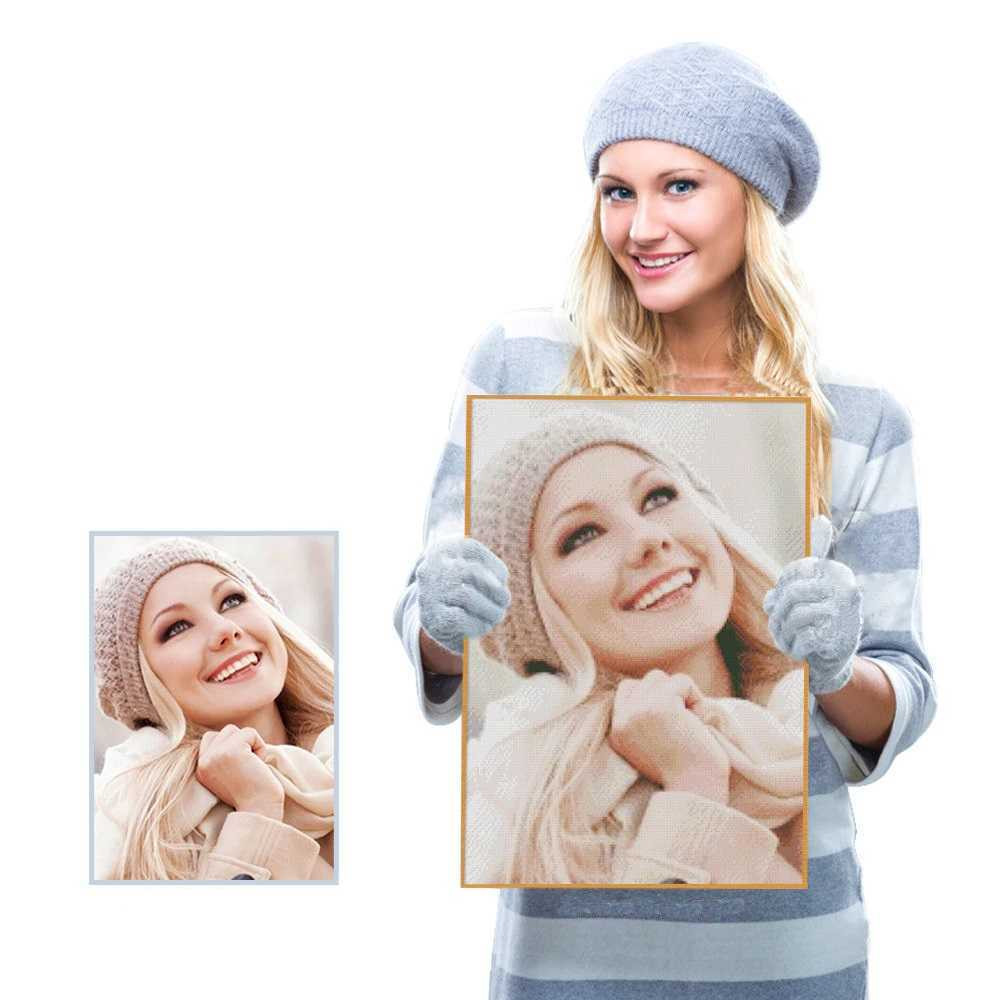
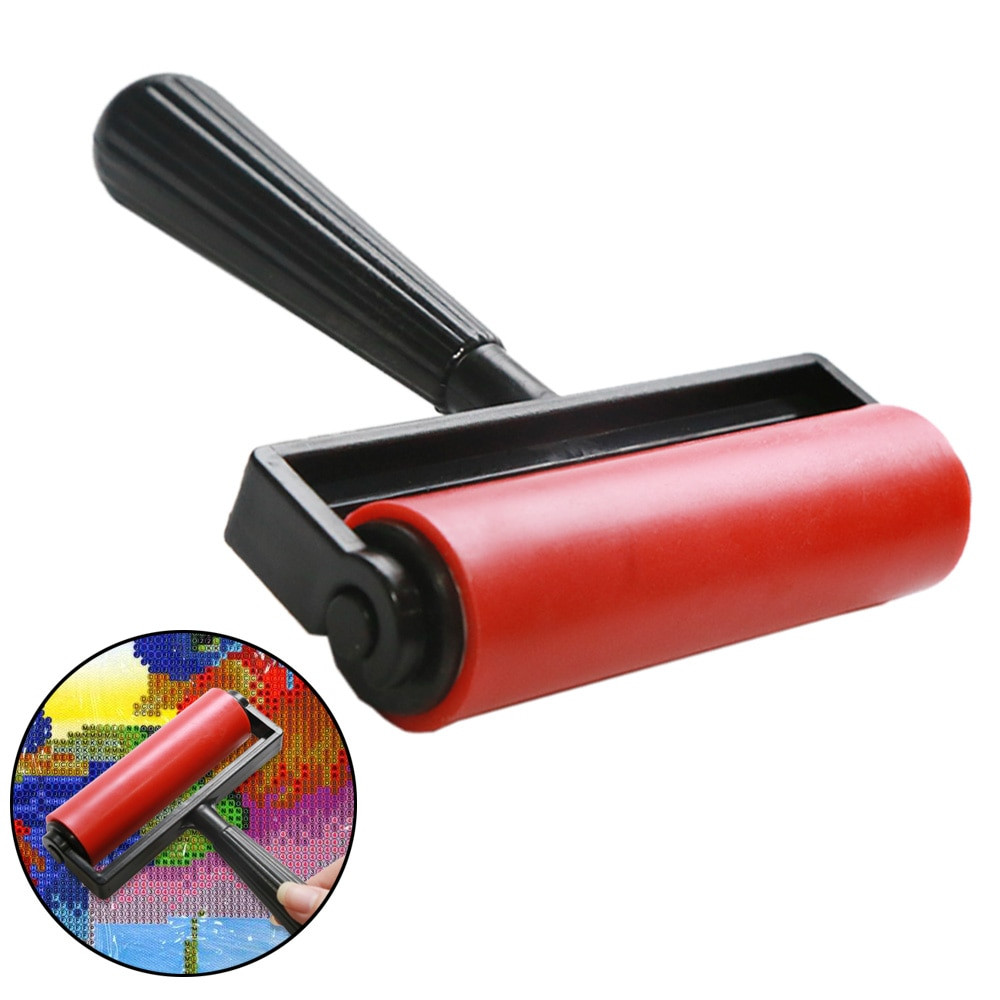
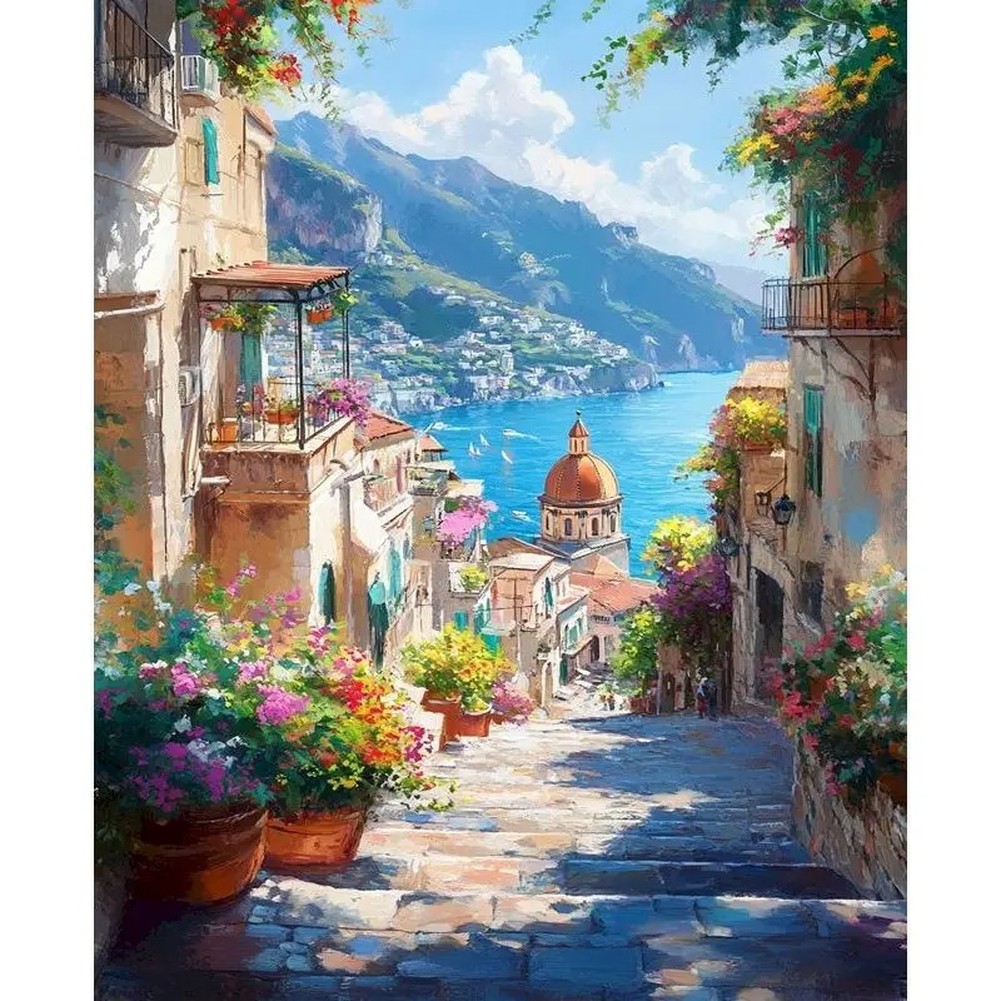
To keep your lines crisp, mount the canvas on a rigid backing first, then peel back only a small section of the protective film, around 4 inches (10 cm). Place the diamonds from the edge towards the centre and gently flatten with a roller after each session. Allow roughly an hour for every 4 x 4 inches (10 x 10 cm): a 12 x 16 inch (30 x 40 cm) canvas comes together nicely over a few evenings. If you want to give a one-of-a-kind piece, take a look at our Custom Diamond Painting Kits.
Ready to make your Christmas sparkle?
Choose your festive canvas or create a custom kit with your favourite photo. Free tracked delivery and money-back guarantee.
View Custom Diamond Painting KitsFrequently asked questions
What size Christmas diamond painting kit should a beginner choose?
For a first project, pick a 30 x 40 cm (12 x 16 in) canvas: it has enough detail to make a lovely festive scene while still being doable over a few evenings. Set it up on a well-lit table and work in 10 x 10 cm (4 x 4 in) sections. A smaller canvas suits very simple designs, while a large one calls for more patience.
How long does it take to finish a Christmas canvas?
Allow about an hour for every 10 x 10 cm (4 x 4 in) section, so roughly 8 to 12 hours for a medium-sized Christmas canvas. The time varies with your pace, how dense the design is and the shape of the drills. To keep it enjoyable, plan sessions of 30 to 45 minutes and seal the canvas carefully between uses.
Round or square drills for a Christmas design?
Round drills are ideal for your first Christmas designs: they go down quickly and give a soft finish, with small gaps visible between them. Squares need more precision but create a smoother surface, closer to a mosaic. Use a pen with a single tip for rounds and check the alignment of squares with a flat ruler.
Can you personalise a diamond painting with a Christmas photo?
Yes, you can order a custom kit from a family photo, a Christmas tree or a decorated house. Choose a sharp, well-lit image with a clearly visible subject. Avoid very dark photos and busy backgrounds. Before buying, check the preview the maker provides, especially the framing and the number of colours.
How should you hang a finished Christmas canvas?
Let the canvas rest under a heavy book for a few hours, then mount it in a simple frame, without glass resting directly on the drills. A slim border shows off the design without overwhelming it. Hang it near warm light, away from a very sunny window and a radiator: the facets will sparkle without exposing the adhesive to too much heat.
Related posts
 Halloween Diamond Painting Kits: Spooky Ideas for Your Home
 Cat Diamond Painting Kit: Bring Your Feline to Life in Sparkling Detail
 Peacock Diamond Painting: How to Choose and Complete Your Canvas
 Star Wars Diamond Painting Kits: Canvases and Tips
 Pokemon Diamond Painting: How to Choose, Start and Finish Strong