


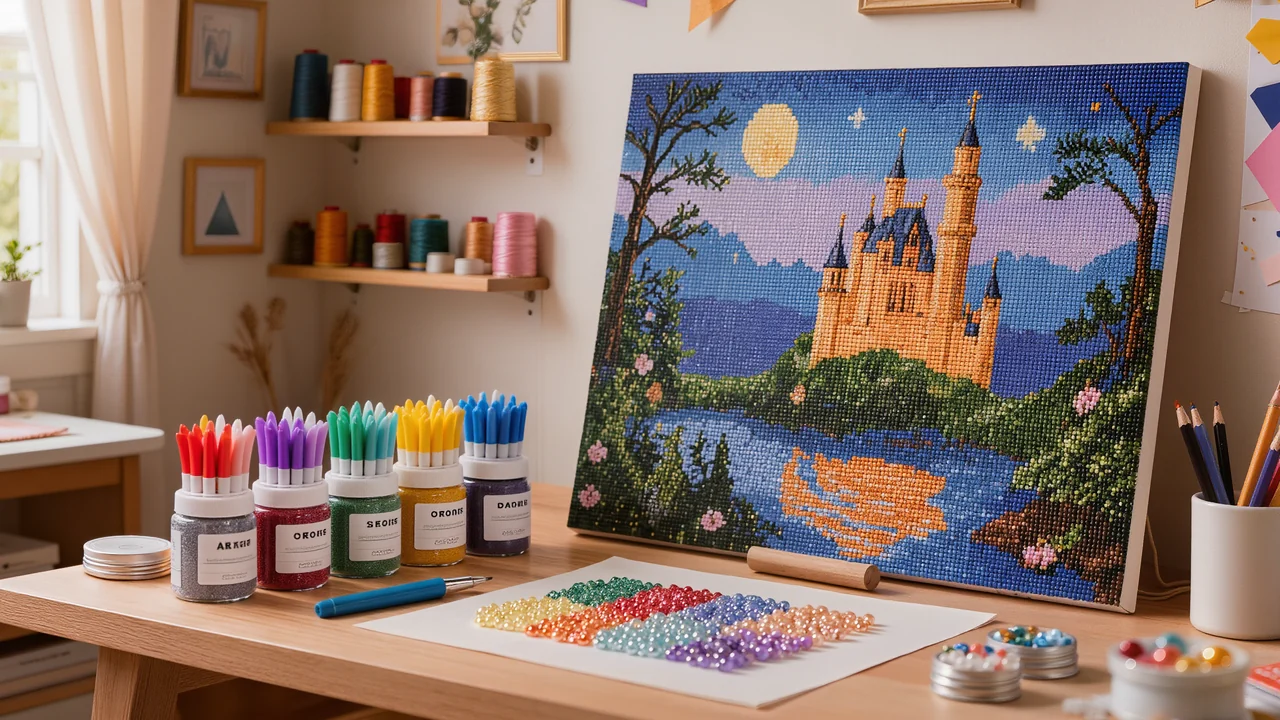
Diamond Painting Storage Ideas: 6 Workshop Tips
Effective diamond painting storage ideas start with labelled containers marked with the DMC code, a clear workspace and a canvas kept flat and protected. Begin by gathering the packets together, check every reference, then move the beads into compartment boxes or sealed vials; keep the colours you are working with on a dedicated tray.
These tips are for beginners and keen hobbyists alike, whether your projects fit in a single box or already take up a shelf. You will know where to find a colour without tipping out every packet, how to avoid mixing, dust and damp, and which solution to choose for a canvas you have already started. A legible label, a clean lid and a wide enough roller keep your supplies in good order between sessions.
In short
- Sort by colour code first, store second: doing it the other way round costs hours.
- Good storage is judged by the time saved each session, not by the number of boxes.
- Drills hate dust, direct light and damp: protect them even when stored.
- A started canvas goes flat or rolled with the sticky side facing in, never folded.
How to store a diamond painting: the 3-step method
To store a diamond painting without wasting time, adopt a simple routine right from opening the kit: sort the packets, label each container, then separate the canvas in progress from the spare drills.
Sort the packets by code
Lay the packets out on a clear table and group them by their DMC code, written on the packet label or in the chart legend. Work in small piles so you can quickly spot a packet that has ended up in the wrong place. For a large canvas, allow around 15 to 20 minutes to do this first sort carefully.
Rely on the code rather than the visible colour. Two similar shades can look identical under a lamp and stand out clearly once placed on the canvas. The code remains the stable reference, even when the light in your workspace changes.
Label each container
Transfer the packets into screw-top jars, small compartments or resealable bags. Stick a clear label on each container with the DMC code and the symbol used in the chart legend. Add the box number if your grid has one: this detail speeds up finding the right drill during a session.
Write with a fine permanent marker or print sticky labels. Leave a margin around the text to stop it rubbing off with handling. Essential diamond painting accessories can bring together the containers, labels and tools you need for sorting.
Keep the canvas separate from your spares
Place the started canvas in a rigid folder or on a flat surface, with its protective film put back in place. Keep the diamonds for upcoming areas in a separate box, closed between sessions. This separation limits mix-ups and lets you quickly find the area to continue.
Set aside a fixed spot for each project. A label with the design name or number is enough to identify the matching folder and box. You can then pick up your work again without moving your whole stash.
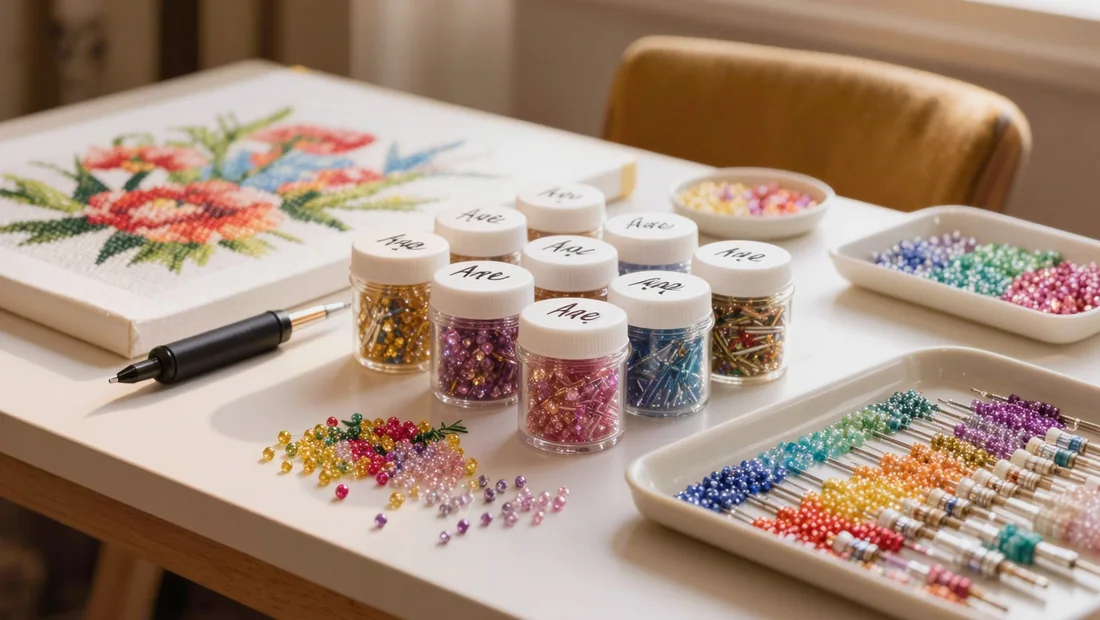
How to Store Diamond Painting Beads Without Mixing Them Up
To get your diamond painting storage ideas right, give every colour a fixed home as soon as you open the kit, then stick to that system until the last bead.
- Use one container per colour code, even when two bags look identical to the naked eye, because a close shade can change how the filled area looks.
- Write the DMC code on a small sticky label or directly on the pot with a fine marker, keeping the number clearly visible when the containers are lined up in a box.
- For rare colours, carefully fold the original bag and slip it into the pot with the beads, so you keep the code, the diamond shape and any useful information until the project is finished.
- Before transferring, compare the number on the bag with the one on the canvas or symbol chart, then double-check the label after filling, as mistakes often happen when several bags are open at once.
- Set aside a small pot marked 'misc' for each project for the few beads left after a session, instead of creating one shared container that would mix colours from several canvases.
- Keep nearly empty bags in a separate pouch until the canvas is done, as they can help you identify a colour if a label peels off or two codes have been copied down wrongly.
- Check that every lid is secure before shaking a container: turn it upside down over a tray for a few seconds, then tighten the cap if a bead falls out.
- Place the labelled containers in a diamond embroidery accessories selection with the codes in ascending order, or by colour families if you work faster with that arrangement.
- When a pot holds more than one diamond shape, separate them straight away into two containers, even if their colour code is the same, because round and square beads are not applied in the same way.
Diamond painting storage ideas: the work tray that changes everything
Diamond painting storage ideas: the work tray that changes everything
Set up your workspace on a lipped tray that is wide enough to hold a small dish and a few vials without getting in the way of your hand. During a session, pour out only three or four colours, in small amounts. Place the containers in the order of the codes used on the canvas, then keep the matching bags just behind the tray. This layout cuts down on searching and reduces the risk of spilling several shades at once.
Get into a steady back-and-forth routine: pour the drills into the dish, pick them up with the pen, then return any leftover pieces to the correct vial as soon as you switch colours. Check the code printed on the label before each return. An empty dish goes straight back in its place, while a colour left out on the tray can easily mix with the next one. The essential diamond painting accessories complete this setup with dishes, vials and suitable tools.
Between sessions, close each vial and put it away, even if only a few drills are left. Leaving a colour loose on the canvas attracts dust, makes it harder to pick up the pattern again and increases the risk of confusion with a neighbouring shade. Before starting another project, empty the tray over a clean piece of paper, pick up any stray drills, then wipe the surface with a dry cloth. Run a clean finger into the corners too: that is often where small pieces linger and could contaminate the next sorting session.
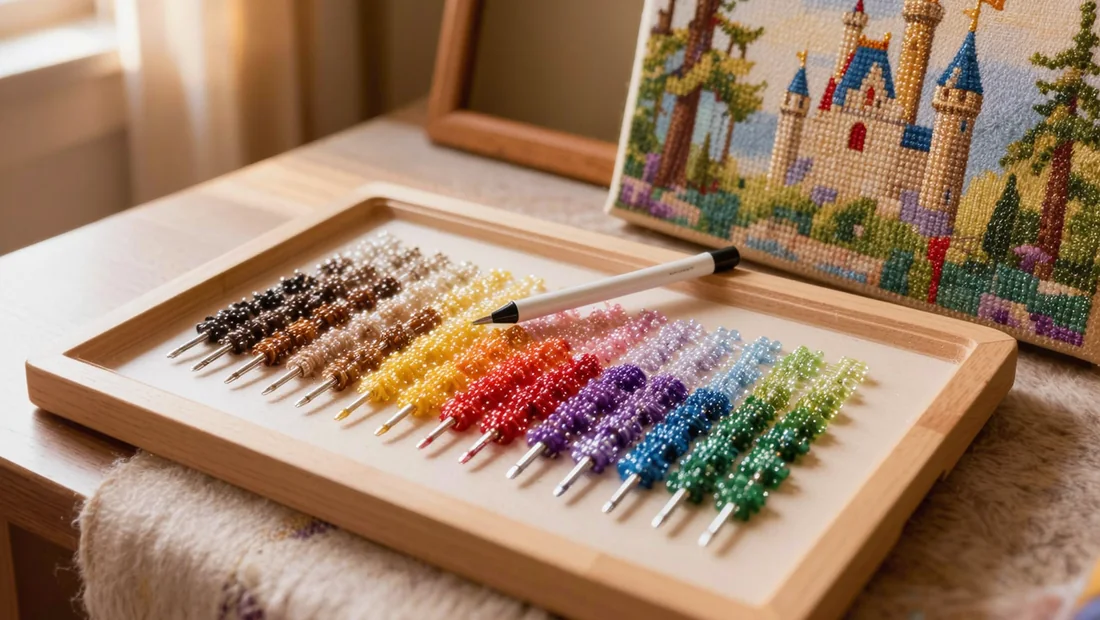
Protect diamonds from dust, light and moisture
To keep your resin drills shiny and easy to handle, protect them from dust, heat and changes in humidity as soon as you finish each session.
- Keep clear containers out of direct sunlight, as the rays and heat can gradually dull the colours, especially near a window.
- Choose a dry, stable room for storage, avoiding the basement, bathroom and windowsill where condensation changes quickly.
- Reseal every container or bag after use, even if you think you will pick your project back up in ten minutes, to stop fine dust settling on the facets.
- Keep containers upright in a closed box or case, with a clear label showing the colour code and drill shape.
- Do not fill containers to the brim and do not press them against each other, as tightly packed drills rub together, can get scratched and lose some of their sparkle.
- If you use desiccant packets, place them in the storage box without direct contact with the diamonds, then check the seals regularly.
- After a session, wipe the outside of the containers with a dry cloth before putting them away with your diamond painting essentials, especially if your hands were slightly sticky.
- Drills that stick together or look cloudy often signal storage that is too humid; transfer them to clean, dry, well-sealed containers before you carry on sorting.
Storing a work-in-progress canvas: flat, rolled, never folded
A started stretched canvas should be kept flat on a dedicated shelf, with the surface protected by its original film or a clean silicone paper. Place it between two rigid boards slightly larger than the canvas, without putting a heavy box on top. Leave a few centimetres (about an inch) around the edges to stop them catching on nearby items. This method is particularly good for canvases with an area already filled with diamonds, as it limits pressure on the rows and reduces small shifts.
For a flexible canvas, first cover all exposed adhesive with a clean protective film, free of creases and dust. Then roll it gently, sticky side inwards, around a wide tube or foam roller. Keep the diameter generous and do not tighten the roll with an elastic band: localised pressure can dislodge diamonds. Slide the canvas into a tube or rigid sleeve, away from windows, radiators and damp spots. If a large area is already done, flat storage is still preferable.
After a few weeks, ease back into your project. Unroll the canvas at room temperature, peel back the film on a small area and check that the glue still grips without leaving residue on your fingers. Check the edges, then gently tap the diamonds already placed to spot any that move. Remove dust with fine tweezers and replace the film if it is creased. For a custom diamond painting canvas, also note its reference and storage location on a removable label.
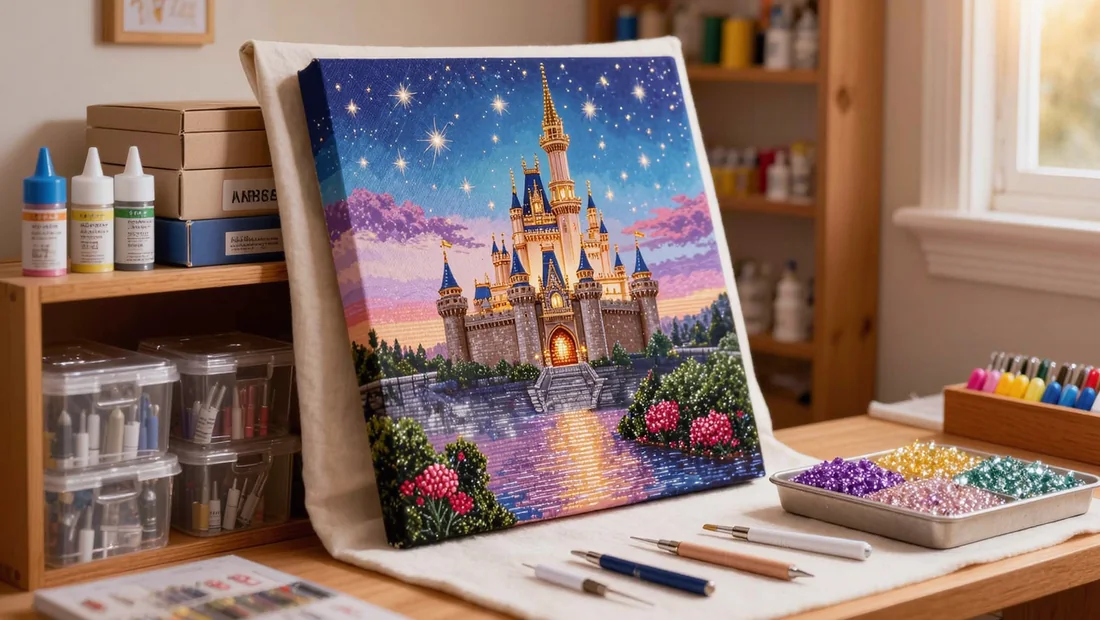
When your collection grows: keeping several projects organised at once
When several canvases are on the go at the same time, give each project its own space so the drills, canvas and tools stay together from start to finish.
- Set aside one container per project in progress, such as a compartment box or a rigid pouch, and keep the drill packets, the printed legend, the pen and any small accessories in it.
- Write the name of the canvas on top of the storage, along with its reference if it has one, so you can identify the right project at a glance without opening several boxes.
- Avoid pooling all the drills of one colour into a single general reserve: two packets carrying the same DMC code can belong to different canvases and make it harder to track quantities.
- Put unopened kits in a separate storage spot, away from direct light and moisture, and keep their canvas, legend and packets together until you start.
- For accessories used across several pieces, choose a small separate box and put each tool back after the session; that way your diamond painting essentials stay available without scattering the parts of a project.
- Once a season, spend about ten minutes on a quick inventory: check the canvases in progress, spot any opened packets and note the next project to pick up on a card placed in each container.
- If you are preparing a canvas from a personal photo, also write the file or image name on the box so you can easily find the details linked to your Custom Diamond Painting Kits.
Storage mistakes that damage your beads and canvases
A few everyday habits are enough to mix up your diamonds or mark a canvas; fix them from your next session onwards.
- Pouring all the beads into one big jar makes DMC codes hard to find and encourages mixing, so keep each colour in a small sealed container, labelled with its code and the symbol on the canvas.
- Leaving bags open in the box exposes the diamonds to dust and spills, so decant the leftovers into screw-top vials or well-clipped compartments after every session.
- Stacking started canvases on top of each other can mark the adhesive resin and shift diamonds already placed, whereas flat storage in a rigid sleeve protects the worked areas better.
- Keeping your supplies near a radiator, a sunny window or a damp room can warp the backing, soften the glue and fade the colours; choose a dry, temperature-stable spot away from direct light.
Our picks
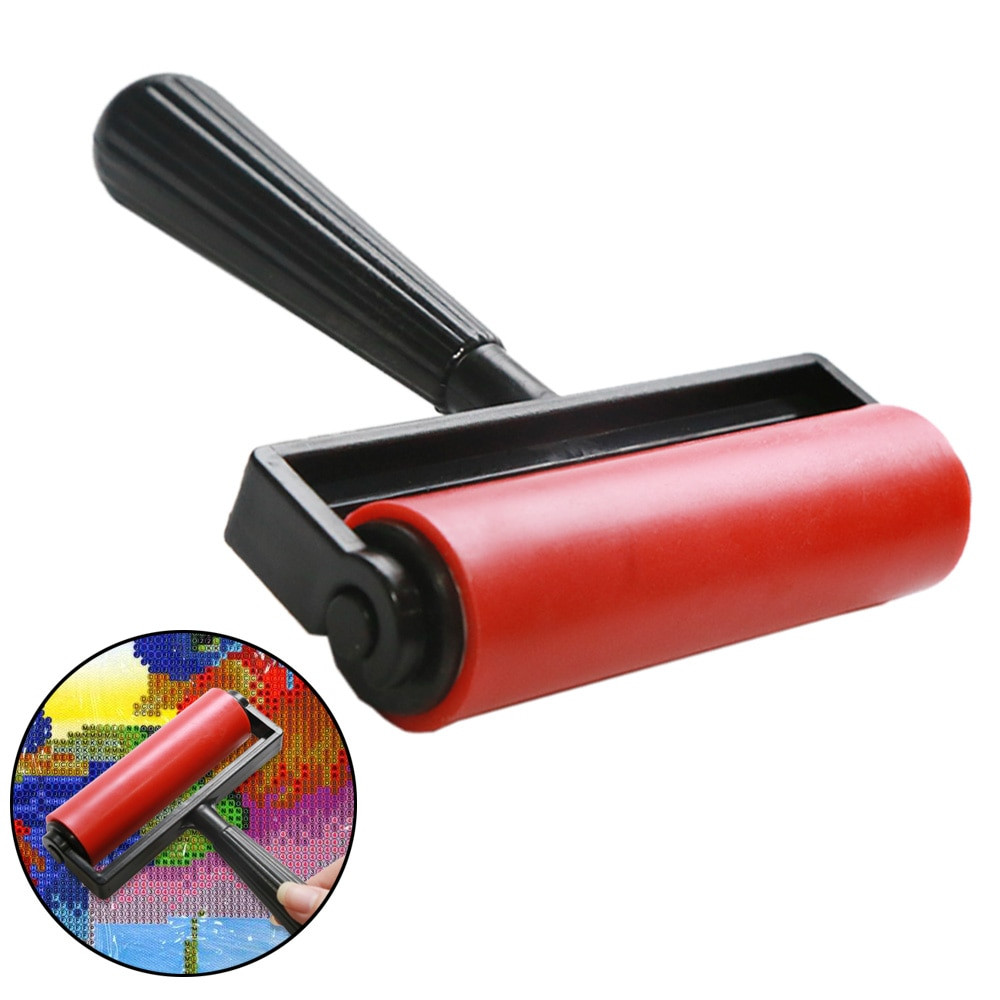
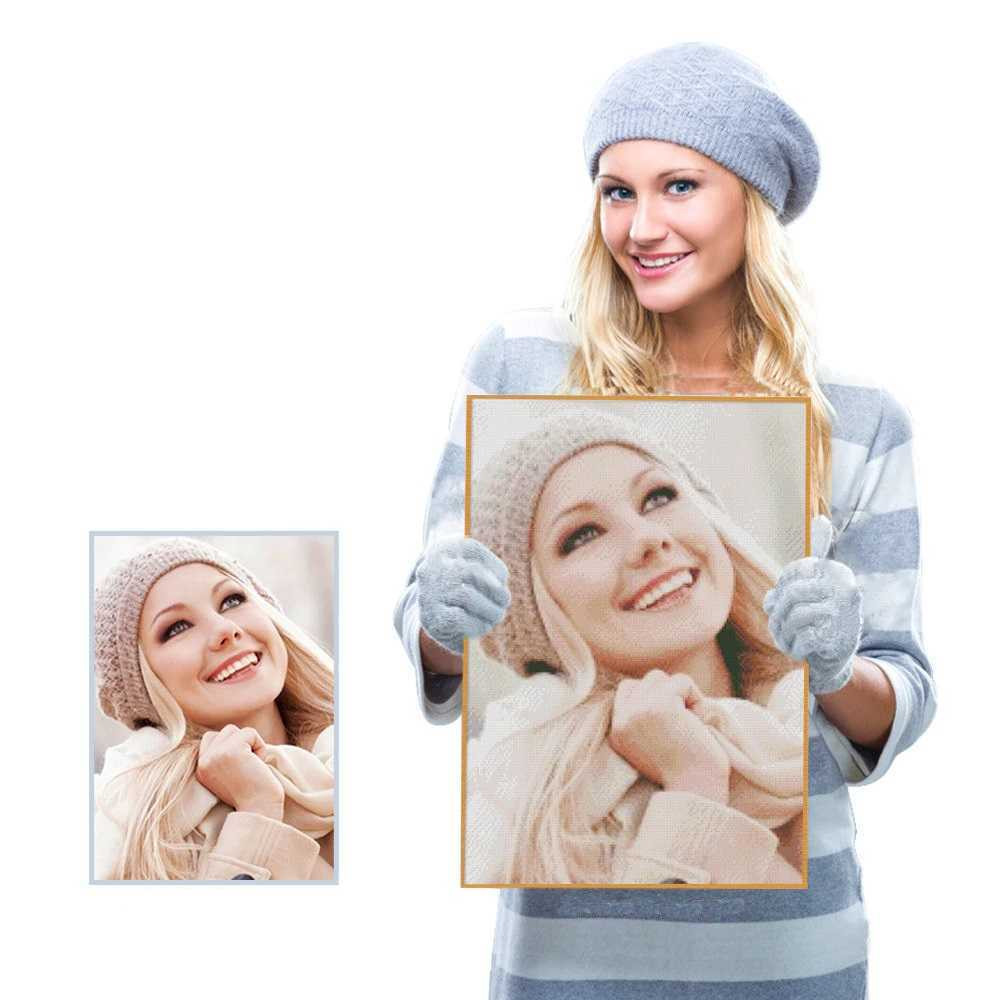
The most useful step is to sort your diamonds by colour code before choosing boxes: that way every storage option stays easy to read and you save time at your next session. Close the containers, keep them away from direct light and moisture, then store the canvas flat or rolled with the sticky side facing inwards. To complete your setup, take a look at the must-have diamond painting accessories.
A tidy workspace, longer sessions
Find your essential accessories and custom canvases to start a clean project, with free tracked delivery and a money-back guarantee.
View Diamond Painting Accessories & ToolsFrequently asked questions
How do I store diamond painting beads without losing the codes?
The safest approach is to use one small container per DMC code, then stick on a label showing the code and the symbol printed on the canvas. Keep the original bag inside for rare or visually similar references. Before closing it up, compare the label with the chart and note any change of box.
Should I sort diamonds by colour or by DMC code?
Sort your diamonds by DMC code, because two shades that look alike can belong to different references. The chart is read using a symbol linked to each code. A numbered compartment box therefore follows the key better than sorting by colour. Also keep any unused references in their original bag.
Can I leave a started canvas flat on a desk?
Yes, for a few hours or overnight, as long as the canvas stays protected from dust and direct sunlight. Lay its protective film or a sheet of silicone paper over the sticky areas. Once you are stopping for several days, store it flat in a box or roll it up gently.
How should I store a finished diamond painting?
Store the finished canvas flat between two rigid pieces of cardboard, with a clean sheet to prevent rubbing. If space is tight, roll it with the decorated side facing inwards, without pulling tight, around a wide tube. Keep it in a dry, dark place, away from a radiator, a window and changes in humidity.
How long can resin beads be kept in storage?
Resin beads can stay usable for several years when they are sealed in clean containers, away from direct light and moisture. Before using them, check their colour, shine and shape. Set aside any that are stuck together, dull, misshapen or covered in dust.
Related posts
 Butterfly Diamond Painting: Choose, Place, and Showcase Your Art
 Diamond Painting Stitch Guide: How to Choose the Right Kit
 How to Frame Diamond Painting: Choosing and Fitting the Right Frame
 Gondola Diamond Art Kit: How to Choose and Apply
 Christmas Diamond Painting Kits: How to Choose and Complete Your Canvas