


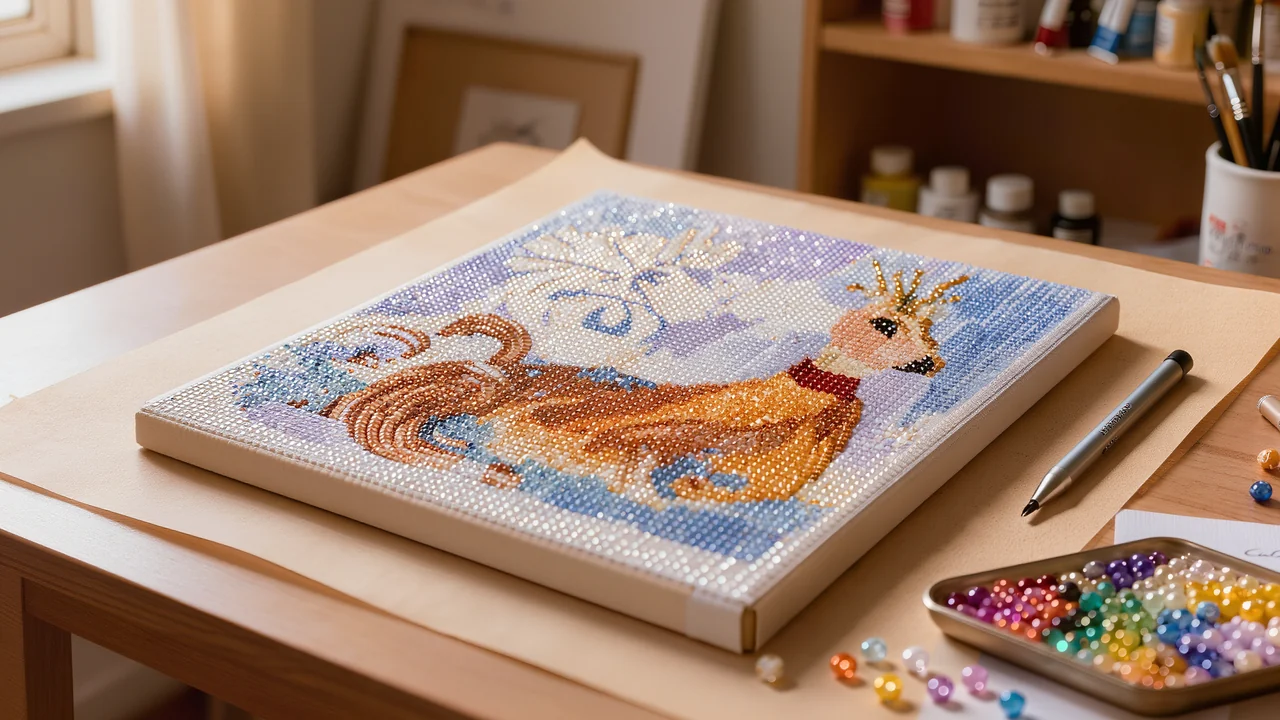
How to Align Diamond Painting: The Crisp Method
A half-diamond slip across three rows is enough to make a whole section ripple: how to align diamond painting is decided in the first rows, not at the end. Start by placing a horizontal guide line at the centre of the canvas, then work row by row from that line outwards, keeping an eye on the top edges to make sure they stay on the same line.
This guide is for beginners and for those used to round or square drills who want clean lines and a tidy fix for a section that has gone askew. You will find practical steps, how to choose drill shapes for the finish you want, and the small tools that genuinely help you stay on track.
In short
- Alignment doesn't come from a steady hand but from reading the printed grid: you follow the canvas markers, not your eye.
- Round and square drills don't align the same way: rounds sit in the gaps, squares sit on the cell edges.
- Three techniques are enough (checkerboard, row by row, block by block) and you pick them based on the size of the area and the colour.
- A misaligned section can be fixed without undoing everything, with a correction tool and a bit of patience.
How to align diamond painting: the one-minute answer
When you learn how to align diamond painting, you don't trust your eye or the diamond you've already placed: you trust the printed grid under the protective film. Every little square and every symbol on the canvas marks the exact spot for a drill. Your job is to drop the resin into that square, not beside it. When a row starts to wobble, it's almost always because a diamond was placed by lining it up with its neighbour instead of the line below.
The difference between round and square comes down to one sentence. A round drill has a circular facet that sits in the gap between four squares, with a bit of natural play. A square drill, on the other hand, has to border all four sides of its square: the slightest shift is obvious because the edges touch. That's why a badly placed square drill stands out, while a round one is more forgiving.
The move that changes everything takes a few seconds. Before placing the first diamond of a row, look at the printed line running through it, then set the drill centred on that line, not on the previous drill. Do this check only on the first diamond of each row: the rest follows naturally. Allow two to three seconds per drill at first, then your hand finds the rhythm and you drop to one second. That visual reference, the line below, stays your only judge.
Why your diamonds drift (and it's not your fault)
When a row starts to wobble, it's almost never a lack of care: it comes down to five very specific causes, and each one can be fixed.
- The protective film was often peeled off too quickly or in patches, leaving a film of residual glue on the printed grid; the diamonds no longer sit flat on it, they slip by half a millimetre as soon as you move to the next row.
- The glue on the canvas softens as the session drags on, especially if the room is warm or your hands transfer heat to the surface; a diamond placed at 2pm may have shifted by 4pm, and it's the area from the start of the session that drifts the most.
- An over-waxed pen picks up the diamond at an angle without you feeling it: the tip sticks, you think you've centred it well, and the square ends up sitting like a diamond. The wax needs recharging every ten to fifteen placements or so, not with every diamond.
- Pouring the tray all at once into the dish creates overlaps; the pen then catches two instead of one, and the second lands crooked next to the first. Pour in small handfuls and shake gently to spread them out.
- After about forty-five minutes of work, the eye can no longer tell a half-millimetre misalignment, even on a light canvas. You carry on placing, but your visual reference has dulled, and errors pile up without warning.
If the misalignment comes from a surface that doesn't hold the canvas taut, take a look at the essential diamond painting accessories: a stable work surface really does change how even your rows turn out.
The 3 alignment techniques (and when to use each)
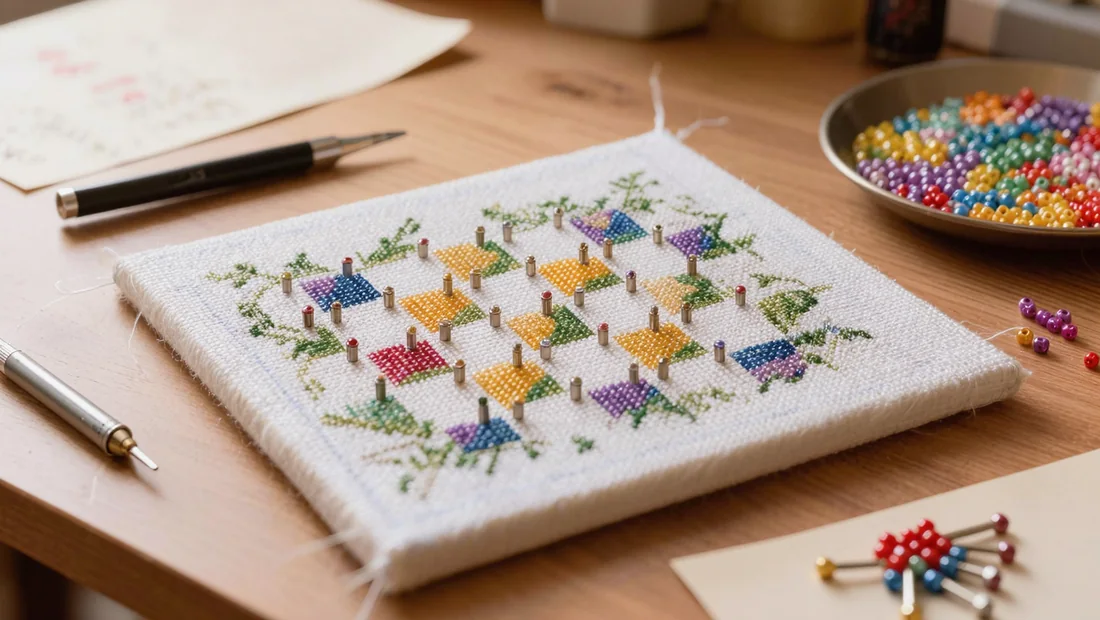
Use a checkerboard pattern to cover large areas
On a flat area of a single colour, place one diamond, skip a space, place the next, and continue like this to the end of the section. You end up with a spaced grid, like a chessboard. Allow around ten minutes for a strip of four inches by four (10 cm x 10 cm). Then fill in the gaps: each diamond then settles between four neighbours already in place, which limits sideways movement. This method suits large flat areas, skies, and solid colour backgrounds.
Work row by row for outlines
Follow a printed line from left to right, without switching lines before you have finished it. Every five diamonds, step back and look at the line as a whole: misalignments show up better from a distance than at twelve inches (30 cm). A line that wanders by more than half a diamond should be corrected straight away, while the glue is still soft. Save this rhythm for borders, faces, letters and any fine detail where every symbol counts.
Move in blocks of five by five
Mentally mark out a square of five squares by five, starting from the top left corner of your section, and fill it completely before moving on to the next. This keeps a fixed reference point and you can see straight away if a symbol has been missed. This approach helps when the canvas is dense with different colours, because it stops you mixing up the trays and putting the stylus down constantly. Allow about fifteen minutes per block for a relaxed pace.
Choose by area, not by habit
Look at three things before you start: the size of the surface, the number of shades that cross it, and its position on the canvas. An edge or corner calls for the row method, a plain centre accepts the checkerboard, a busy section demands the block method. There is nothing stopping you from switching methods midway through a canvas, as long as you finish the current section neatly.
Round or square: the alignment rule that changes everything
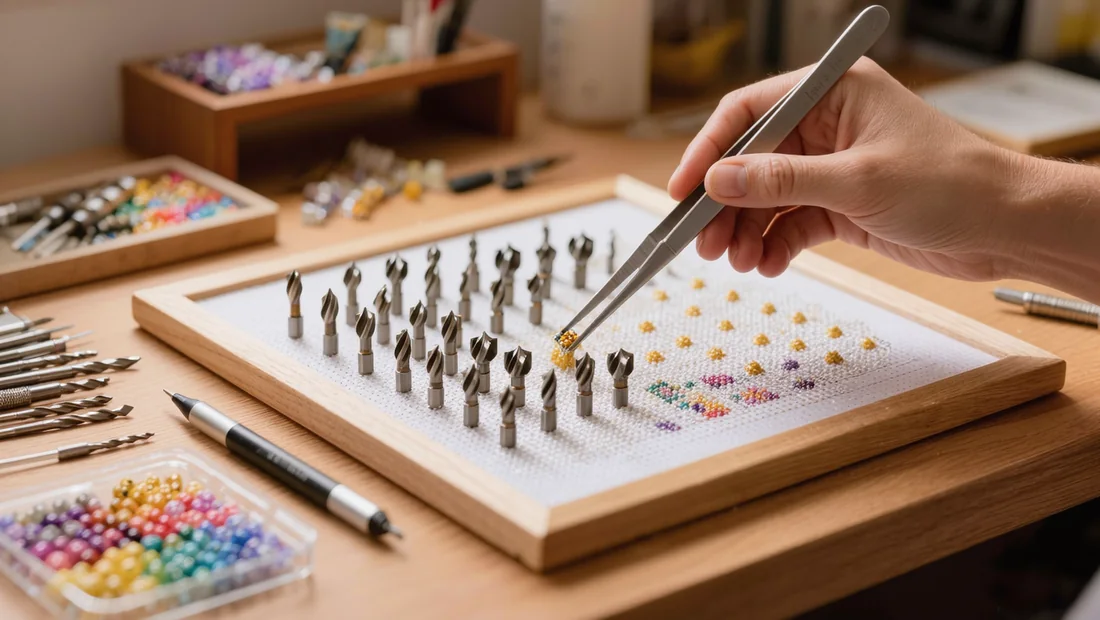
The most common mix-up at the craft table comes down to this: people apply square canvas alignment rules to a round canvas, or vice versa. But the two formats are not judged the same way. A round diamond never touches its neighbours; there is always a small gap between the dots, and that is normal. Trying to close that gap means pushing the diamonds against each other, which makes them slide and creates ripples across the whole row. On a round canvas, the reliable guide is even spacing: the gaps should be the same width everywhere, including at the end of a row. Square diamonds, on the other hand, sit edge to edge. Two neighbouring squares should touch without overlapping, and your eye checks the continuity of the horizontal and vertical lines: a straight line that breaks means a diamond is sitting at an angle. Trying to align round diamonds like square ones is the mistake that causes the most wavy rows, because you are forcing a constraint that does not exist on that format. If you are wondering how to align diamond painting, start by identifying which format you are working with.
| Factor | Round diamonds | Square diamonds |
|---|---|---|
| Contact between diamonds | Never; a gap remains visible | Edge to edge, with no overlap |
| Alignment guide | Even spacing, including at the end of a row | Continuity of horizontal and vertical lines |
| Typical mistake | Pushing the dots together, which creates waves | Leaving a gap between two squares, so the line breaks |
| Finished look | Soft, slightly textured, quicker to place | Crisp and graphic, close to a mosaic |
| Mixed canvases | Switch your guide as soon as the format changes on the grid | Same here; check the legend before starting the section |
Some canvases combine both formats on the same surface, often to highlight a specific area. In that case, find the boundary on the printed grid before you start placing, and use the right guide from that line onwards. For a very crisp finish, square diamonds are the safest choice; for faster placement and a softer look, round diamonds work very well. A set of tools suited to your chosen format will save you a lot of reworking.
Fixing a misaligned section without starting over
First, decide if the fix is worth it
Before you touch anything, step back and look at your canvas from about 20 inches (50 cm), a normal reading distance. If the offset is less than half a diamond and it disappears at that distance, leave it. An eye pressed up close at 4 inches (10 cm) sees flaws that no one else will notice once the canvas is hung. You will save time and adhesive.
Only lift the diamonds that need it
Use fine angled tweezers or a metal-tipped stylus, never your fingernails: they tear the adhesive layer along with the diamond. Slide the tip under the edge of the first diamond, gently lever it up, and remove only the 3 or 4 pieces that are sticking out or leaning. There is no need to take apart the whole row; the glue around them stays intact if you are precise.
Clean and let it dry for two minutes
Wipe a very slightly damp cotton swab over the freed spot to remove glue residue and dust. Wait two minutes by the clock until the surface feels tacky again. Replacing a diamond on a still-damp area is the most common reason it slips a second time.
Replace it using the printed guide
Do not rely on the neighbouring diamond already in place: it may be slightly off too, and you would repeat the mistake. Line the new piece up with the printed symbol on the grid, checking that its edge touches the square's line. For square drills, set one corner first, then press down the rest. For round drills, centre the circle in the square.
The kit that genuinely helps you stay aligned
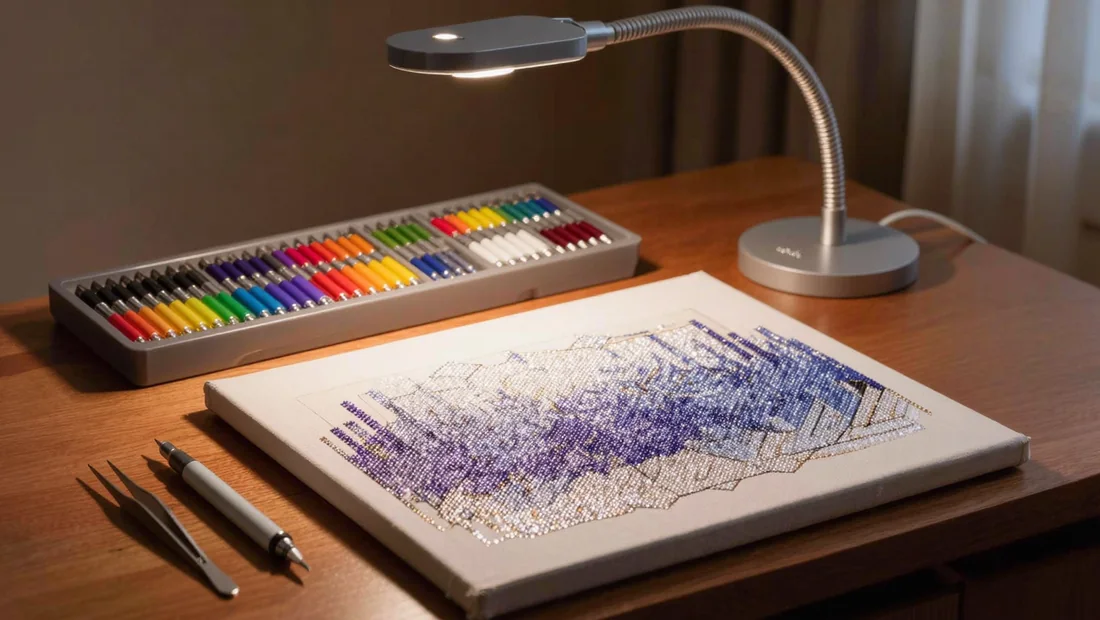
When a canvas starts to ripple, it is almost never your hand's fault: it is the workspace missing one or two supports. Four tools make a real difference, and you may already have them to hand.
- A compartmented tray with individual pots lets you sort the bags by colour before you start: when every shade has its own slot, you stop picking up a light diamond in the middle of a dark area, and the printed grid symbols stay easy to read.
- A metal-tipped pen gives a finer point than the standard plastic tip, which matters most with square diamonds: your margin for error drops to a fraction of a millimetre and each drill settles into the corner of its symbol on its own.
- Tweezers are for lifting a single diamond without disturbing its neighbours; slide them under the facet, ease it up gently, and you can redo that spot without pulling the surrounding adhesive.
- A desk lamp with neutral light (around 4000 K) brings out the printed lines under the protective film, the markers that are hard to make out under a yellow ceiling light, especially in the evening.
- A rigid work mat, or simply a board placed under the canvas, keeps the backing flat: a canvas that buckles shifts the rows by a fraction of a millimetre, and the gap shows at the end of the line.
These four items come together in our diamond painting essentials, and if you are planning a custom canvas, it is best to sort your kit at the same time as your Custom Diamond Painting Kits: larger sizes are far less forgiving of misalignment.
The 5 habits to stick to
Here are the five habits that come up again and again among those whose canvas stays neat from the first diamond to the last. They take very little effort, but they make all the difference over time.
- Always place your first diamond in a section on the printed symbol, never against a diamond you have already stuck down: it is the canvas grid that sets the position, not the neighbour.
- Check your alignment every five to ten diamonds, not just at the end of a row: a slip spotted early can be nudged back with your fingernail, while one spotted late means starting over.
- Pick your technique based on the area: the checkerboard method for large plain sections, row-by-row placement for outlines and tight details.
- Do not overload the tip of your stylus with wax: a thin film is enough to pick up a diamond, while a blob of wax makes it slide and drop at an angle.
- Work in sessions of 45 minutes at most, then hold the canvas about 12 inches (30 cm) away to judge the whole thing: your eyes get tired and miss the ripples they would have caught at the start.
These habits pair effortlessly with a bit of good kit, like the ones you will find in our essential diamond painting accessories.
Our picks
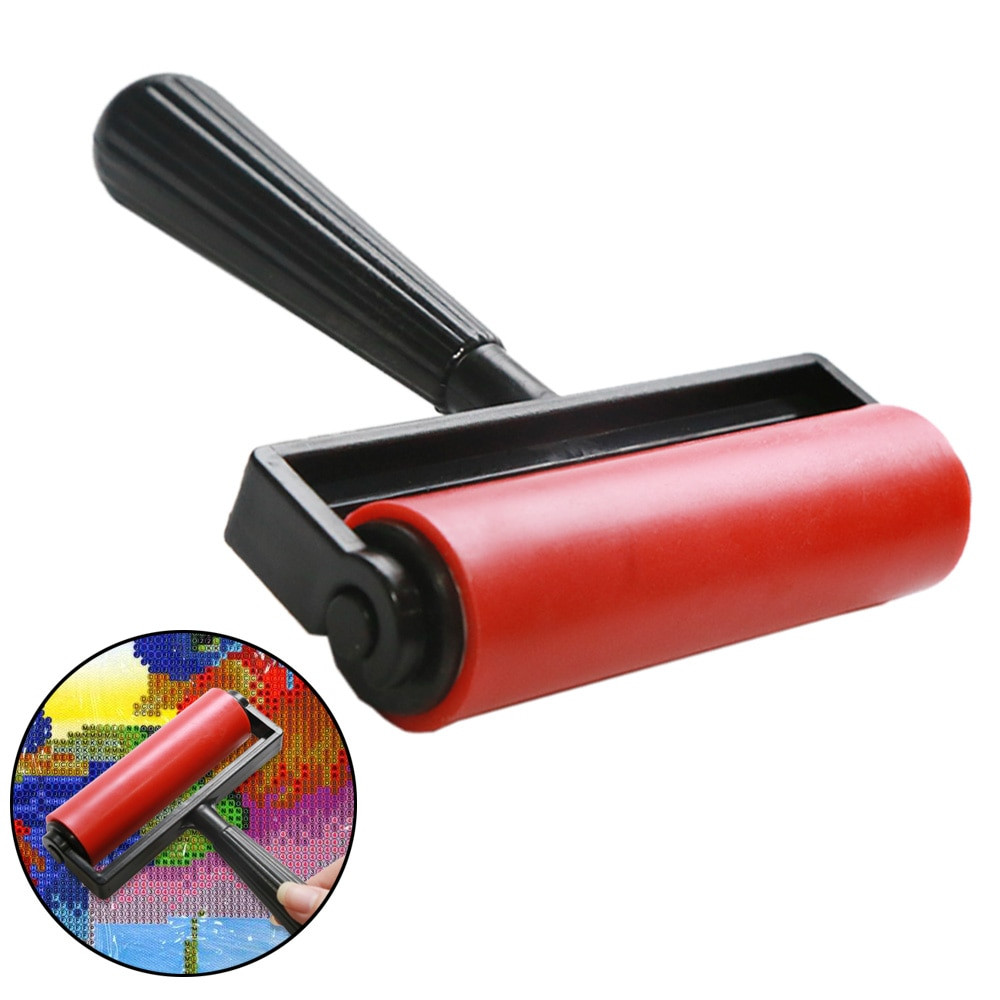


The most useful technique is to place the first diamond by following the printed guides rather than relying on your eye, then position each neighbouring diamond against the gaps or the edges of the square, depending on its shape. If an area drifts off course, a correction tool lets you lift a few pieces without undoing everything. For the right kit, take a look at our selection of essential diamond painting accessories, choosing according to how you like to work.
Want a crisp kit from the very first drill?
Our high-definition stretched canvases and essential accessories are designed for even alignment from the first drill. Free tracked delivery, money-back guarantee.
View Diamond Painting Accessories & ToolsFrequently asked questions
How do I align square diamonds so they sit flush against each other?
Start from the printed edge of the square and place the first diamond flat, without sliding it. Then align each one against the edge of the previous, side by side. Check every five diamonds: if one shifts, lift it straight away with the tweezers. One square out of place throws off the whole next row.
Why are my round diamonds never even?
That's normal: rounds don't touch, there's always a small gap between them. So alignment is judged by how even those gaps are, not by the edges. Trust the printed grid under the film, not the neighbouring diamond, otherwise the spacing spreads and the row waves.
Can you fix an area that's already been placed crooked?
Yes, with fine tweezers: peel off the diamonds concerned one by one, without forcing. Gently clean the leftover glue with a slightly damp cotton bud, let it dry flat for about an hour, then re-place starting from the printed marker. Work in small groups of ten to fifteen diamonds so you don't mix everything up.
Should you start from the centre or a corner?
For a first canvas, the top left corner is easier: you follow the printed lines without losing your place, and you can see your progress. The centre suits symmetrical canvases or large formats, because it spreads the effort. Either way, keep the same placement orientation from start to finish.
What's the best technique for a large area of a single colour?
Place in a checkerboard: every other diamond in a staggered pattern across the whole area, then fill in the gaps. That way you keep your alignment without squinting for hours, and each diamond you add already has two neighbours to guide it. Work in 2 inch (5 cm) bands, from left to right.
Related posts
 Butterfly Diamond Painting: Choose, Place, and Showcase Your Art
 Diamond Painting Stitch Guide: How to Choose the Right Kit
 How to Frame Diamond Painting: Choosing and Fitting the Right Frame
 Gondola Diamond Art Kit: How to Choose and Apply
 Christmas Diamond Painting Kits: How to Choose and Complete Your Canvas