


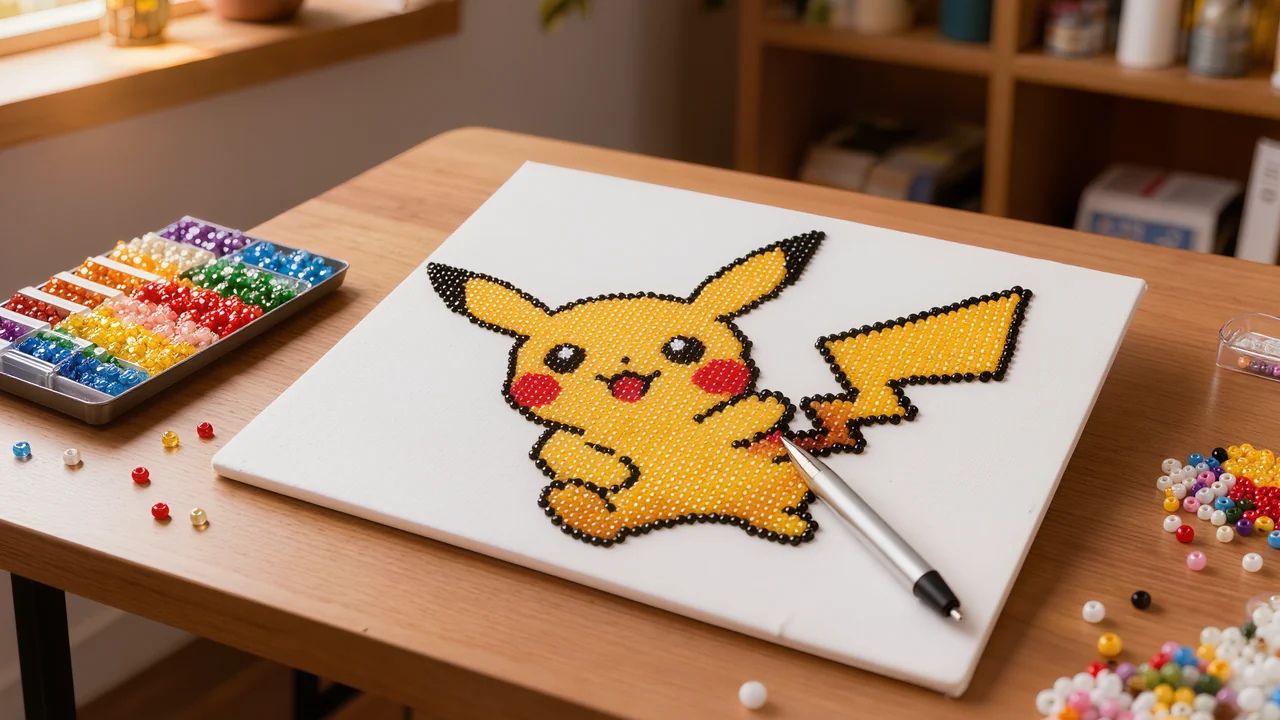
Pokemon Diamond Painting: How to Choose, Start and Finish Strong
To choose a successful pokemon diamond painting, go for a canvas large enough to hold the detail, a crisp print and well-calibrated drills. Pikachu and Eevee tend to have readable shapes, while Charizard needs more surface area to preserve the shading and avoid a muddy finish. The quality of the glue, the protection of the canvas and the sparkle of the drills also matter at the point of purchase.
These tips are for beginners and seasoned crafters alike who want to make steady progress without misaligned drills or frustrating evenings. You can compare sizes, set up your tray and pouches, place your first drills with a consistent method, estimate the time and budget, then pick an idea that works as a gift. Customisation options will also help you create a Pokémon canvas tied to a specific person, memory or occasion.
In short
- A successful Pokemon canvas is chosen first for how readable the design is, not for its size.
- Characters with clean outlines and flat blocks of colour turn out better than busy, detailed scenes.
- An organised workspace and working in sections prevent 90% of misaligned drills.
- A Pokemon diamond painting takes 6 to 15 hours depending on the format, in sessions of around 45 minutes.
Which Pokemon diamond painting should you choose for a great result?
For a great result, start by choosing a character with clean outlines and clearly separated colour blocks. A recognisable silhouette, a simple face or Pikachu's lightning bolts cope better with small placement variations than a scene packed with detail. Flat areas of yellow, red or blue also give a clearer picture once the diamonds are in place. You will find this kind of design in cartoon diamond paintings, where bold shapes work especially well for a first project.
Look closely at the background before you order. A very busy setting, with fine foliage, lighting effects and lots of characters, can lose its sharpness once it is converted into tiny symbols. At normal viewing distance the details blur together and the image looks less crisp. For a Pokemon canvas that is enjoyable to work on, go for a plain background, a subtle gradient or a few well-spaced graphic elements. Designs featuring famous characters often make it easier to spot this before you buy.
The size then depends on your experience and where the piece will go. A 30 x 40 cm (12 x 16 in) format suits a first canvas or a decoration on a shelf. To make out the eyes, expressions and details of a Pokemon such as Eevee or Charizard, choose 40 x 50 cm (16 x 20 in) or larger instead. A big size takes more time, but it gives each shade more room and produces a sharper image on a wall.
Finally, check that the canvas is properly stretched and printed in high definition. A warped surface makes it harder to line up the diamonds, while unclear symbols slow down reading the pattern. Think about the final spot: a small piece works on a desk, a medium format fits in a child's bedroom and a large canvas can become a decorative gift. For an image tied to a specific memory, a Custom Diamond Painting Kits also lets you adapt the subject and the dimensions.
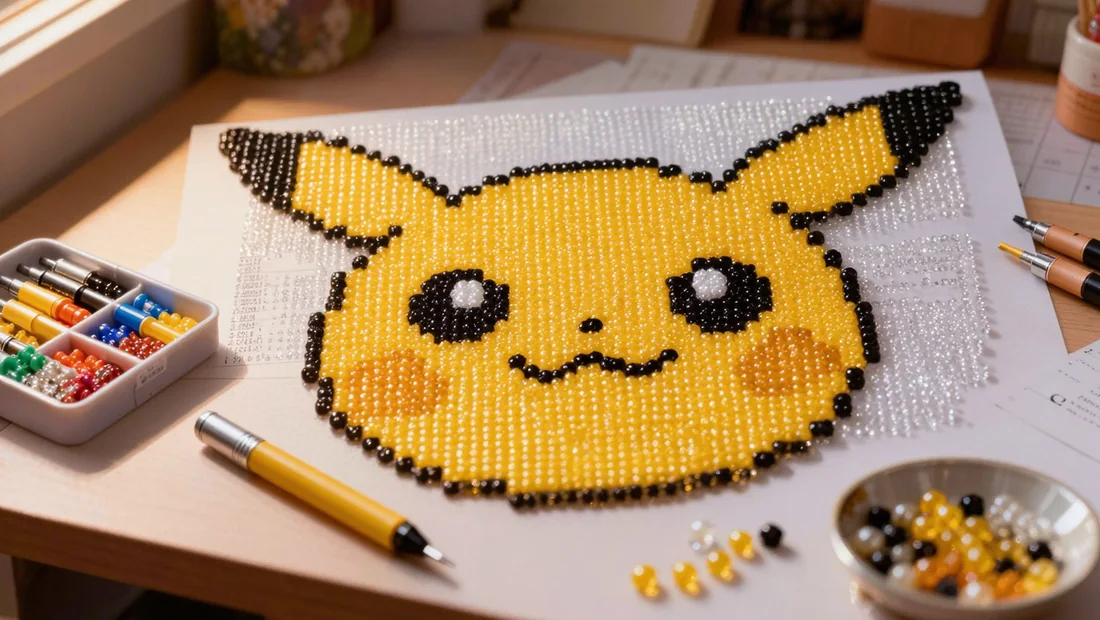
Pikachu, Eevee, Charizard: which Pokémon designs work best in diamond painting?
To get a bright, readable Pokémon image, focus on the shape of the face, the background contrast and the level of detail before choosing your design.
- Yellow and electric Pokémon such as Pikachu give a very bright result: yellow, gold and slightly orange diamonds stand out well, especially on a blue, purple or black background.
- Creatures with round faces and big eyes stay instantly recognisable, even on a medium-sized canvas, because their main outlines need fewer shades to be readable.
- Eevee and characters with clearly defined ears suit anyone who wants an expressive design without lots of tiny colour areas.
- Pokémon surrounded by flames or with large wings need more care: orange, red, blue or white gradients look sharper on a dark, plain background.
- Battle scenes with several characters, light effects and busy backgrounds are best kept for large canvases; a small size can make outlines and details merge together.
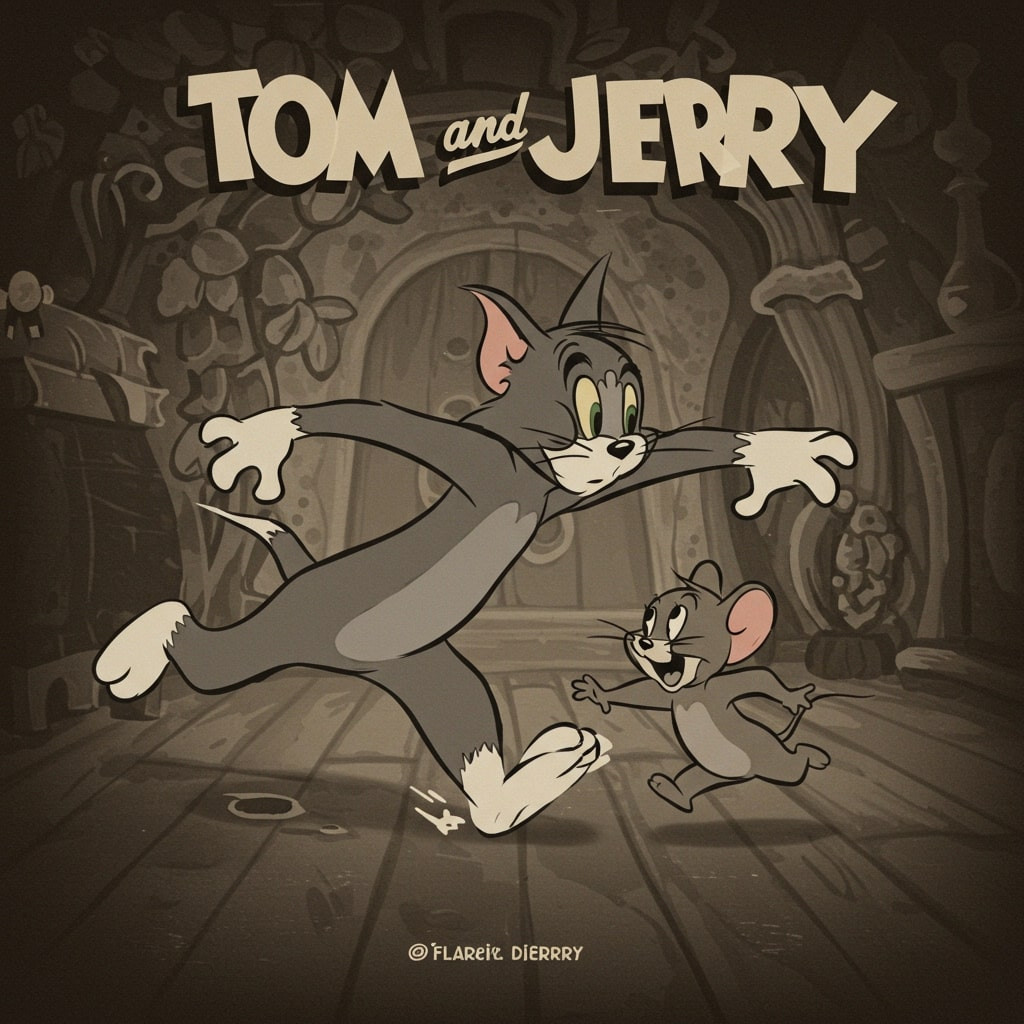
- Designs created as a card, emblem or badge give a very crisp graphic result, thanks to their regular outlines and flat blocks of colour. They also fit easily alongside other Cartoon Diamond Painting designs.
- For a more dynamic style, angular poses and bold outlines recall Japanese Manga Diamond Painting, while still being easy to follow square by square.
Beginner's guide: how to get your first Pokémon diamond painting right
Set up your workspace
Choose a stable table near natural light, then lay the canvas flat. If it arrived rolled up, let it rest for a few hours under some clean books before you start. Get your tray, wax pen and a small dish for spare diamonds ready.
Pour only a small amount of diamonds into the tray. Shake it gently so the facets face upwards. This keeps spills to a minimum and makes it easy to find the remaining codes.
Match the symbols
Compare the legend printed on the canvas with the numbered bags. Start by identifying the symbols for similar colours, especially greys, browns and neighbouring blues. Spotting a mix-up before you place anything saves you from having to remove a whole section.
Keep the bags open in legend order, or put a clear label on each compartment. The essential diamond painting accessories make this sorting easier when several shades look alike.
Work in small sections
Peel back one corner of the protective film over an area of about 2 inches (5 cm), then fold it back neatly. Move section by section rather than row by row: the pattern stays in view and the exposed glue picks up less dust.
Keep the rest of the canvas covered. Pulling off all the film at once exposes the adhesive to fluff, sleeves and stray elbows, and it may lose its stickiness.
Place the diamonds evenly
Pick up a diamond with the tip of the wax pen, then place it in the centre of the symbol. Press down lightly for a second. Start with the large blocks of one colour, then fill in the outlines following the grid.
If a diamond shifts, fix it straight away with the tweezers or the tip of the pen. A small misalignment becomes obvious once several rows build up. Use the edge of the tray to line up the diamonds before each pick-up.
Go at your own pace
Aim for sessions of around 45 minutes, with a short break when your neck or eyes get tired. A full canvas often takes 6 to 15 hours depending on its size, the density of the symbols and how quickly you place them.
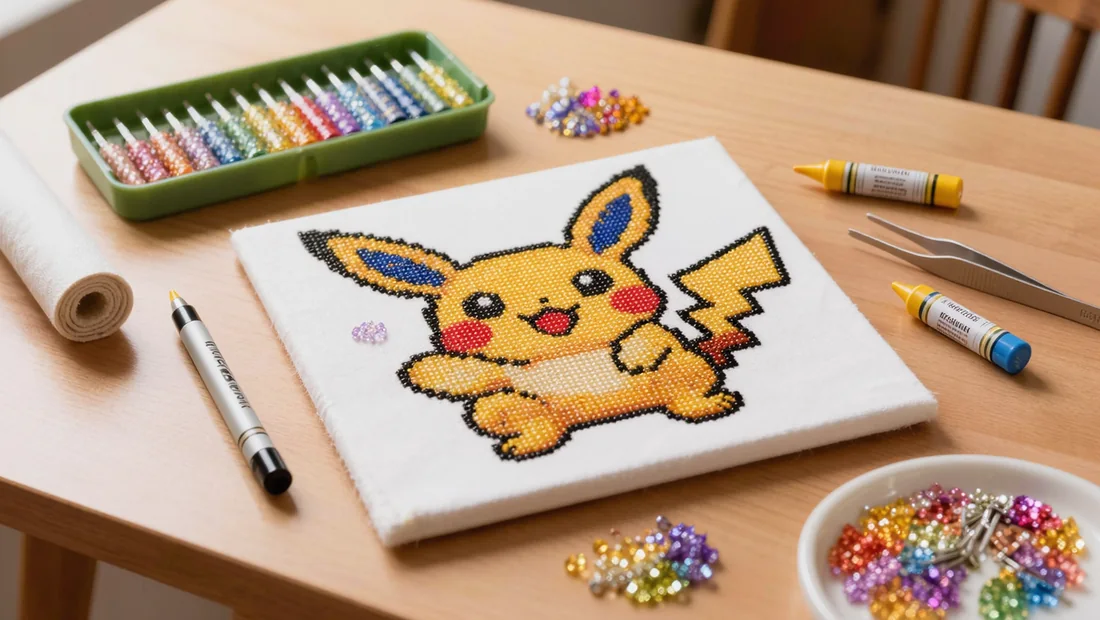
What supplies do you need for a Pokémon diamond painting?
To work comfortably on your Pokémon canvas, gather a few simple accessories before opening the diamond packets, as each one makes a specific step of the process easier.
- The applicator pen included with the kit is usually enough to get started, especially if you place the diamonds one by one on a small or medium canvas.
- The tray helps you spread the diamonds face up and sort them by colour without mixing them on your workspace.
- A pair of tweezers lets you cleanly remove a misplaced diamond and reposition it without damaging the canvas adhesive.
- Keep spare wax on hand, as the small pad provided loses its stickiness over time and wears out faster on larger sizes.
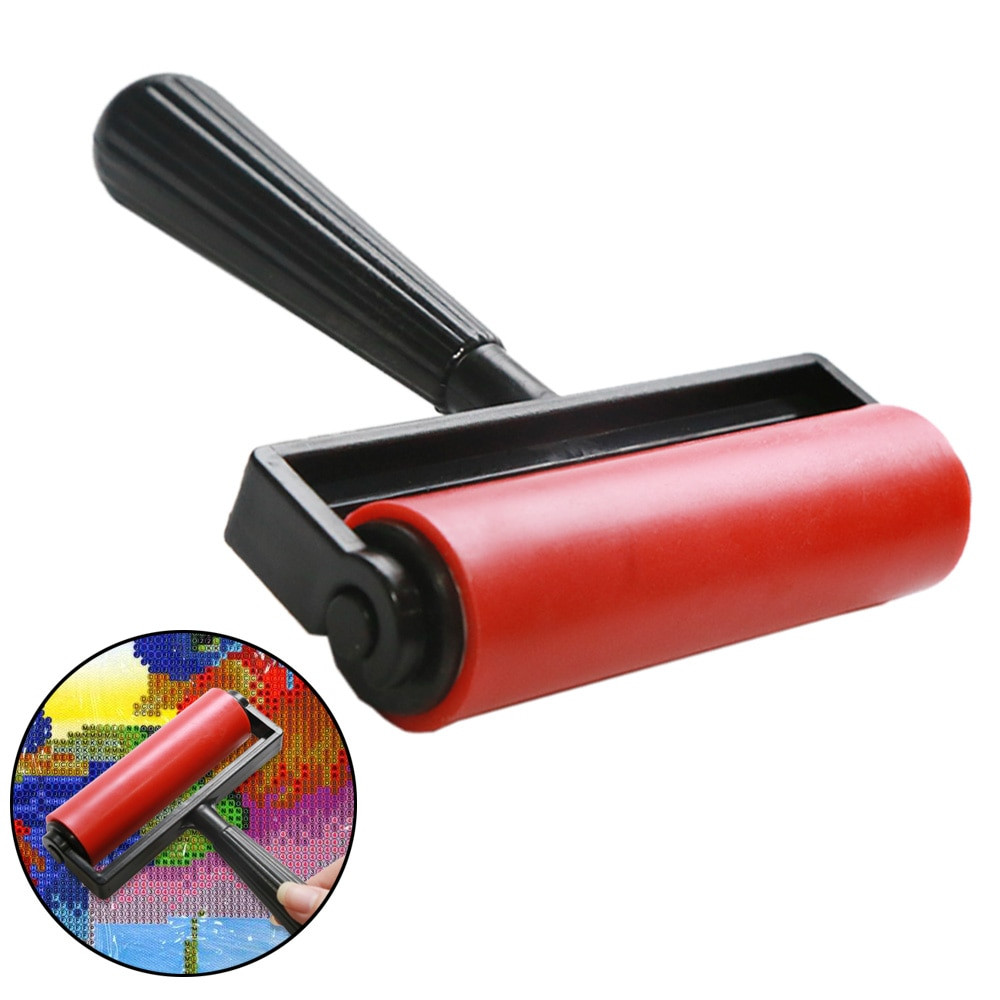
- A soft roller or finishing tool is used to press the diamonds down after completing a section, applying light, even pressure.
- A compartmentalised storage box suits those working with several colours at once, while labelled zip bags are enough to store leftover diamonds.
- A flat surface, good lighting and a non-slip mat are useful additions to your setup, especially when the symbols are small or close together.
- You can find these tools, along with suitable storage solutions, in our essential diamond painting accessories.
How long does a Pokemon diamond painting take and what does it cost?
The time you spend on a Pokemon diamond painting depends first on its size, then on the number of colours and how fine the details are. To avoid getting bored, work in sessions of 30 to 45 minutes, then put the bags away and cover the adhesive area before taking a break. As for the cost, judge it by the amount of diamonds supplied and the quality of the canvas, far more than by the stated dimensions alone.
| Size | Average time | Best suited to | Budget guide |
|---|---|---|---|
| 30 x 40 cm (12 x 16 in) | 6 to 8 hours | First try, simple design or quick gift | Check the quantity of diamonds and how consistent the adhesive is. |
| 40 x 50 cm (16 x 20 in) | 10 to 15 hours | Best balance between sharpness and time to complete | Compare the number of bags and the print definition. |
| 50 x 70 cm (20 x 28 in) and larger | 20 hours or more | Detail-rich design, for patient enthusiasts | A higher price may be justified by a more precise canvas and more colours to sort. |
| All sizes | 30 to 45 minutes per session | Comfortable pace to make progress without tiring | Also look for a readable colour chart and spare diamonds. |
To compare several designs, look at how sharp the face and outlines are on the thumbnail, then match that quality against what is included in the kit. Creations inspired by cartoon diamond embroidery are often best chosen in a medium size when the character has small details.
Gifting a Pokemon diamond painting: who is it for and what is the occasion?
For a child or teenager who loves Pokemon, choose a simple design, with a character that stands out clearly from the background and few tiny, highly detailed areas. A 30 x 40 cm (12 x 16 in) size gives enough room to recognise Pikachu or Eevee without making the project drag on. Also check the recommended age and how easy the bags and tweezers are to handle. For a young beginner, a canvas with bold colours will be more enjoyable than a dark, busy scene.
For an adult who is just starting out, go for a calming image, with an easily recognisable Pokemon and even blocks of colour. A birthday or Christmas gift feels more thoughtful with a name, date or short message worked into the design. You can choose a custom Pokemon canvas to mark a birth, an achievement or a shared memory. Before ordering, check the spelling and placement of the text: an area that is too small can make the letters hard to read.
A large canvas works well as a gift to share between two people or complete as a family. Clear a table, divide the colours between everyone taking part and set aside a session of around an hour to keep a comfortable pace. For a present that can be used straight away, add an essential diamond painting accessory kit with several trays and some wax. That way the recipient can start as soon as they open it, without hunting for extra supplies.
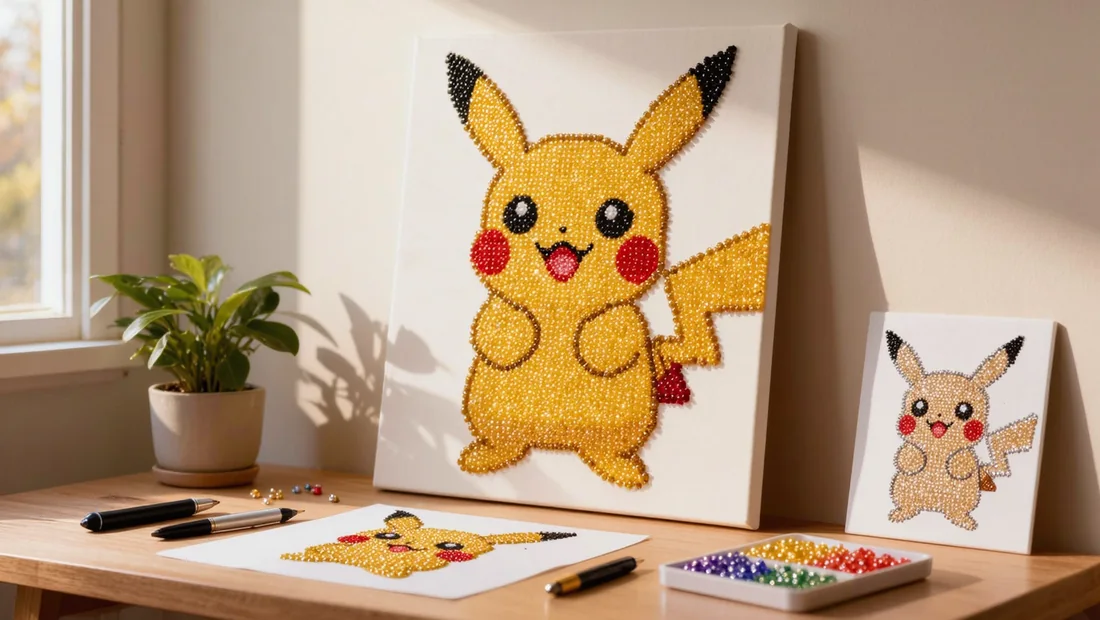
Customising your Pokémon canvas: the option that makes all the difference
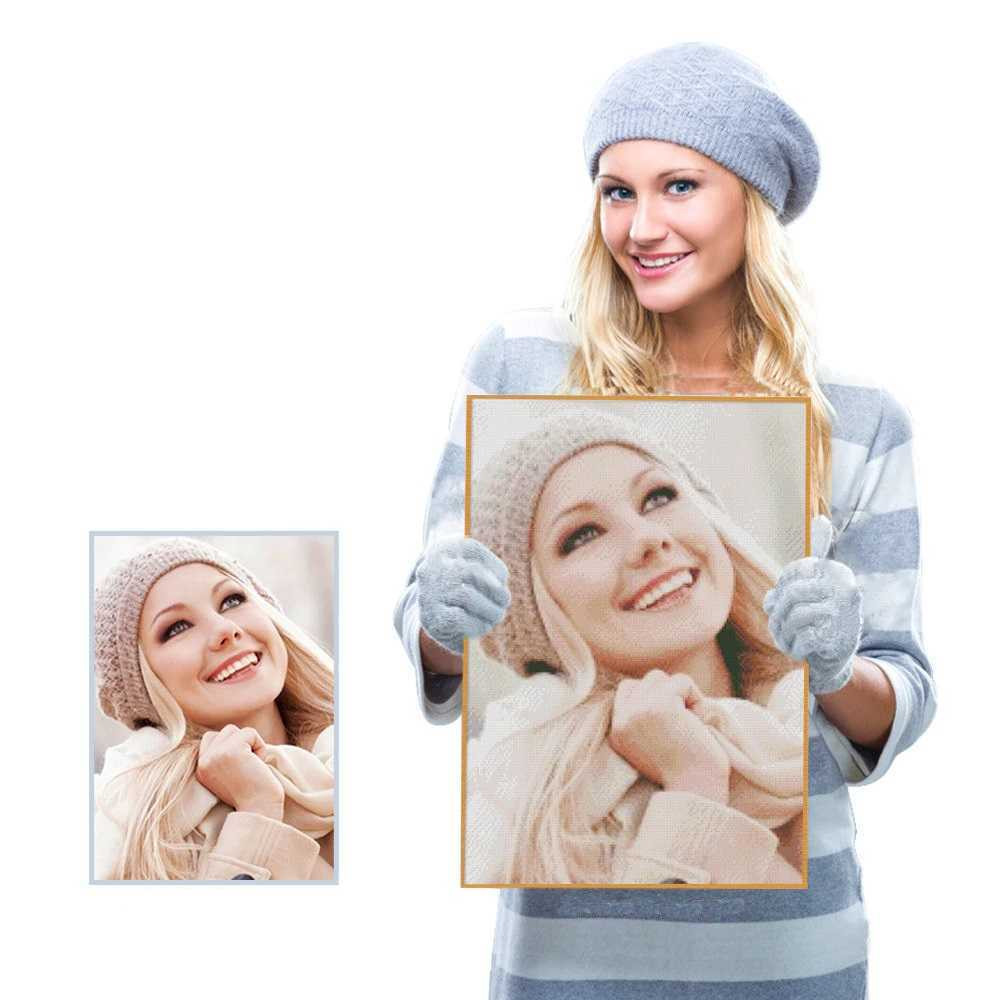
A custom pokemon diamond painting lets you start with a family photo, a drawing your child made, or a personal image, then have it converted into a canvas to complete with resin diamonds. To keep the result clear and recognisable, choose a well-lit subject, framed straight on, with a simple background. A sharp photo taken with your phone is often better than a screenshot or a heavily compressed image. You can visit our Custom Diamond Painting service to submit your picture.
A name, birthday date, or short message can be worked discreetly into a border or below the design. For a gift, pairing a favourite Pokémon character with a memory photo creates a personal piece suited to a bedroom, a birthday, or a family celebration. If you use a protected character, keep it for private use and make sure the file you send can be used in that context.
Before production, check that the face or main subject stays large enough in the image and that key details are not lost in the shadows. A proof of the artwork may be needed depending on the project. Allow for preparation, production, and delivery time, then order several weeks ahead of a fixed date. This buffer also gives you time to check the canvas when it arrives and to prepare the gift carefully.
Our picks
To get your Pokémon canvas right, start by checking how readable the pattern is in the light, then secure the canvas and set up a single work area. Use a clean stylus, fresh wax and a tilted tray; place the diamonds row by row for 45 minutes. This routine limits shifting and keeps the outlines sharper. You can also browse the Cartoon Diamond Painting selection.
Ready to make your favourite Pokemon shine?
Browse our high-definition stretched canvases and custom kits: free tracked delivery and money-back guarantee.
View Cartoon Diamond PaintingFrequently asked questions
What size diamond painting Pokemon should I start with?
For a first project, go for a 30 x 40 cm (12 x 16 in) canvas. It gives you an image that is clear enough to tell the sections and colours apart, while still being manageable over a few sessions. Choose a design with simple blocks of colour rather than a highly detailed portrait: you will cut down on shade changes and keep a comfortable pace.
How long does it take to finish a Pokemon canvas?
Allow around 6 to 8 hours for a small canvas and 10 to 15 hours for a medium one. These times assume sessions of 30 to 45 minutes at a steady pace. A highly detailed canvas covered in tiny coloured sections will take longer than a design with large, open areas.
Do the diamonds stay put on a Pokemon canvas over time?
Yes, the diamonds stay firmly in place if you press them down carefully at the end. Run a clean roller or a small press over the canvas with a sheet of baking paper on top, without pressing too hard. To protect the adhesive, keep the piece out of direct sunlight and away from damp rooms.
Can you customise a Pokemon diamond painting with a photo?
Yes, a custom piece can work a photo or some text into a Pokemon-inspired design. Send a sharp, well-lit file that is large enough to avoid a blurry result once it is converted into a grid. Ask for a preview before you approve it and allow for the production time, especially if the canvas is needed for a specific date.
What kit is genuinely essential for a Pokemon canvas?
The basics come down to an applicator pen, a tray, a pair of tweezers and spare wax. Add a few small resealable bags to keep opened colours apart. Work on a flat surface, then put each bag back in its compartment with its symbol: that way you will avoid mixing colours up when you take a break.
Related posts
 Halloween Diamond Painting Kits: Spooky Ideas for Your Home
 Cat Diamond Painting Kit: Bring Your Feline to Life in Sparkling Detail
 Peacock Diamond Painting: How to Choose and Complete Your Canvas
 Star Wars Diamond Painting Kits: Canvases and Tips
 Butterfly Diamond Painting: Choose, Place, and Showcase Your Art