


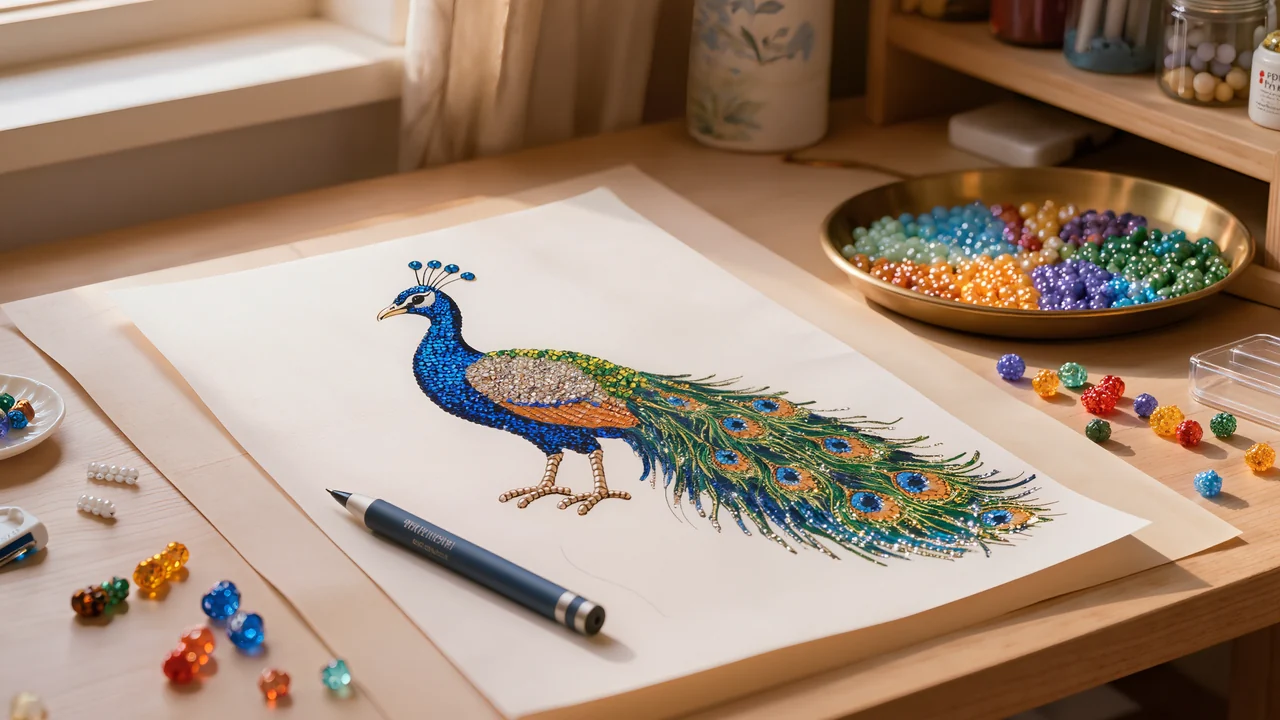
Peacock Diamond Painting: How to Choose and Complete Your Canvas
To get a peacock diamond painting right, start by choosing a canvas large enough to bring out the detail in the feather eyes and the shifts between blue, green and gold. Square drills give a denser finish, while round ones are easier to place. Check that the legend is clear and that the bags of drills are properly labelled.
These tips are aimed at beginners and hobbyists alike, with simple pointers for comparing a kit and picking a size that suits your patience. You will learn how to set up a compartment box and work the shading in small sections. Gauging your own pace helps you choose a range of designs. Custom options then let you adjust the size, colours and level of detail to suit your space.
In short
- Choose your canvas size based on the level of detail you want: the larger the canvas, the more majestic the peacock.
- Round diamonds are easier for beginners, while square ones offer a sharper, more sparkling finish.
- Work the feathers in colour blocks for a harmonious gradient and to avoid mistakes.
- Good lighting and a well-organised tray make all the difference for a flawless result.
How to choose a peacock diamond painting kit
To choose the right peacock diamond painting, start with the canvas size and the level of detail you want. A 30 × 40 cm (12 × 16 in) format works well for beginners: the surface stays manageable and the design progresses without long sessions. To bring out the eyes on the tail, the fine feathers and the shading of the plumage, go for a 40 × 50 cm (16 × 20 in) canvas or larger. Smaller formats make the project simpler, while a bigger image gives a more precise finish.
The shape of the diamonds also affects your comfort. Round diamonds are quick to place and more forgiving of slight misalignments. They suit first projects or relaxed sessions. Square diamonds line up edge to edge and give a more even surface, with details that look sharper. They do, however, call for a little more precision when placing them.
Finally, look at how rich the design is. A brightly coloured peacock often uses many colour references for its feathers, tail and the small highlights around the eyespots. Check that the legend stays readable and that the symbols are large enough. To compare several bird designs, browse this selection of Bird Diamond Painting Kits, then pick an image whose level of detail matches the time you want to spend on your hobby.
Round or square drills: which shape works best for a peacock?
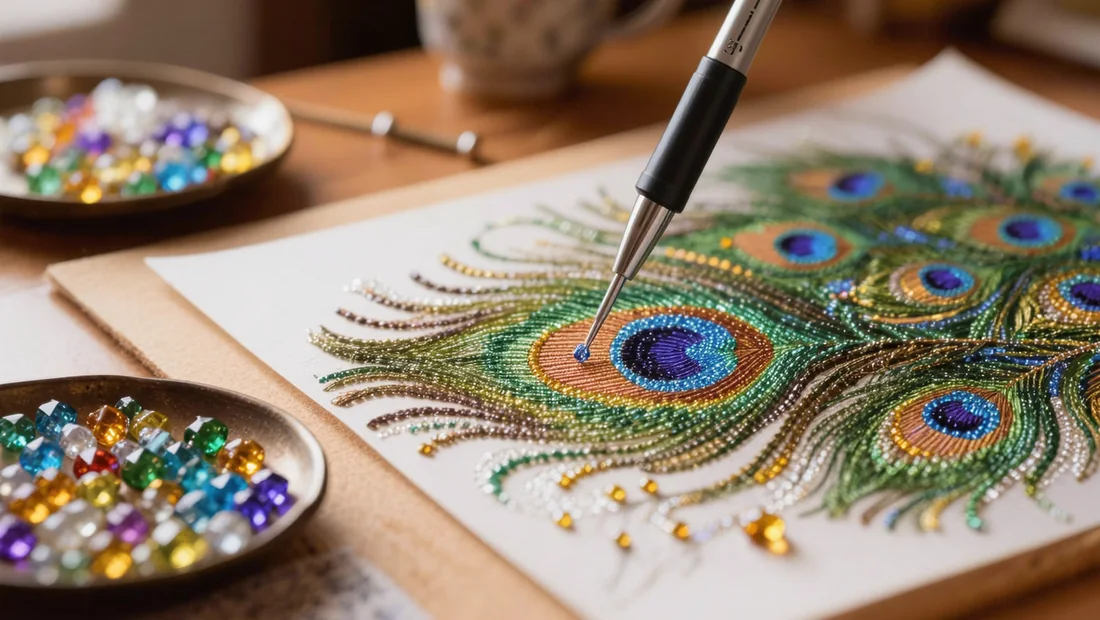
For a peacock, go for round drills if you want a forgiving, easy-to-correct placement. Their shape absorbs small misalignments between symbols, which suits first canvases or short sessions. The finish still looks bright, though outlines are slightly softer in fine areas such as the feather ocelli.
Square drills give a more uniform surface once they sit side by side. They sharpen the precision of the pattern and often produce a denser sparkle, especially noticeable on the blue, green and gold feathers. On the other hand, each piece needs more careful placement: keep the tip of the stylus well centred and check row alignment as you go.
To bring out the detail in the tail, lean towards squares if you are already comfortable with adhesive canvas. If you are new to the craft, start with a round kit, then move on to a square peacock diamond painting once your hand feels steady. You will also find essential diamond painting accessories to make placing the drills more comfortable.
How to get peacock feather gradients right
Start with the lighter shades
Work the whites, pale blues and bright greens of the feathers first. This approach limits dark resin smudges in the light colours. Keep each drill colour in its bag or in a separate tray, and seal it again before moving on to the next one.
Work in small sections
Peel back only a square of protective film about 2 × 2 inches (5 × 5 cm). Place the diamonds following the printed symbols rather than trying to finish a whole colour across the canvas. A completed small section lets you check the outlines and the gradient quickly.
Add the darker tones afterwards
Add the deep blues, purples and rich greens after the lighter neighbouring shades. Use fine tweezers to reposition a diamond near an eye, an eyespot or the tip of a feather. Work gently so you do not lift the drills already in place.
Check the pattern from a distance
After a few sections, step back 20 to 40 inches (50 cm to 1 metre) from the canvas. Check that both sides of the peacock keep a balanced spread of colour and that the eyespots stay clear. Fix a misplaced shade straight away with the tweezers and a little patience.
What supplies do you need for a successful peacock diamond painting?
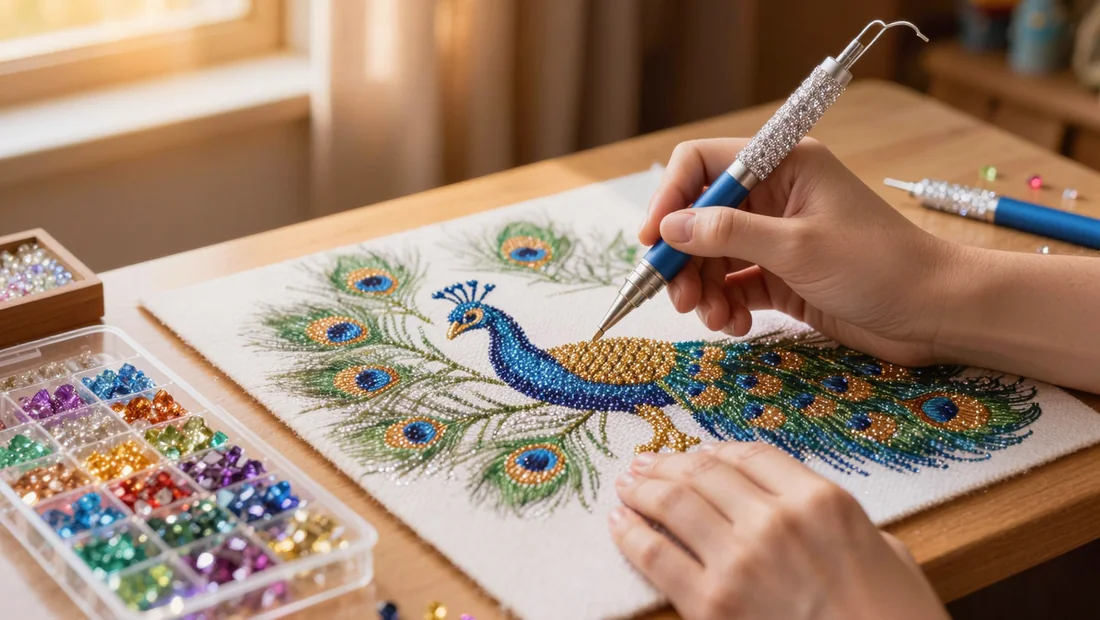
To work the peacock feathers with precision, set up your workspace before placing the first diamonds and keep the colour references visible.
- Choose an ergonomic pen with a soft grip to reduce strain in your fingers during long sessions.
- Use a grooved tray to slide the diamonds, then shake it gently until their flat side faces down.
- Keep several small trays on hand when the gradients include similar blues or greens, so each colour stays separate.
- Keep a fine pair of tweezers within reach to lift a misplaced diamond or correct a row near the edge of a feather.
- Set up an LED lamp above the canvas, slightly to one side, so you can tell neighbouring shades apart without a distracting glare.
- Store the bags in compartment boxes or pouches, labelling each compartment with the reference printed on the legend.
- A diamond painting accessory set is a useful addition to your setup, especially if your kit contains many shades.
How long does it take to finish a peacock diamond painting?
For a 30 × 40 cm (12 × 16 in) peacock diamond painting, allow around 10 to 15 hours of work, depending on your pace and how many detailed areas there are. A 40 × 50 cm (16 × 20 in) canvas usually takes more like 20 to 25 hours, especially when the feathers involve lots of colour changes. These times are just a guide: a steady, careful approach can sometimes be slower than one very focused session.
Work in sessions of 30 to 45 minutes. This helps you stay keen to carry on without turning your hobby into a chore to finish. Start with the border of the canvas, then work towards the centre: this keeps your bearings steady and you soon see the peacock taking shape. Only peel back the small section you plan to work on for the session so the adhesive stays fresh.
Take a break as soon as your eyes tire, the symbols become less clear or you start mixing up two similar colours. Move the canvas away, look into the distance for a few minutes, then carry on under even lighting. A diamond art peacock project worked in small steps stays enjoyable and limits mistakes in the feather gradients.
Peacock diamond painting ideas to keep things fresh
To keep your next project feeling new, change up the peacock's pose, its setting and even the species shown on the canvas.
- A portrait-style peacock highlights the head, the blue neck and the fine detail of the crest, while a bird in full display gives a wider, more dramatic composition.
- A scene with a peacock in a flowering garden brings in more colour and lets you pair the feathers with foliage, roses or tropical blooms using a flower diamond painting canvas.
- A stylised design suits contemporary decor with clean outlines and bold shades, whereas a realistic version focuses on natural tones and the texture of the feathers.
- Bird lovers can switch things up with an elegant flamingo or a hummingbird surrounded by flowers by browsing this selection of bird diamond art kits.
Create your own peacock diamond painting
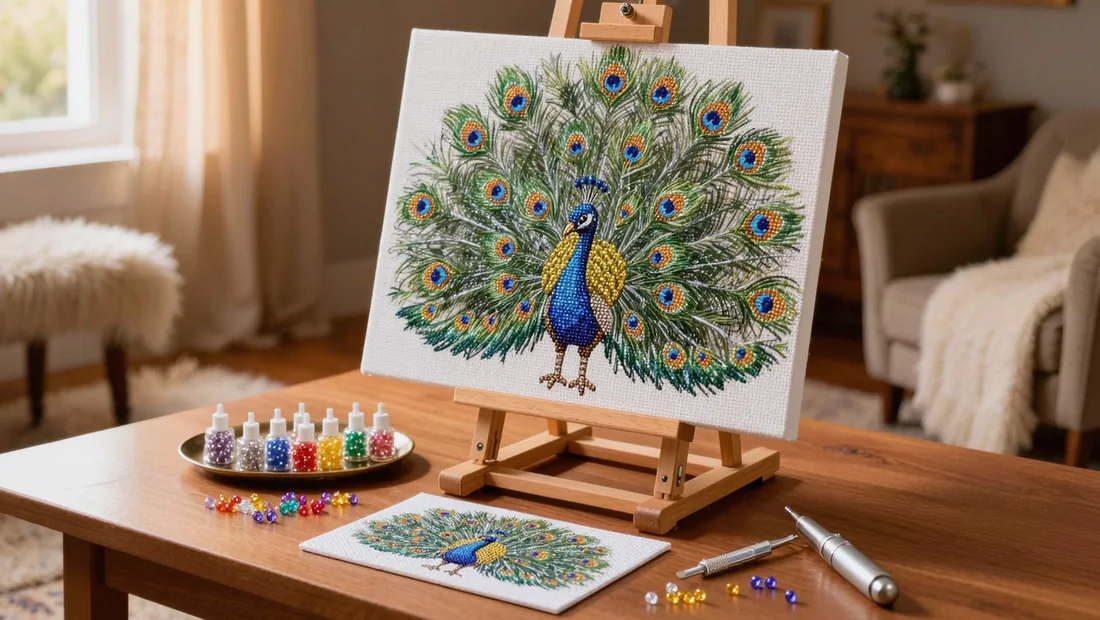
You can turn a photo of a peacock into a custom kit, provided you start with a sharp, well-lit image that has plenty of contrast. Choose a subject that is fully visible or cropped to the fan of tail feathers, with clear outlines and little going on behind the bird. A blurry, dark or distant photo will produce details that are hard to reproduce with the diamonds.
For a balanced result, go for a size of at least 40 × 50 cm (about 16 × 20 in) when the plumage has lots of gradients. Large feathers and blue eyespots come out sharper, as do the transitions between green, turquoise and bronze. A smaller size works for a simple design, with the peacock clearly set against a plain background. You can send your image when you order your custom diamond painting so it can be prepared for printing on the canvas.
Allow for the production time shown on the product page: the canvas is printed and checked before dispatch. The bags contain resin diamonds, sorted by colour to match the shades in the picture. When your kit arrives, compare the symbols on the canvas with the references on the bags before you start, especially in the highly coloured areas of the tail.
Our picks
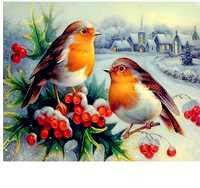
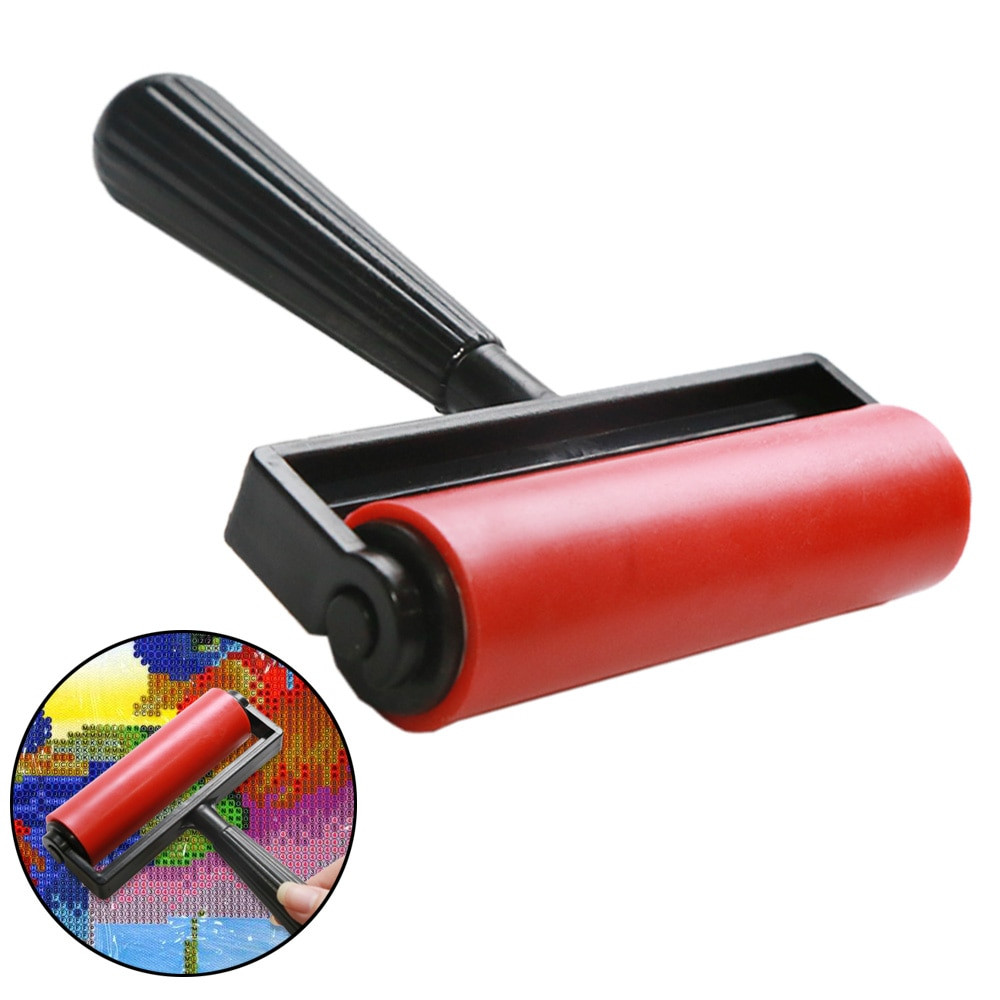
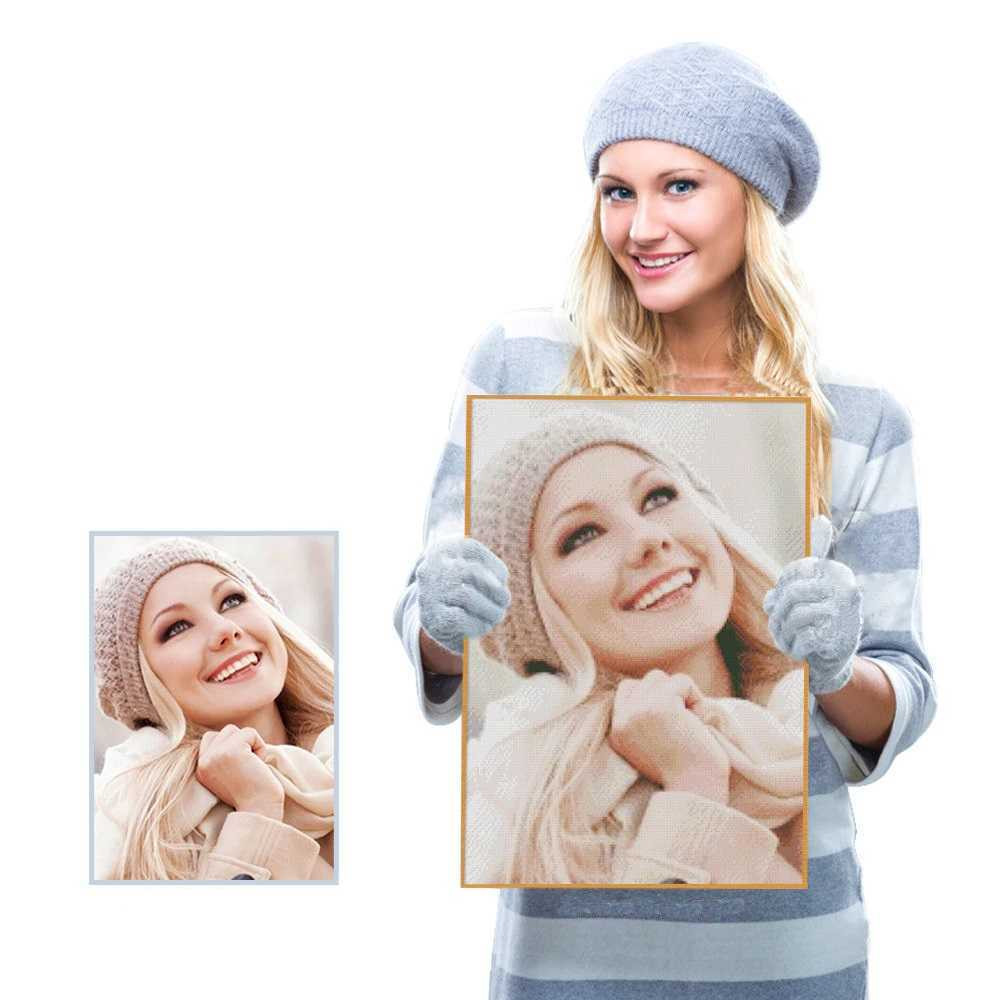
To get your peacock diamond painting right, start by organising each colour on a compartmentalised tray under a lamp positioned at eye level. Then work the feathers in small sections, finishing each gradient before moving on to the next: mistakes are easier to spot and the shading stays smooth. Choose a large canvas for fine detail, or round diamonds if you are just starting out. Find more designs in our Bird Diamond Painting Kits category.
Ready to make your peacock shine?
Browse our selection of bird diamond paintings and find the peacock canvas that suits you. Free tracked delivery and money-back guarantee.
View Bird Diamond Painting KitsFrequently asked questions
What canvas size should a beginner choose for a peacock diamond painting?
To start out, choose a 30 × 40 cm (12 × 16 in) canvas. This size leaves enough room for the shades in the tail and the detail in the plumage, while still being easy to set up on a table. Work in sections of 5 to 10 cm (2 to 4 in), with good lighting, so the symbols stay legible and your session stays comfortable.
Are square diamonds harder for a peacock design?
Yes, square diamonds call for more precision on a peacock diamond painting. Their corners need to line up to avoid small gaps between rows, but they make the feathers look sharper and more even. Try them after your first project, then use a simple stylus and a straightening tool to keep the rows aligned.
How do you avoid mixing up colours on a peacock?
To avoid mix-ups, put each colour reference in a bag or a compartmented box labelled with its code, then take out only one colour at a time. Start with the lighter shades, reseal each container after use and check the symbol before placing a diamond. A small tray with a raised edge also stops drills from rolling onto the table.
Can you turn a peacock photo into a custom diamond painting?
Yes, a peacock photo can be used as a custom design. Supply a sharp, well-lit file with the subject large enough and not too hidden by the background. The maker converts the image into a grid, then prepares a made-to-measure canvas and the matching resin diamonds. A blurry photo will give less precise outlines.
How long does it take to finish a peacock diamond painting?
Allow around 10 to 15 hours to complete a 30 × 40 cm (12 × 16 in) size, depending on your pace and experience. A 40 × 50 cm (16 × 20 in) design can take up to 25 hours. Break the work into sessions of 30 to 45 minutes, protecting the adhesive area with the film provided between sessions.
Related posts
 Halloween Diamond Painting Kits: Spooky Ideas for Your Home
 Cat Diamond Painting Kit: Bring Your Feline to Life in Sparkling Detail
 Star Wars Diamond Painting Kits: Canvases and Tips
 Pokemon Diamond Painting: How to Choose, Start and Finish Strong
 Butterfly Diamond Painting: Choose, Place, and Showcase Your Art