


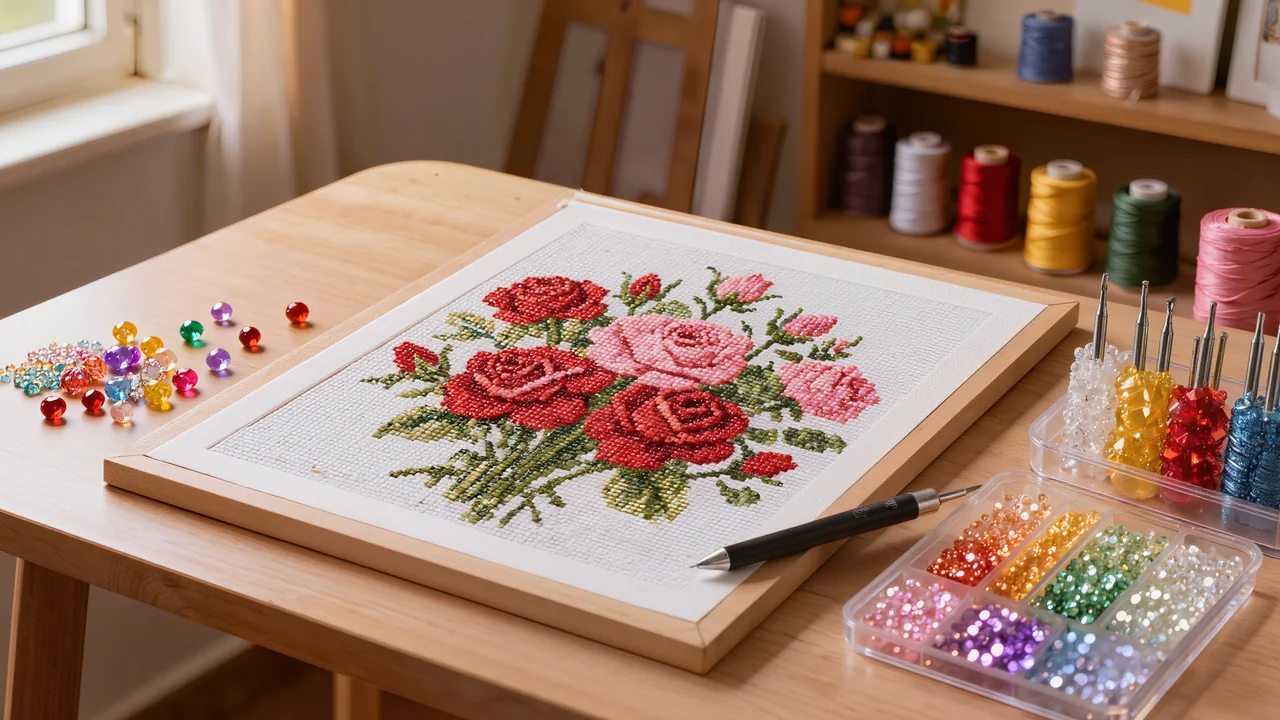
Diamond Painting Flowers: Choosing and Completing Your Canvas
Choosing diamond painting flowers becomes simple when you start from the effect you want: a tight close-up rose forgives small slips, while a cottage garden bouquet with fine stems demands more patience when placing. Look first at the pattern density in the preview, then at the size of the symbols printed on the canvas.
This guide is for beginners and regulars alike who want a crisp finish, with no blurry patches or crooked diamonds. You will find out how to read a preview before buying, choose between rounds and squares, gauge the size of the canvas and fix a shade placed by mistake.
In short
- Choose a flower design by the effect you want: a tight bouquet for a rich look, a field or wildflowers for an airy finish.
- For a first project, a medium-sized canvas with round drills is faster and more forgiving than a large canvas with square drills.
- Work in small sections of about 2 to 4 inches (5 to 10 cm), keep the protective film on the rest of the canvas, and straighten drills with the pen as you go.
- Good lighting and a tray well filled by colour save considerable time on floral designs, which are often rich in gradients.
Which diamond painting flowers should you choose for your space?
Before you compare designs, look at the wall where the canvas will hang. The room, the light, the wall colour and the distance from which you'll view it determine the pattern far more than a thumbnail you happen to love. A canvas destined for a dark hallway benefits from being bright and high in contrast; in a very bright living room, a palette of pale pinks can look washed out from ten feet away.
Floral designs fall into four families, and each gives a very different result. The tight bouquet, first: the flowers touch, petals overlap, the surface is dense and the colours play off one another. This is the choice that forgives colour mistakes least, but rewards close viewing most. The flower field, next, with its rows receding toward the horizon: the canvas breathes, large areas of sky or grass separate the touches of colour, and progress is quick. Wildflowers mix grasses, fine stems and small blooms; the result is looser, almost sketched, and calls for a little care with transitions. Then there are stylised flowers, with crisp outlines and flat blocks, often in two or three shades: ideal for a first project, because every diamond has an obvious place.
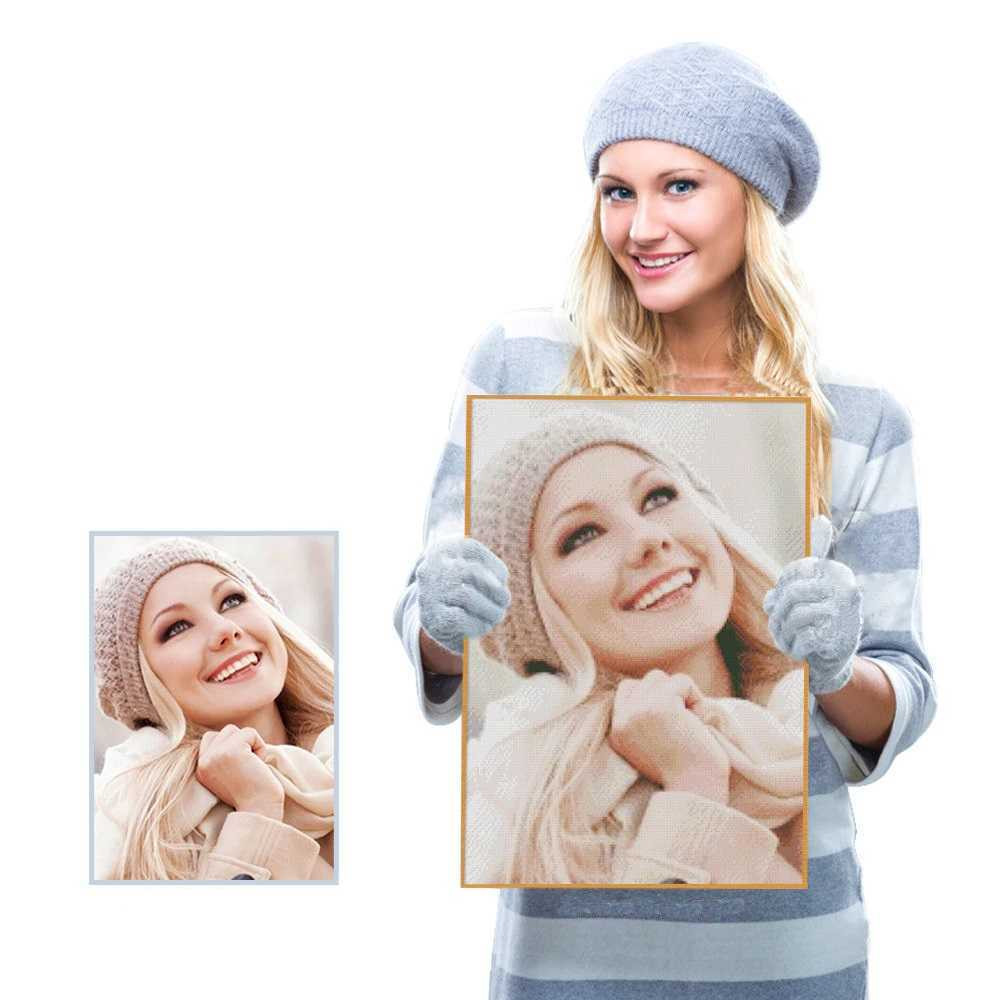
You can also pair flowers with another theme to narrow your choice: butterflies resting on a peony, a bicycle beside a poppy field, a cherry tree in blossom, a seaside scene. These scenes tell a story and hold the eye longer than a simple repeating pattern. If you fancy creating your own, a custom Flower Diamond Painting Kits made from a photo of your garden or wedding bouquet remains the surest way to get exactly the mood you want.
Round vs square diamonds: what it changes on a floral design
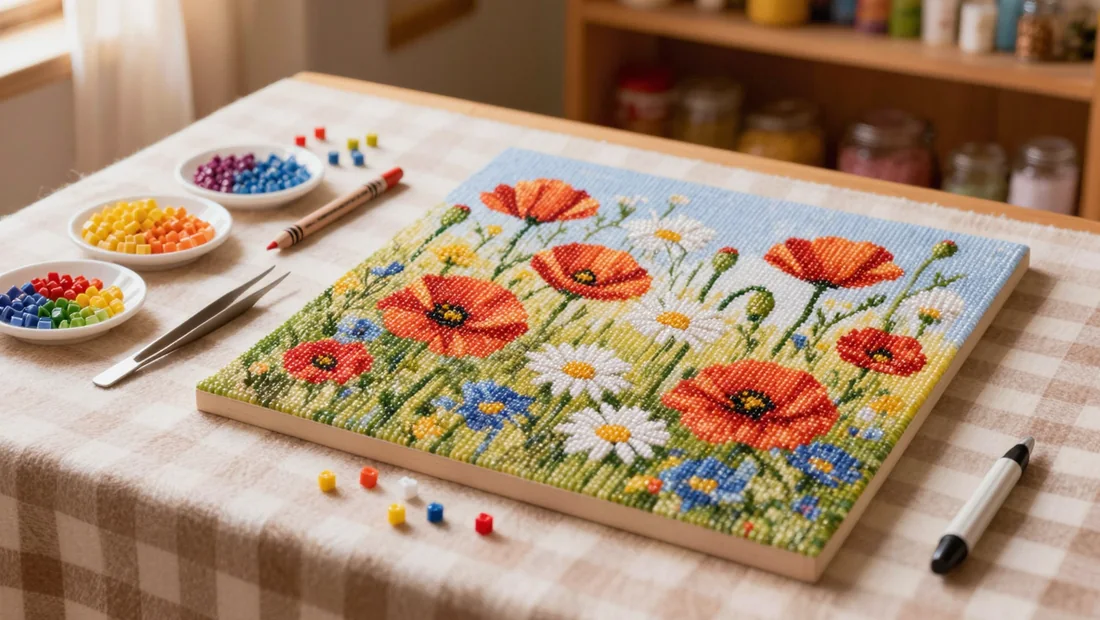
On a floral design, the choice between round and square diamonds shows up most in the petals and leaves. Rounds are quick to place and leave small, even gaps between them, giving a slightly mosaic look that shimmers from a distance. Squares sit edge to edge and cover the canvas more densely: the outline of a petal or the vein of a leaf stands out more sharply. On the other hand, they forgive no misalignment, whereas a slightly crooked round is barely noticeable.
| Factor | Round diamonds | Square diamonds |
|---|---|---|
| Placement speed | Faster, you can load several diamonds on the pen | Slower, one diamond at a time to keep them straight |
| Look on petals | Soft mosaic effect, blended gradients | Crisp outlines, more graphic finish |
| Room for error | High, a small gap goes unnoticed | Low, one crooked square creates a visible line |
| Designs with lots of shading | Forgive colour transitions better | Highlight every colour change more |
For a first field of flowers or a bouquet in similar shades, rounds remain the most forgiving choice. Expect a medium canvas to finish noticeably faster in rounds than squares, for the same surface area. If you want a very crisp finish on a design with bold outlines, plan for a few more sessions and good diamond painting tools to keep your hand steady.
What canvas size should you choose for your first diamond painting flowers project?
Canvas size often decides whether a project gets finished or stays rolled up in its tube, and with a floral design, it is worth picking a format you will actually enjoy completing.
- Small formats, up to around 12 x 16 in (30 x 40 cm), can be finished over three or four evenings of about an hour and a half each: a smart choice for testing the technique on a simple subject, a single flower or a small bouquet, before investing in something bigger.
- Medium formats, around 16 x 20 in (40 x 50 cm), offer the best balance for a first proper floral project: enough surface for petals and foliage to stay crisp, without demanding more than ten to fifteen hours of work spread over several weeks.
- Large formats, beyond 24 x 32 in (60 x 80 cm), look spectacular on a field of flowers or a dense composition, but expect thirty hours and up: save these for when you have found your rhythm and know that placing the diamonds relaxes you.
- Whatever size you pick, secure the canvas to a rigid backing, such as thick card or a board, and work in sections of about 4 in (10 cm) at a time, finishing each one before opening the next so you keep the pleasure of watching the flower appear.
The right technique: placing diamonds on a floral pattern without slipping
Set up your workspace
Lay the canvas flat on a firm table, never on a bed or sofa: the slightest bump sends diamonds rolling off the symbols. Set up a lamp that lights the area without casting shadows, and keep one tray per colour within reach. With a diamond painting flowers design, it is not unusual to count thirty to forty colour references: taking out the bags one by one in symbol order prevents mix-ups along the way.
Load the stylus without excess
Dip the tip into the wax about two or three millimetres (0.08 to 0.12 in), then tap off the excess on the rim of the pot. Too much wax and the diamond sticks to your finger rather than the canvas; too little and it falls off at the first movement. Reload as soon as the diamond no longer lifts cleanly from the stylus, usually every twenty to thirty placements. The diamond tweezers are for long runs of a single colour, the stylus for details.
Work in strips of 5 to 10 cm (2 to 4 in)
Peel back the protective film only on the strip you are working on, from top to bottom. On a large floral area, an 8 cm (3 in) strip fills in fifteen to twenty minutes. The rest of the canvas stays protected, and the adhesive does not collect dust while you look for a colour. Push the film back with the back of your fingernail, without creasing it.
Place from the centre outwards
On a flower, start with the centre then widen towards the petals. This keeps the rows aligned and the petal edges even. A half-diamond gap in the centre is barely visible; the same gap at the tip of a petal shifts the whole row. Keep your wrist resting on the table and move the canvas rather than your arm.
Check before moving to a new area
Before folding the film back, scan the strip in raking light. Straighten any crooked diamonds with the stylus, remove those that overlap. This thirty-second check saves you from discovering a misalignment once the canvas is finished. Complete your setup with good diamond painting accessories: a grooved tray and fine tweezers make a real difference on long sessions.
Floral patterns and colour: managing gradients without picking the wrong shade
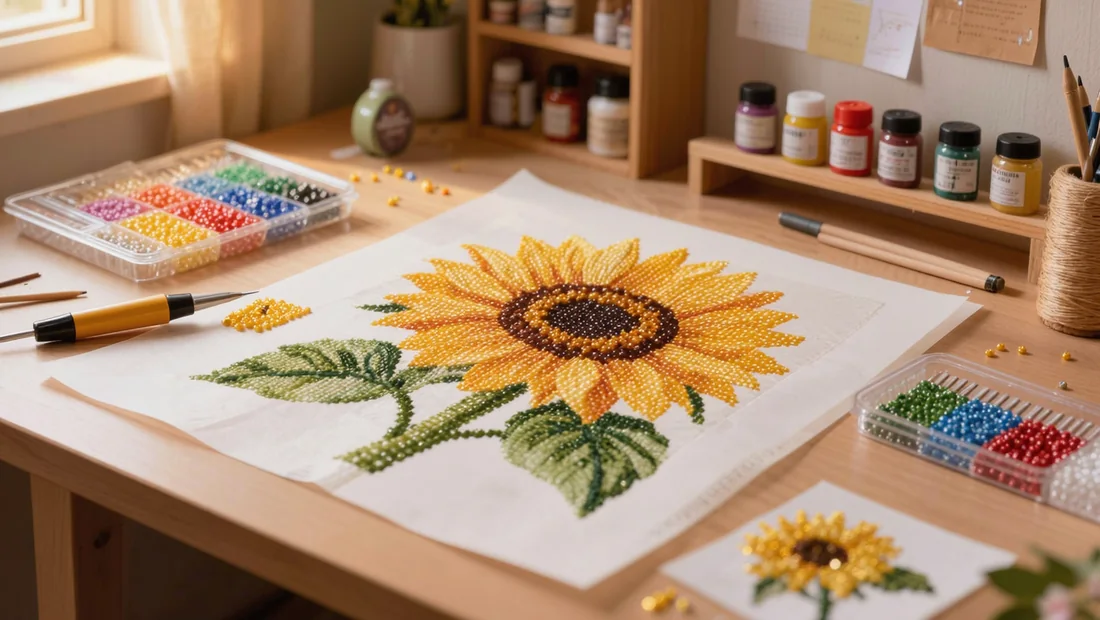
On a floral pattern, your eye sees a rose, but the canvas often contains six or seven different shades of pink. That is where mistakes happen: two packets look alike under the living room lamp, and a petal's gradient ends up broken by a stroke that is too light. The fix is a simple habit: sort the packets by number before you start. Lay them out in legend order, line them up on the table, and never hunt for a shade mid-project again. Once the diamonds are stuck down, going back costs far more time than those ten minutes of organising.
For gradient areas, one tray per shade changes everything. You pour a single colour at a time, work, then return the rest to its resealed packet. The risk of mixing drops to almost zero, and you can see straight away if your tray is emptying too fast for the area left. Before you start a flower, read the whole legend and note the similar symbols: a solid circle and an open circle, a barred square and a dotted square soon blur on a dense canvas. Mentally flag the two or three pairs to watch, or pencil a small mark in the legend margin.
Then there is the order of work. On petals, going colour by colour gives a much better result than working area by area. Place all of the darkest shade in the flower's centre first, then the next, and so on outwards. The gradient builds before your eyes, and you can correct a shade before it gets lost among the others. A metal-tipped pen and straight tweezers make this precision work easier; you will find the essentials in the diamond painting accessories that usually come with kits. If you are still deciding which design to order, Flower Diamond Painting Kits come in a huge range, from tight bouquets to open fields, and some suit this shade work better than others.
Finishing, framing and caring for a diamond painting flowers canvas
Once the last stone is in place, the canvas is far from finished: this is the moment to secure everything and make sure it stands the test of time.
- Run the flat of your palm, or a soft roller such as a rolling pin, over the whole surface: you will hear a slight crackle as the diamonds settle, and that pressure is enough to push back any that were placed at an angle.
- For a size up to 40 x 50 cm (16 x 20 in), a canvas stretched over a frame can be hung straight on the wall; beyond that, a frame with a mount distributes the weight better and stops the canvas from warping.
- Keep the piece out of direct sunlight and away from lasting damp: the resins yellow and lose their shine under constant light, and the glue can soften near a bathroom window.
- Dust with a dry microfibre cloth, pressing only very lightly, with no household cleaner or water: a cleaner, even a mild one, leaves a dull film on the facets.
- If a stone does come loose, a dab of white glue applied with a toothpick puts it back without damaging its neighbours.
What if you created your own bouquet?
There comes a point when you can no longer find a pattern that matches exactly what you have in mind. A photo of your own garden in June, the bouquet carried on your wedding day, the first peonies planted with a loved one: these images translate beautifully into diamond painting flowers. The principle is simple. You start with a snapshot, it becomes a gridded canvas with its colour key, and you assemble it just like a store-bought kit.
Everything hinges on the quality of the original photo. Choose a sharp image, taken up close, where the flowers fill the centre of the frame. High resolution beats a blurry close-up: it is what will determine the fineness of the petals and the crispness of the outlines. Avoid busy backgrounds, backlighting that flattens the hues, and flash photography, which makes petals shine and distorts colours. A tight crop on three or four flowers often gives a clearer result than an entire flowerbed.
The most common uses in the studio involve memories: a ceremony bouquet you want to keep intact, a border that changes with every season, or a gift for the person who grew those flowers. For this kind of project, go through Custom Diamond Painting Kits: you send your photo, it is reworked into a chart, then printed on stretched canvas. Allow a few days for preparation before shipping, with order tracking at every stage. If you are not happy with the result, the shop offers a money-back guarantee. Before you confirm, take a look at the floral designs already available: they give you a realistic idea of the level of detail achievable at each size.
Our picks
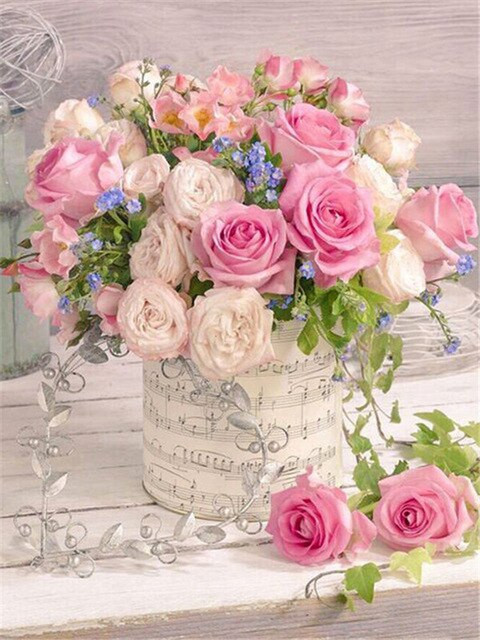
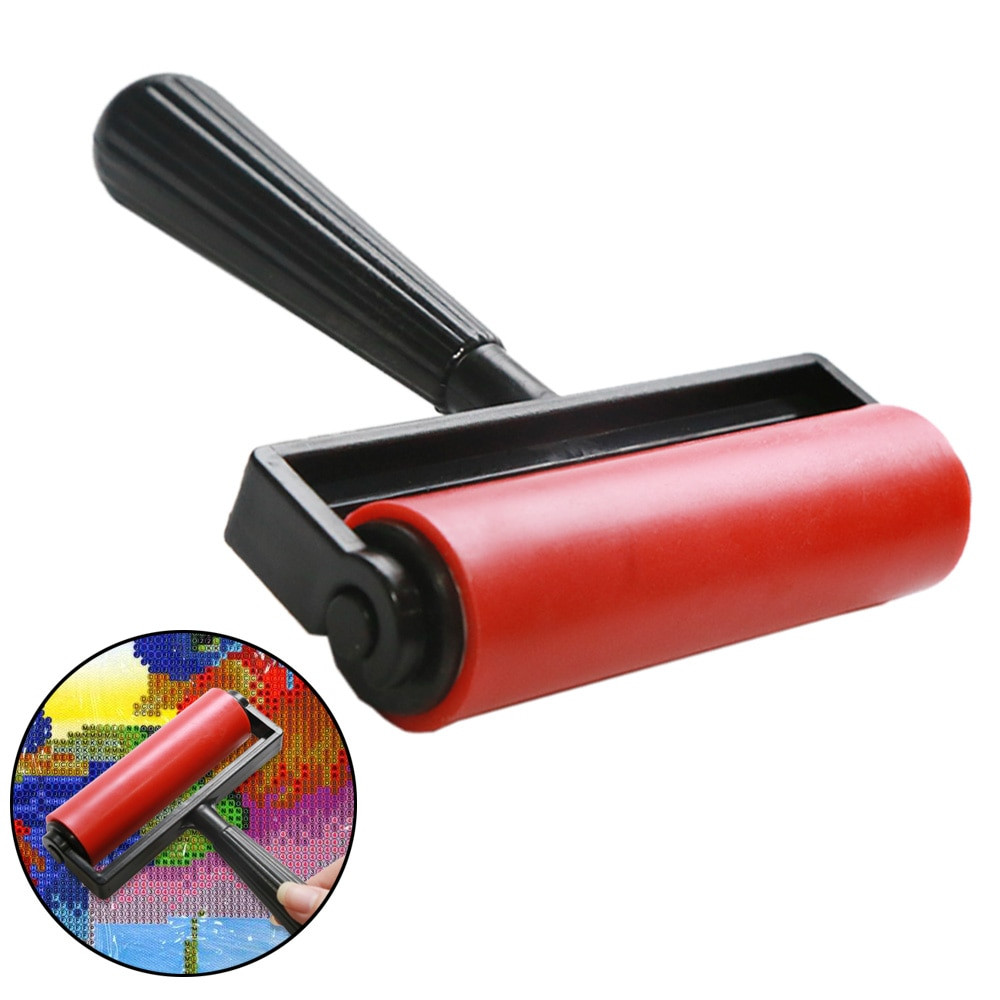
Start with a five-centimetre (two-inch) section, peel the film back over the rest, and tilt the stylus to straighten each diamond as you go: that's the move that prevents misalignment across petal gradients. Keep a tray per shade and a lamp close to the canvas too. If you're looking for a floral design that suits your level, take a look at our selection of Flower Diamond Painting Kits, and go for round diamonds on your first project.
Your diamond bouquet awaits
Browse the Flowers collection, choose your size, and let us guide you: free tracked delivery and money-back guarantee.
View Flower Diamond Painting KitsFrequently asked questions
Which diamond painting flowers kit should I choose as a beginner?
Go for a medium size, around 12 x 16 in (30 x 40 cm), with round drills and a simple floral design: a single flower or a small bouquet on a plain background. You will finish the canvas in a few evenings, which keeps your motivation up. Large, highly detailed designs get tiring fast when you are just starting out.
How long does it take to finish a flower canvas?
Allow two to four one-hour sessions for a 12 x 16 in (30 x 40 cm) canvas with round drills, and double that for square drills or a large format. The useful benchmark is the area you cover per hour, not a total time. Work one section at a time instead of trying to finish everything in one go.
Round or square drills for crisp petals?
Square drills give you sharper outlines on petals and stems, as long as you line up each drill with the grid. Round drills forgive small misalignments and go down faster. For a clean result without the stress, choose square on a simple design and round on a complex gradient.
How do I avoid mixing up two similar shades in a floral gradient?
Sort the bags by number before you start, then pour only one shade at a time into the tray. Work colour by colour across the petals rather than section by section. Keep the unopened bags stored well apart: that limits mix-ups and mistakes when you are matching symbols.
Can I have a canvas customised with my own flowers?
Yes, several studios print a canvas from your photo. Choose a sharp, well-lit image with no cluttered background, and frame the flower or bouquet in close-up. Dark areas and fine details do not transfer well: go for strong contrast and few overlapping petals.
Related products

Lumpa Rose
Potted Orange Tree on Blue Terrace Diamond Painting
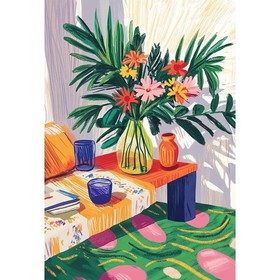
Seasonal Flower Bouquet in a Vase Diamond Painting
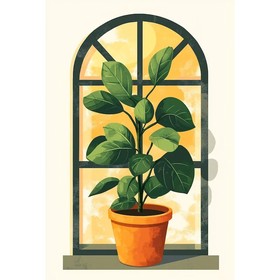
Indoor Green Plant in Front of Window Diamond Painting
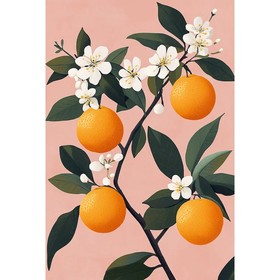
Orange Blossom Branch on Pink Background Diamond Painting
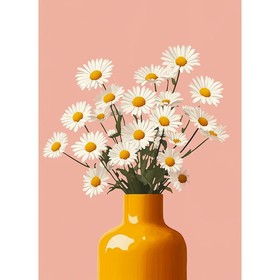
White Daisies in a Yellow Vase Diamond Painting
Textured Houseplant in an Arch Diamond Painting
Large Bouquet of Daisies in a Yellow Vase Diamond Painting
Four Potted Green Plants Collage Diamond Painting
Yellow Lemon Branch Diamond Painting
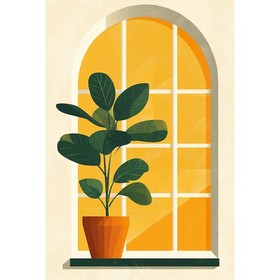
Minimalist Green Plant by the Window Diamond Painting
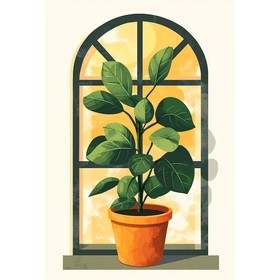
Green Indoor Plant in Front of Arched Window Diamond Painting
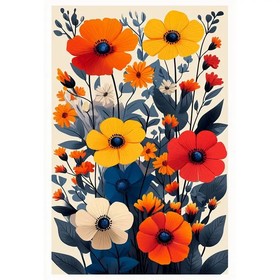
Colorful Poppies and Anemones Diamond Painting

Bouquet of Red and Pink Roses

Pastel Roses in a Vintage Watering Can
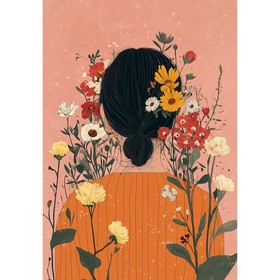
Woman in Orange Sweater with Flowers in Hair Diamond Painting

Fuchsia Roses in a Blooming Vase

Bouquet of Pink and White Peonies

Rustic Bouquet of Dahlias and Daisies

Multicolor Spring Bouquet

Pink Peonies in a Golden Vase

Spring Bouquet with Ranunculus and Grape Hyacinths

Dianopé Flowers

Mirabel Flowers

Horchestra Flowers

Lina Flowers

Gigi Flowers

Stoboli Flowers

Coolili Flowers

Saturn Flowers

Tablia Flowers

Chicou Flowers

Wildflower Bouquet in a Terracotta Pot

Pink Roses on a Stone Balcony

Expressionist Bouquet in a Glass Vase

Impressionist Bouquet by a Window

Majestic Rose Bouquet in a Carved Vase

Peony and Rose Bouquet in a Golden Vase

Bouquet of Yellow Roses in a Silver Vase

Pink Roses and White Lilies in a Bronze Vase

Majestic Bouquet of Lilies and Roses in a Crystal Vase

Rustic Bouquet in a Blue Ceramic Vase

Apricot Roses in a Glass Vase

Bouquet of Flowers Violaine

Bouquet of Flowers Sensation

Flowers: The Elegant Vase

Rosalino Flower Bouquet

Bouquet of Vivaline Flowers

Flowers: The Warm Bouquet

Flowers: The Bouquet of White Roses

Bouquet of Turbleu Flowers

Aliona Flowers on a Chair

Daria Flowers on a Chair

Irina Flowers on a Chair

Lena Flowers on a Chair

Flowers Ludmila on a Chair

Lyuba Flowers on a Chair

Milena Flowers on a Chair

Nadezhda Flowers on a Chair

Nadia Flowers on a Chair

Natasha Flowers on a Chair

Olga Flowers on a Chair

Tatiana Flowers on a Chair

Black and Yellow Flowers Mia

Black and Yellow Flowers Emy

Black and Yellow Flowers Anna

Black and Yellow Flowers Yasmine

Black and Yellow Flowers Julia

Black and Yellow Flowers Mathilde

Black and Yellow Flowers Inès

Black and Yellow Flowers Maëlys

Black and Yellow Flowers Lena

Black and Yellow Flowers Alicia

Black and Yellow Flowers Juliette

Beata Rose and Peony Flowers

Rose and Peony Flowers Birgit

Pink Flowers and Peony Madlen

Rose and Peony Flowers Magda

Pink Flowers and Peony Margarete

Rose and Peony Flowers Maria

Pink Flowers and Peony Marlene

Rose and Peony Flowers Maya

Pink Flowers and Peony Melanie

Pink Flowers and Peony Melissa

Rose and Peony Flowers Monika

Pink Flowers and Peony Nadia

Pink Flowers and Peony Naomi

Pink Flowers and Peony Natascha

Rose and Peony Flowers Nora

Pink Flowers and Peony Oda

Rose and Peony Flowers Ramona

Rose and Peony Flowers Regina

Rose and Peony Flowers Renata

Rose and Peony Flowers Renate

Poppy Flowers A

Poppy Flowers B

Poppy Flowers C

Poppy Flowers D

Poppy Flowers E

Poppy Flowers F

Poppy Flowers G

Poppy Flowers H

Flowers and Bicycle

Flowers and Bicycle 2

Flowers and Car

Pretty Pink Flowers

Botanical Succulents & Jars Shelf

Red Rose on Old Book
Related posts
 Halloween Diamond Painting Kits: Spooky Ideas for Your Home
 Cat Diamond Painting Kit: Bring Your Feline to Life in Sparkling Detail
 Peacock Diamond Painting: How to Choose and Complete Your Canvas
 Star Wars Diamond Painting Kits: Canvases and Tips
 Pokemon Diamond Painting: How to Choose, Start and Finish Strong