


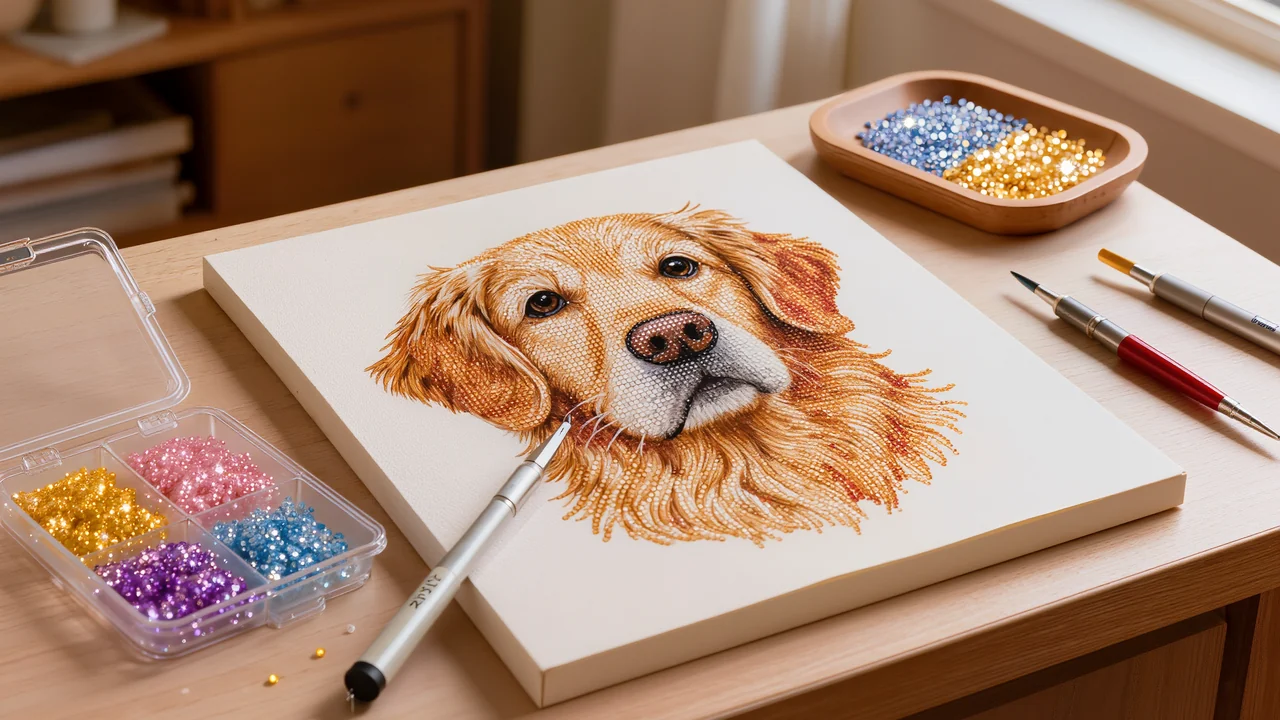
Diamond Painting Dog: The Complete Guide
To choose a successful diamond painting dog, start by comparing the style of the design, the image quality and the dimensions of the canvas. A custom portrait calls for a sharp, well-lit photo cropped around the face, while a ready-made design simplifies the choice and lets you get started straight away. The format directly affects the precision of the eyes, muzzle and fur.
This introduction is aimed at beginners and enthusiasts alike who want to capture their companion or give a dog-themed creation as a gift. You will find practical pointers here on selecting a suitable canvas, preparing a photo, choosing the size and number of colours, then placing the diamonds in clean lines. Finishing touches and care tips will also help preserve the sparkle of the finished piece.
In short
- A ready-made kit works well if you like the design on offer; a custom canvas is ideal for immortalising your own dog.
- A 30x40 cm (12x16 in) size is a good compromise for a beginner, while 40x60 cm (16x24 in) and larger preserve the fur detail better.
- A sharp, well-lit photo cropped around the dog's head gives the best custom canvas.
- Working in 10 cm (4 in) sections and sorting the diamonds by colour prevents mistakes and keeps the hobby enjoyable.
Diamond Painting Dog: How to Choose Your Canvas
When choosing your diamond painting dog, start by deciding whether you want to depict a specific breed or a ready-made scene, or preserve a precise memory of your own companion. A ready-to-make dog design offers an immediately clear image, with colours and symbols already defined. It works well for a first project, a gift, or a creative break with no preparation needed.
A custom canvas starts from a photo of your dog and requires more careful consideration. It suits a personal keepsake, especially if you want to capture a recognisable expression, posture, or patch of fur. Before ordering your custom canvas from a photo, check that the image is sharp and well lit: a dark or blurry photo will show less detail after conversion into symbols.
The size depends on the subject. For a close-up portrait, a canvas of at least 40 × 50 cm (16 × 20 in) leaves more room for the eyes, muzzle, and colour transitions. A small, simple scene can remain clear in a smaller format. Also consider the number of colours: 20 to 30 shades give an easy-to-follow result, while a wider palette refines the fur and shadows, with more sorting during placement.
Finally, opt for a well-stretched canvas with a crisp print and a protective film that adheres evenly. The symbols should remain legible under a lamp, with no warped areas or exposed glue on the edges. For a first attempt, choose a less busy pattern; for a keepsake, invest in a larger format and a high-definition print.
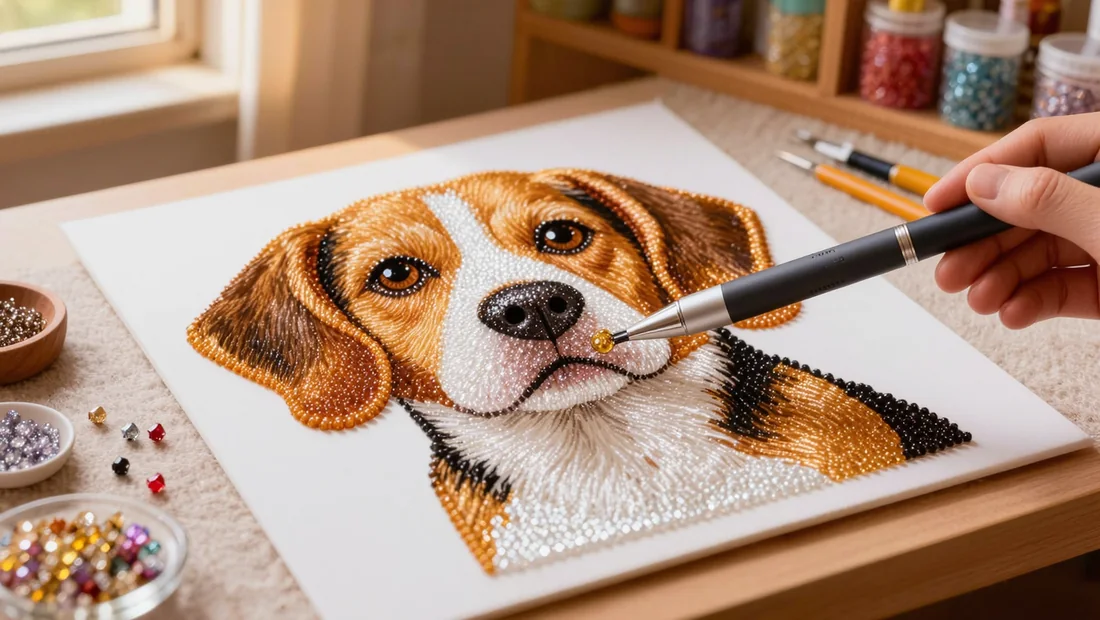
Ready-made kit or a photo of your dog: which should you choose?
Your choice mainly comes down to what you want from the project: an easy creative activity, or a faithful portrait of a specific companion.
- A ready-made kit works well when you want to get started straight away, since the canvas and designs are already prepared and available without waiting for a photo to be processed.
- The price is usually more affordable, which lets you try diamond painting dog designs on a modest budget or plan several projects.
- You can pick a breed, a silhouette or a mood from the diamond painting designs featuring dogs, whether it's a cheerful scene, an endearing expression or a seasonal setting.
- A custom canvas captures the visible details of your pet: coat colour, markings, ear shape and the look in their eyes, as long as you provide a clear, well-lit photo.
- It keeps the memory of a dog in your family and makes a particularly touching gift for a birthday, a gotcha day or a tribute.
- To introduce someone to this hobby, give a ready-made kit to a dog lover; to mark a personal story, choose a custom canvas made from a photo instead.
- If you're still unsure, start with a small ready-to-make design, then save a larger format for a portrait of your own dog.
Get the perfect photo for a custom diamond painting dog portrait
Choose a sharp image
Use a recent photo taken with a clean phone or camera. The eyes, muzzle and ear outlines should stay crisp when you zoom in to 100%.
Avoid blurry, very dark or heavily compressed shots from messaging apps. The original file keeps more detail for your Custom Diamond Painting Kits.
Face the dog straight on
A front-on or three-quarter view works best, with the head turned slightly towards the camera. This angle adds depth to the eyes and makes the dog's features easier to recognise.
Shoot at eye level rather than from above. Skip the direct flash, which causes glare in the eyes and washes out some coat details.
Light the coat well
Place your dog near a window with soft light coming from the side. A bright day without direct sun works well. Check that the muzzle and darker areas are still visible on screen.
Frame the head and chest
Leave a little space around the ears, then include the chest to give the portrait a natural base. A frame that is too wide shrinks the face on the canvas and softens its expression.
Check the file before sending
Open the photo's information to check its pixel dimensions and resolution. Keep the largest file available, with no screenshots or filters that alter the colours.
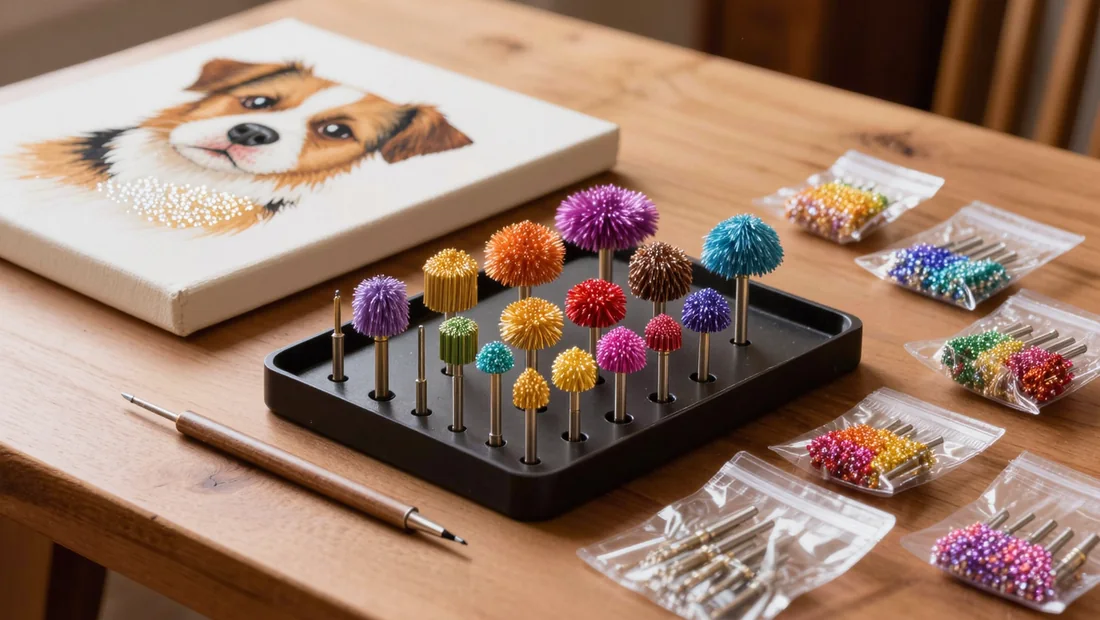
What size and how many colours for your diamond painting dog?
The size determines how sharp the muzzle, eyes and fur tones will look. For a photo of your dog, choose the colour palette carefully too: more colours help distinguish light fur, shadows and highlights. Custom canvases often need a larger size than an already simplified design. Finally, check that the canvas proportions match those of the photo, to avoid cropping too tightly around the head.
| Size | Result | Choose if… | Recommended palette |
|---|---|---|---|
| 30 × 40 cm (12 × 16 in) | Readable design with few fine details | You are a beginner or want a quick project | About 20 to 30 colours |
| 40 × 60 cm (16 × 24 in) | Good balance between precision and time to complete | The photo shows the head and part of the neck | About 30 to 40 colours |
| 60 × 80 cm (24 × 32 in) | More nuanced fur, better defined eyes and nose | You want a detailed portrait | 40 colours or more |
| Larger than 60 × 80 cm (24 × 32 in) | Very smooth transitions in fur and shadows | The photo is sharp and rich in detail | Extended palette recommended |
Applying the diamonds: the step-by-step method
Set up your workspace
Lay the canvas flat, ideally on a rigid board or a stretched frame. Get a grooved tray ready, fill the applicator pen with wax and keep a pair of tweezers handy for nudging misplaced diamonds. A directional lamp helps you tell the symbols apart, especially in darker areas.
Keep a small lid or protective sheet within reach to cover the glue whenever you stop for a break. You will also find handy kit among these diamond painting essentials.
Sort each colour
Pour a small amount of diamonds into the tray, then shake it gently so the facets face upwards. Store the surplus in labelled bags or a compartment organiser. Note the symbol and reference printed on the canvas legend.
Work in small sections
Start at the bottom of the image and move upwards, in squares of around 4 inches (10 cm). Peel back only the protective film covering the section you are working on. That keeps the adhesive surface clean and stops it catching your wrist.
Line up the diamonds
Touch the waxed tip to the centre of a diamond, then place it on the matching symbol. Set the pieces edge to edge so you build neat, even rows. Use the tweezers to move a tilted piece before pressing down across the whole section.
Take regular breaks
After 45 minutes, step away from the canvas for a few minutes. Stretch your fingers gently, shift your seat and check the alignment from a little distance. That pause helps you keep your movements precise right through to the last section.
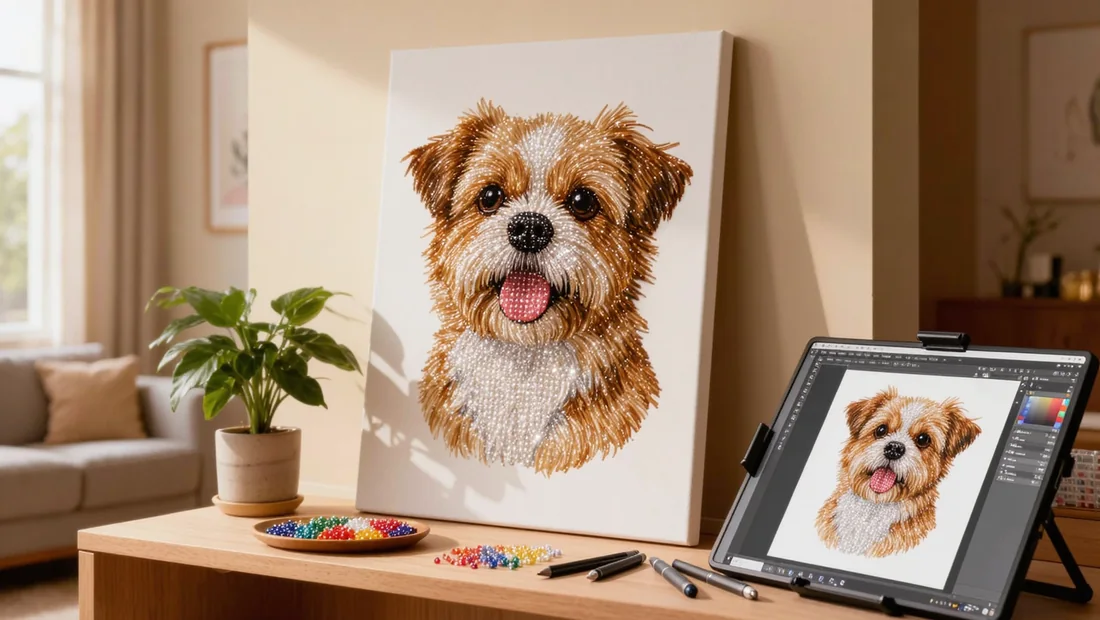
Finishing touches and care: making your diamond painting dog last
Once the last diamond is in place, cover the canvas with a clean sheet of baking parchment, then run a rolling pin over it with steady pressure. A heavy, flat book works too, as long as you set it down for a few minutes without sliding it. This step improves adhesion and helps you spot any slightly raised areas. Then let the canvas rest for a few hours before moving it.
In daylight, check each row by gently tilting the canvas. Replace any missing diamonds and straighten those that stick out using the tip of a stylus or a pair of fine tweezers. Small gaps show up most on dark solid areas and around the muzzle or eyes. A careful check at this stage makes framing easier.
For framing, choose a frame without glass if your canvas has a pronounced texture. In a room that gets a lot of dust, handling or sunlight, anti-reflective glass offers better protection and reduces glare. Afterwards, dust the surface with a soft, completely dry cloth or a small soft brush. Avoid water, sprays and abrasive products, which can dull the diamonds or affect the adhesive.
Gift and décor ideas for dog lovers
A canvas featuring a dog can make a thoughtful personal gift or find a place in several rooms of the home.
- For someone who has just adopted, choose a photo where the puppy or dog has a clearly visible expression, then give a custom portrait of their dog in a size that is easy to frame.
- In the hallway, a vertical canvas draws the eye without blocking the walkway; in the living room, a wider format can tie in with the colours of cushions, rug or wall.
- To remember a dog that has passed, a calm and familiar image often works better than a busy photo. Add a discreet date to the back of the frame or on a small plaque placed nearby.
- If several pets live with you, group their portraits on one wall using frames of similar dimensions. A décor featuring all your pets can form a harmonious display, even when the photos were taken at different times.
Our picks
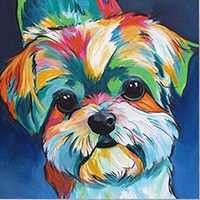
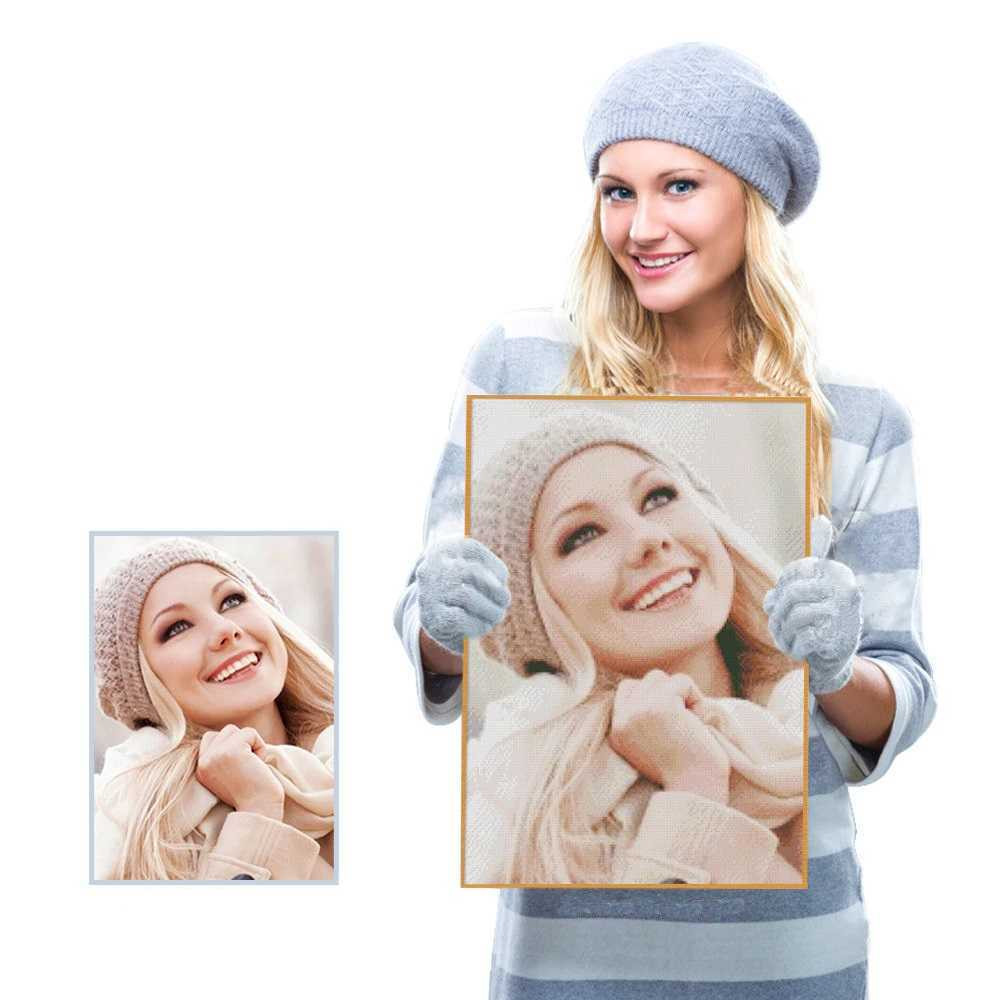
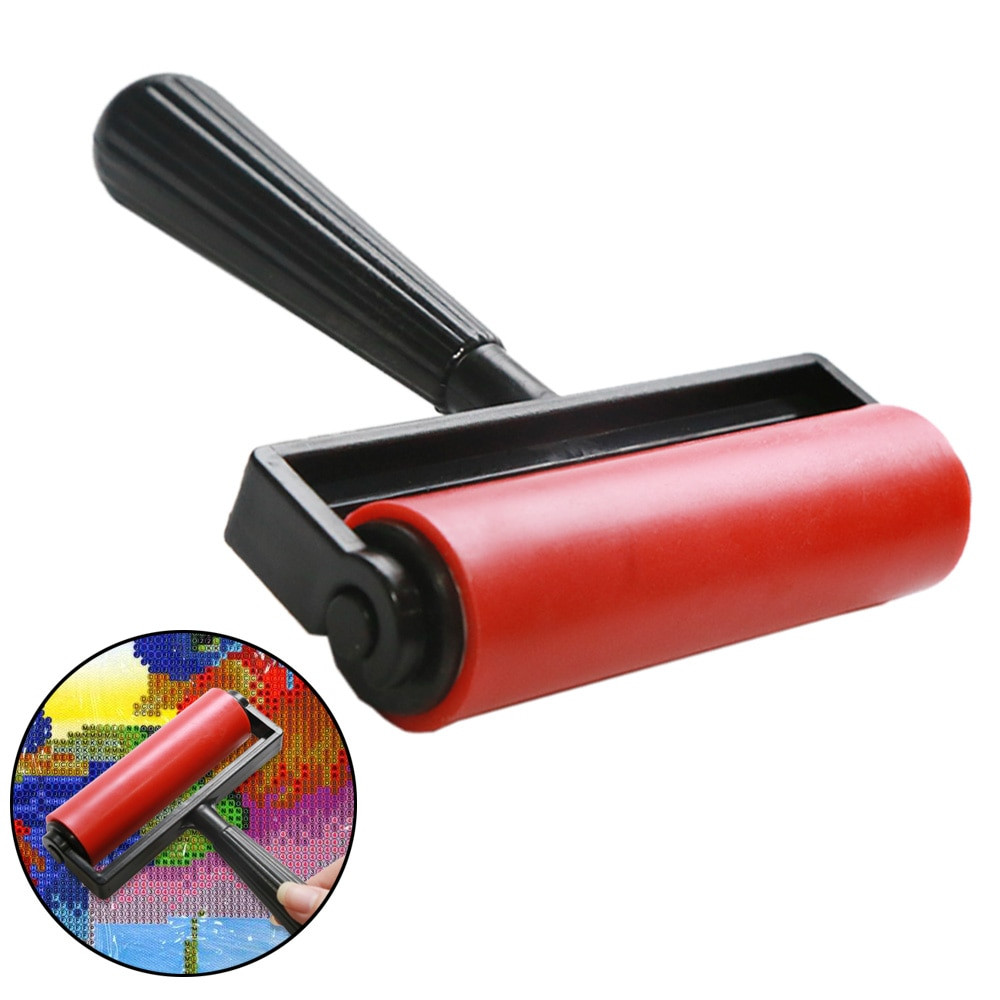
Start by marking out an area of around 4 inches (10 cm), then tip only the colour you need into a small labelled tray: you will spot a mistake quickly and the canvas will stay clean. For a first project, a 12 × 16 inch (30 × 40 cm) size is easy to handle; a bright, well-framed photo works well for a custom piece. Browse the Dogs Diamond Painting designs to find the one that suits you.
Ready to immortalise your dog in diamonds?
Browse our ready-to-make dog canvases or send a photo of your companion for a custom canvas. Free tracked delivery and money-back guarantee.
View Dogs Diamond PaintingFrequently asked questions
How long does it take to finish a diamond painting dog?
Allow around 8 to 12 hours for a 30 x 40 cm (12 x 16 in) design, and 15 to 25 hours for a 40 x 60 cm (16 x 24 in) one. Timing depends on how detailed the pattern is, your experience and your pace. A session of 30 minutes to 1 hour lets you make progress without straining your eyes or your hand.
Can you personalise a canvas with a photo of your dog?
Yes, send a sharp, well-lit photo with plenty of detail. The shop then turns the image into a coded pattern, and you receive a pre-glued canvas with the resin packets, stylus, wax and the accessories you need. A photo taken face-on, with the snout and eyes clearly visible, usually gives a more readable result.
Which size should you pick for a first dog kit?
The 30 x 40 cm (12 x 16 in) size is a comfortable starting point: the sections are easy to spot and the project moves along at a pleasant pace. After a few sessions, the 40 x 60 cm (16 x 24 in) size suits detailed portraits better. Lay the canvas on a flat surface and work in small sections covered by the clear film.
Do the diamonds hold up over time?
Yes, the resin sticks well to a clean, pre-glued canvas. Once the pattern is finished, gently run a smoothing roller over the whole thing, with a protective sheet in between if needed. Framing it under glass, away from moisture and direct sunlight, helps preserve both the adhesion and the shine.
What should you do if diamonds are missing from the kit?
Start by checking the packets that are still sealed and compare each reference with the legend printed on the canvas. If a colour really is missing, contact customer service with the reference, the symbol concerned and the quantity you need. Keep the packaging and the remaining packets: this information makes it easier to track down the matching batch.
Related posts
 Halloween Diamond Painting Kits: Spooky Ideas for Your Home
 Cat Diamond Painting Kit: Bring Your Feline to Life in Sparkling Detail
 Peacock Diamond Painting: How to Choose and Complete Your Canvas
 Star Wars Diamond Painting Kits: Canvases and Tips
 Pokemon Diamond Painting: How to Choose, Start and Finish Strong